Creating Virtual Machines
RESVRL supports three VM creation flows so you can match the order type to the workload instead of forcing every user into the same billing model. Open Virtual Machine in the member console and click Create to switch between Custom, Plan, and Pay-as-you-go modes.
Creating Virtual Machines
RESVRL supports three VM creation flows so you can match the order type to the workload instead of forcing every user into the same billing model. Open Virtual Machine in the member console and click Create to switch between Custom, Plan, and Pay-as-you-go modes.
Before you submit an order
- Check which region and host group should run the VM.
- Decide whether the instance needs a Public Network, a NAT network, or both.
- Prepare an SSH public key or decide how the initial password should be managed.
- If you select any public-facing network, prepare a security group first.
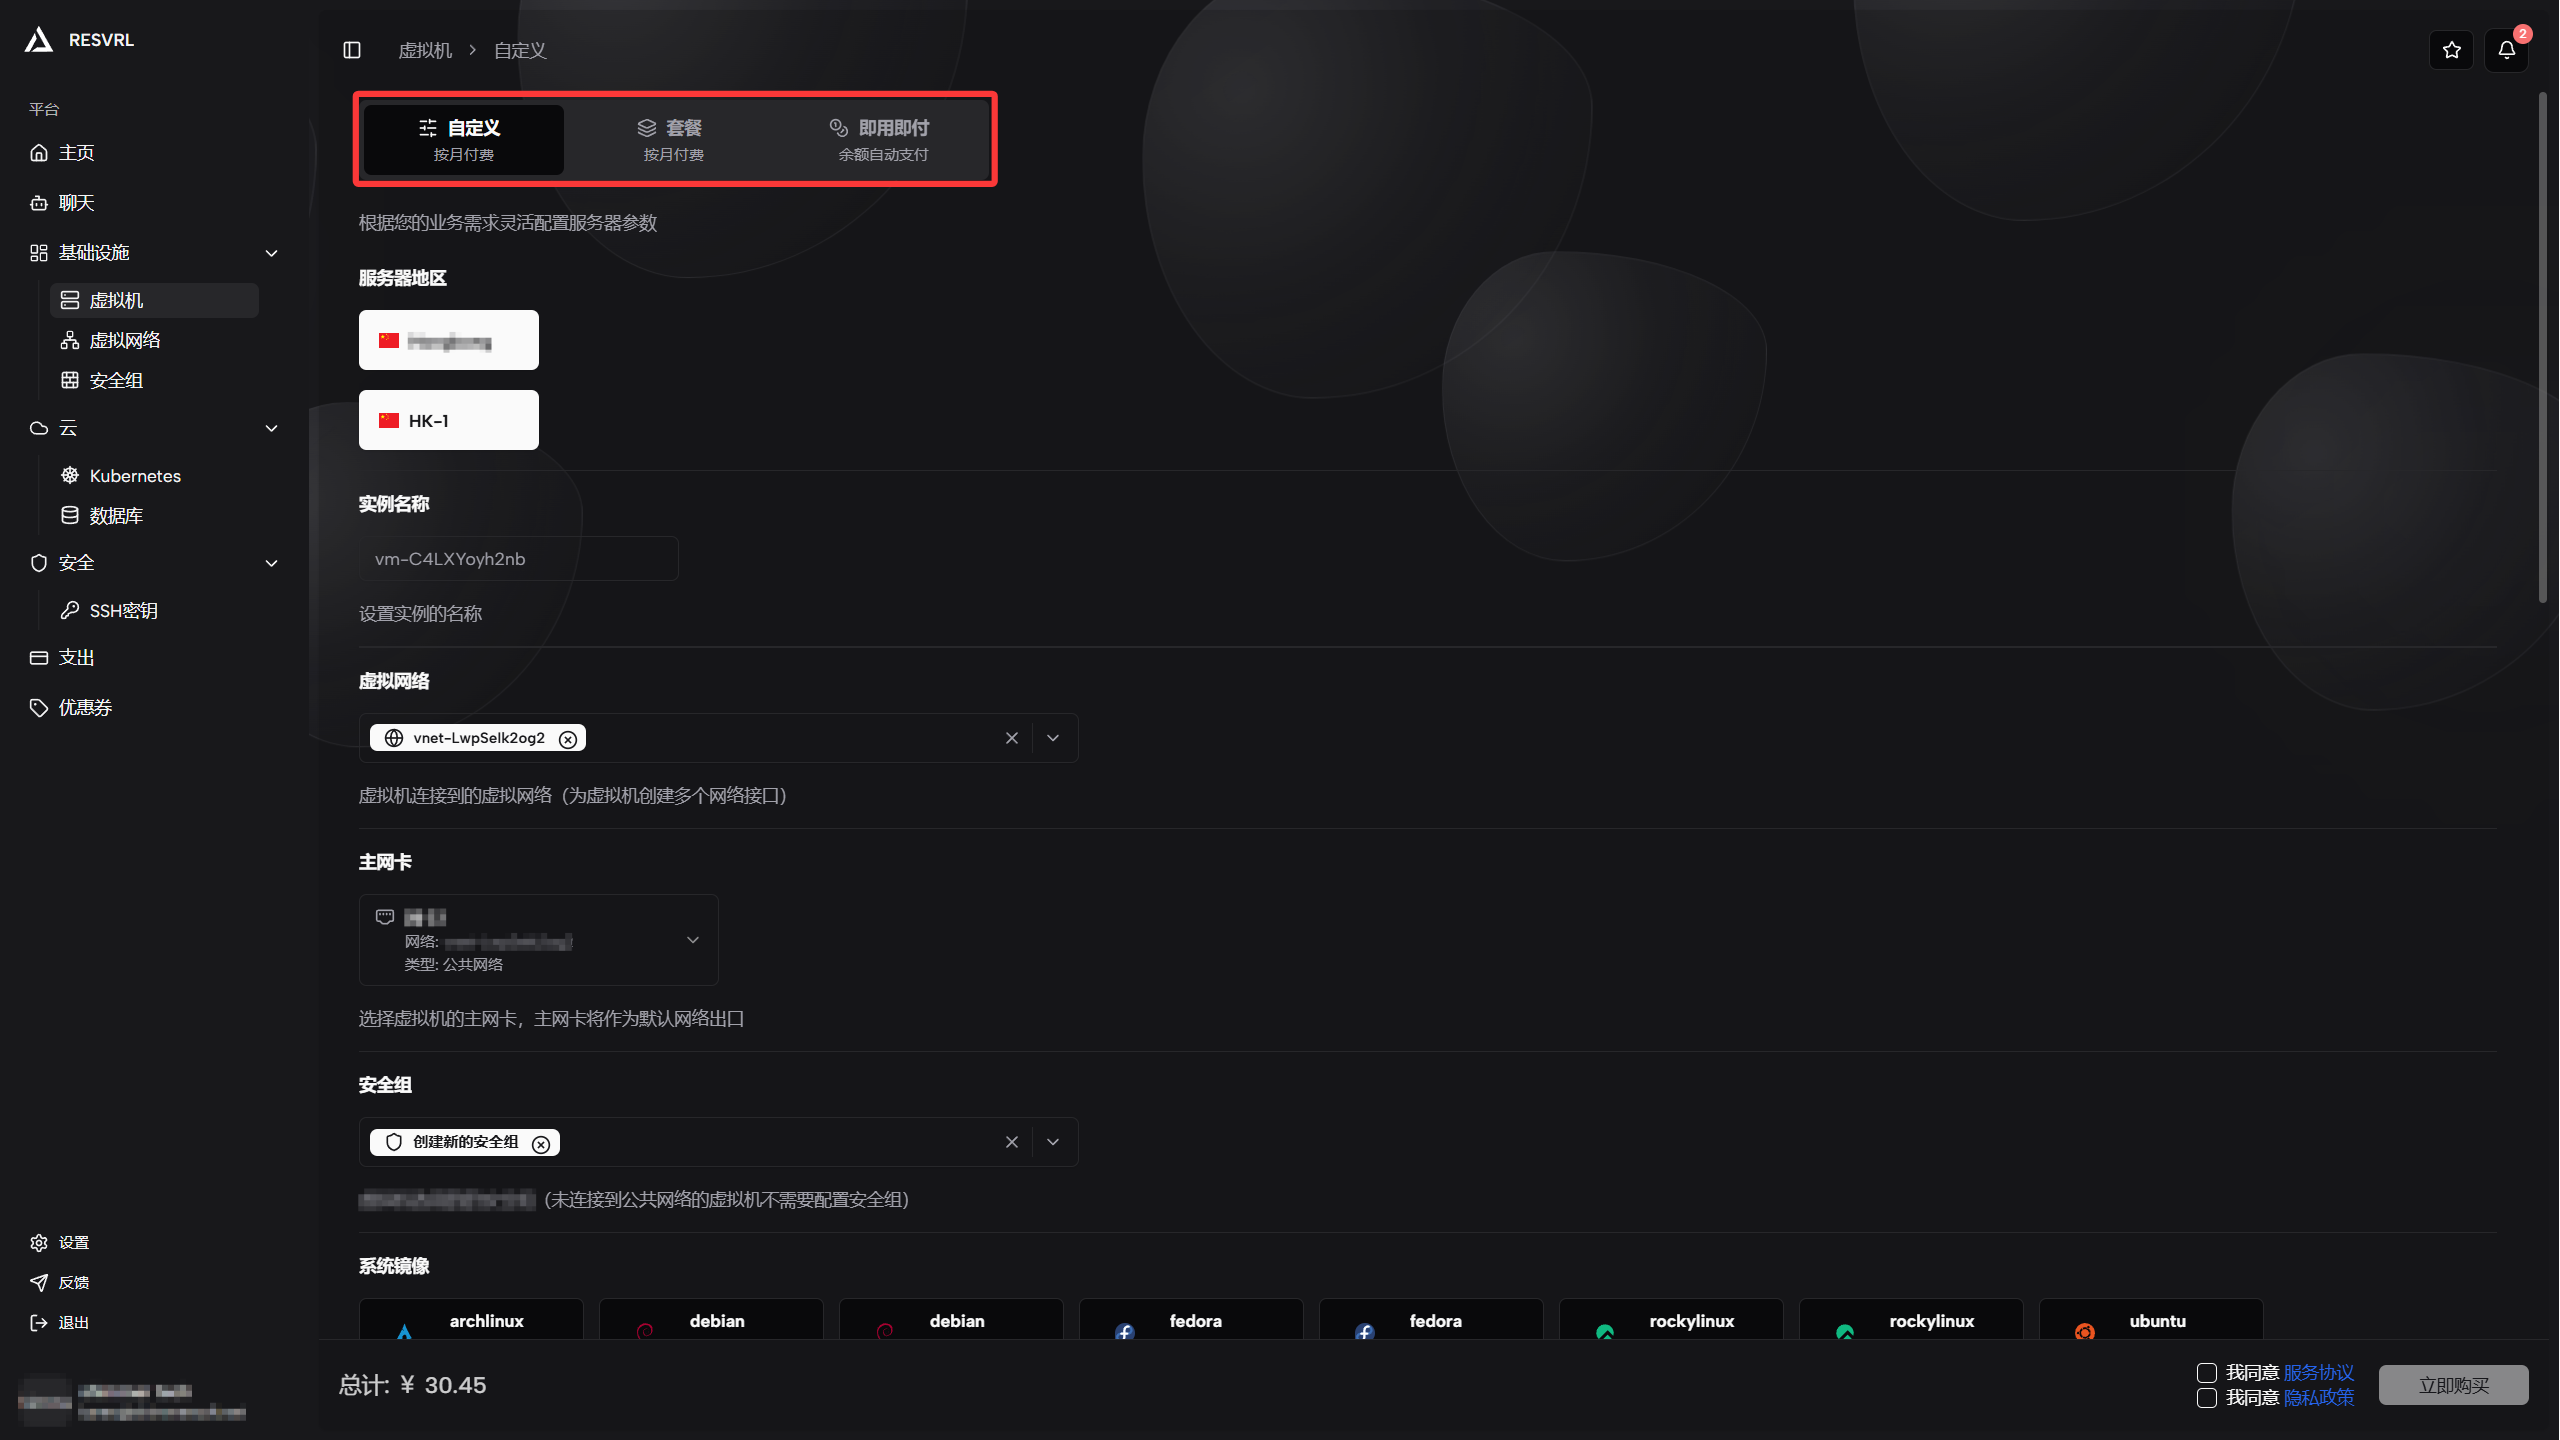
Creation modes
When you open the creation page, the first step is to choose a billing mode that suits your workload:
| Mode | Best for | Description |
|---|---|---|
| Custom | Flexible configuration | Manually select CPU, memory, storage, bandwidth and other specs; billed by configuration and duration. |
| Plan | Standard specs | Use predefined resource bundles at a fixed price; good for common workloads. |
| Pay-as-you-go | Short-term / testing | Billed by actual usage duration and resource consumption; ideal for temporary tasks or test environments. |
For your first VM we recommend the Plan mode. The Resvrl team periodically releases new promotional plans.
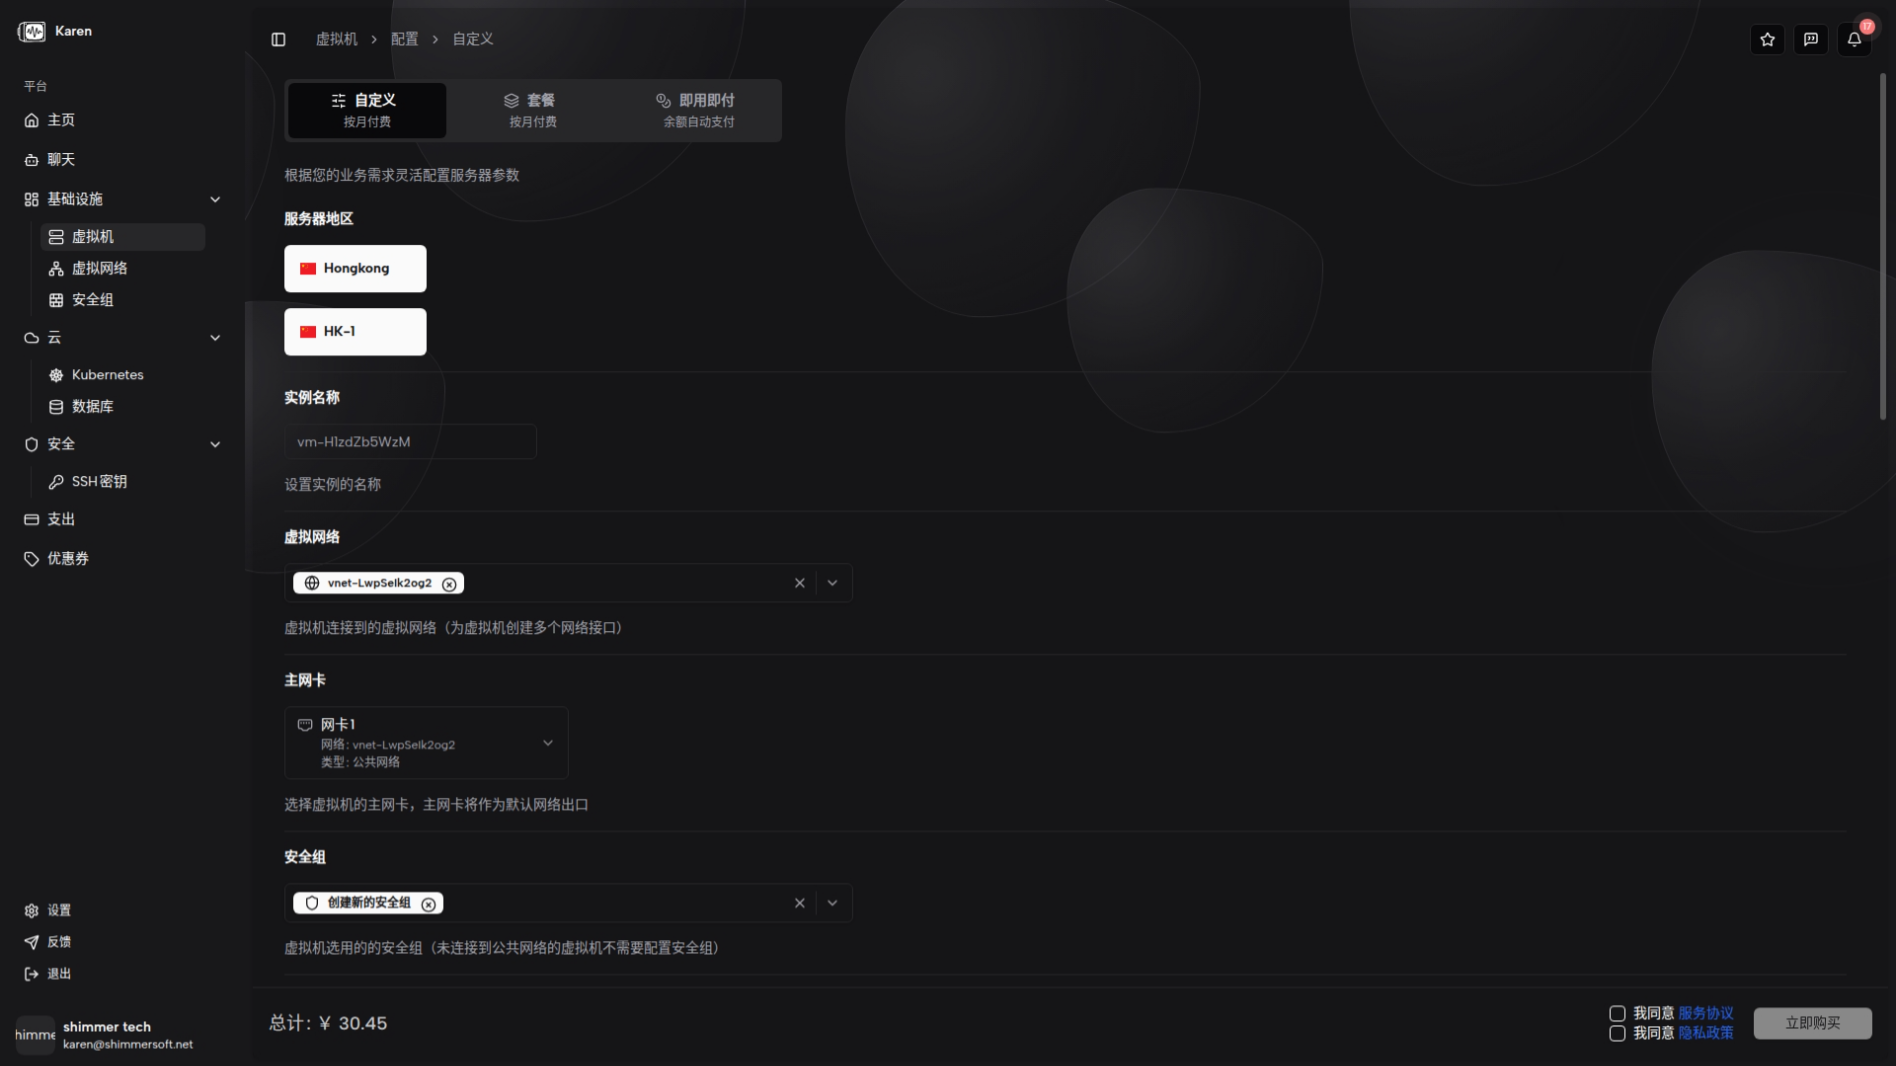
Custom
Custom mode lets you manually choose region, host, image, CPU, memory, storage, bandwidth, duration, networks, and login credentials. Key fields include: region/host, system image, CPU cores, memory, disk, bandwidth, networks, Public Network/NAT, credentials (SSH key or password), and whether to attach a security group. Price is calculated in real time in the order panel before submission. Validation: at least one network must be attached and if a Public Network is included, a security group is required.

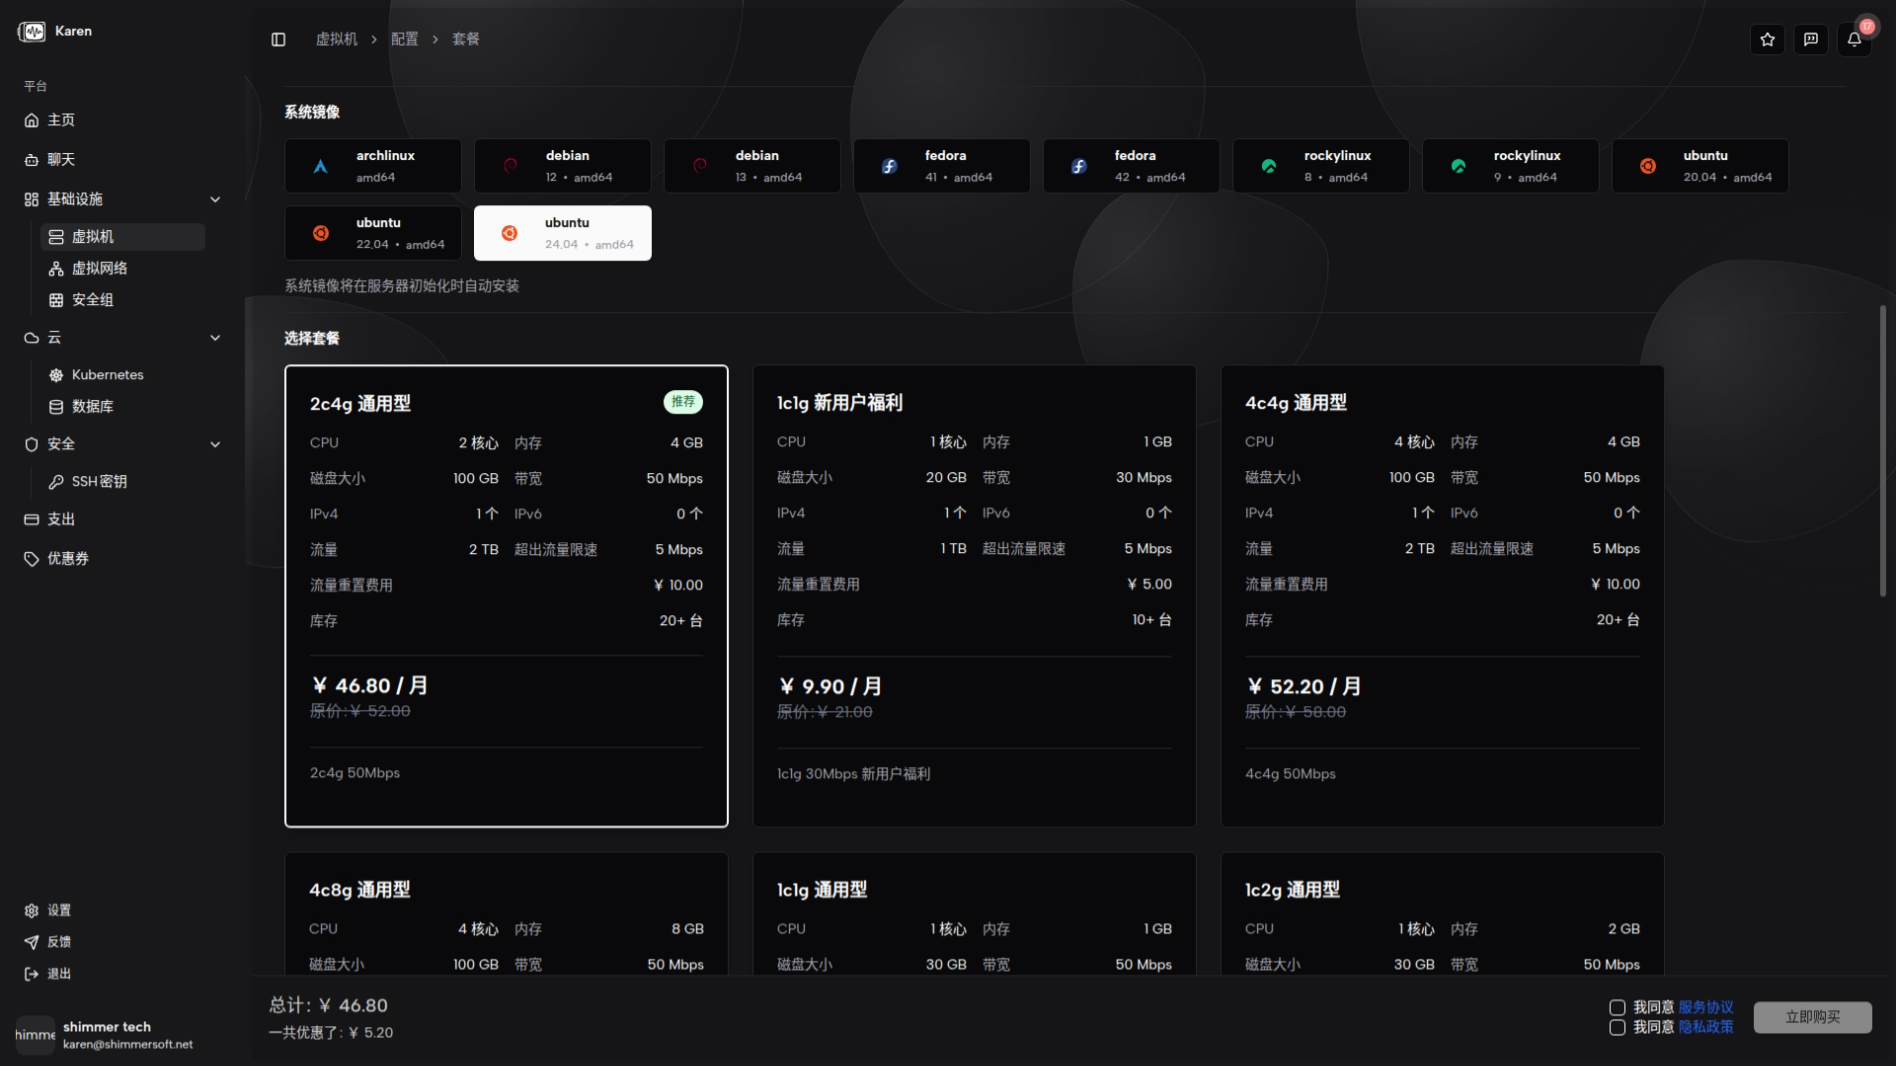
Plan
Plan mode uses predefined resource bundles. After selecting a plan, the page shows the plan's CPU, memory, disk, bandwidth, and any discounts. You can still choose image, duration, networks, and credentials.
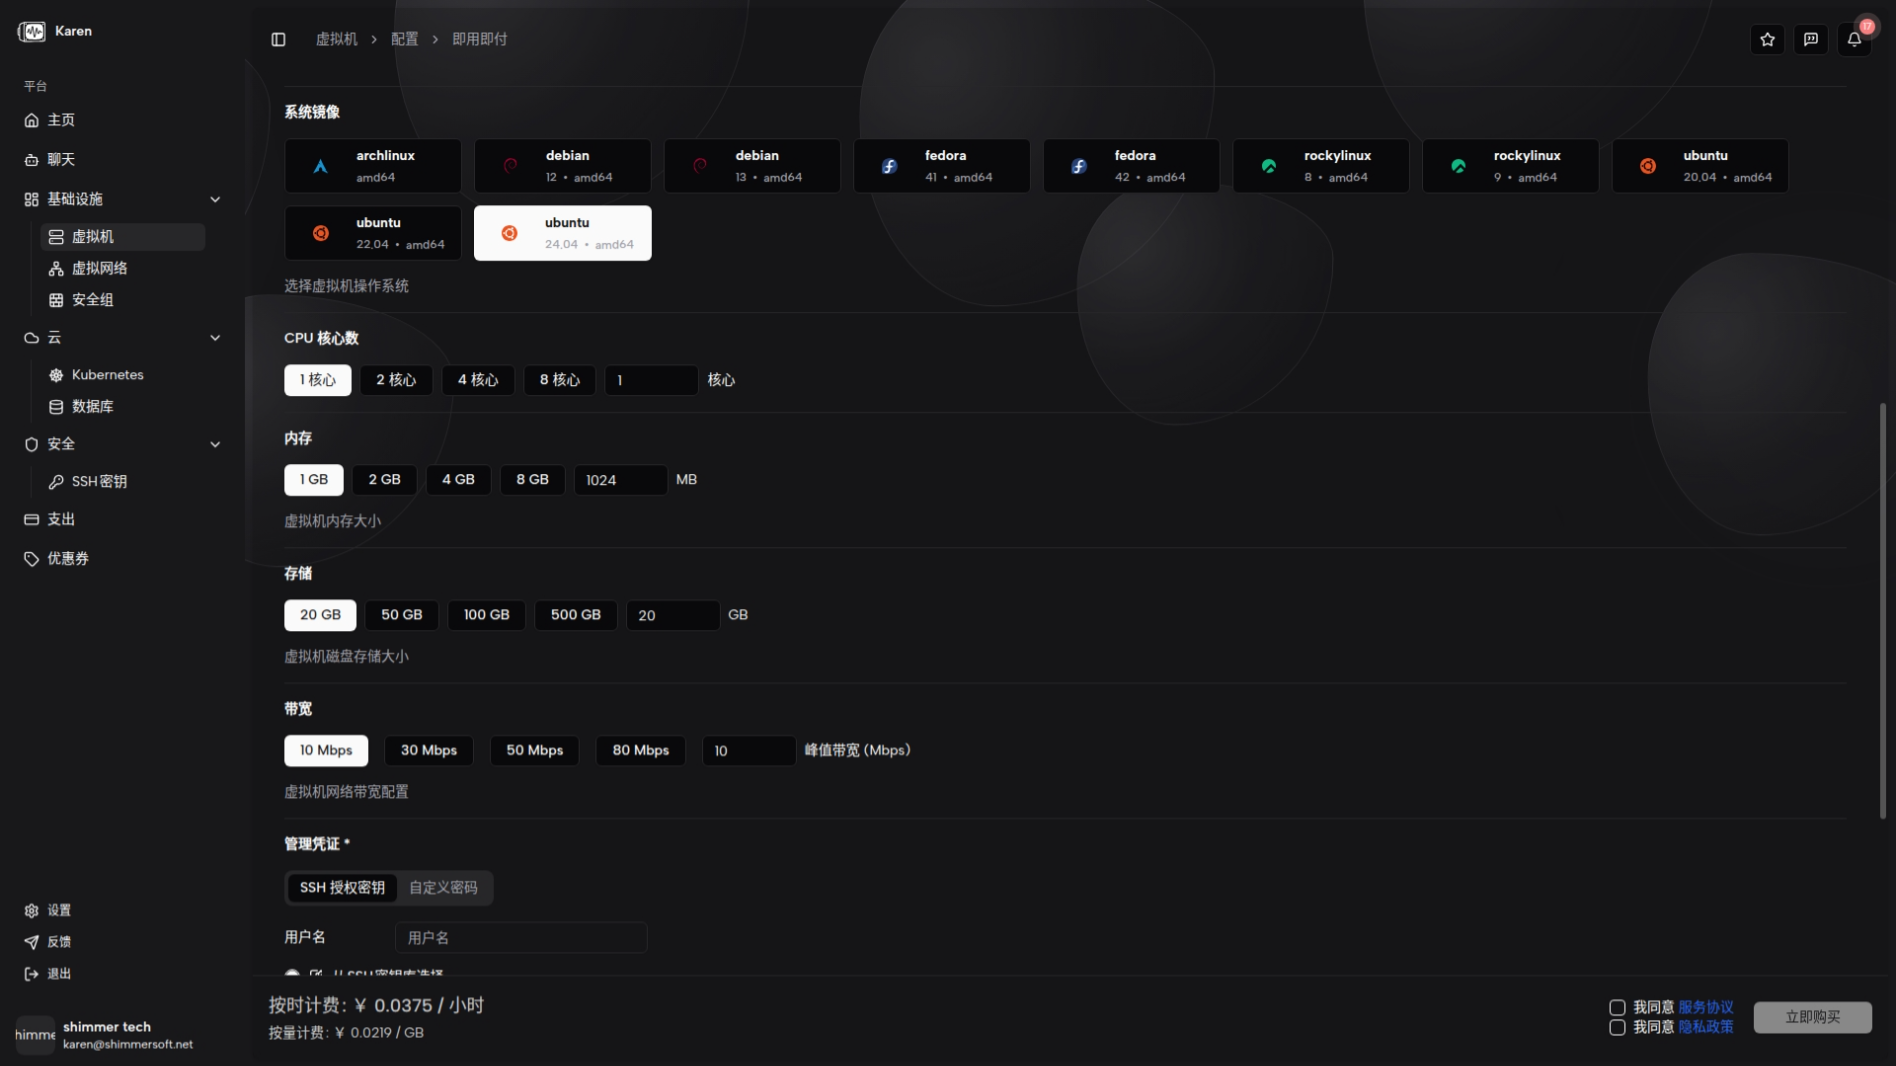
Pay-as-you-go
Pay-as-you-go is suited for short-term tasks, testing, or workloads with uncertain duration. Billing is flexible and based on usage and actual resource consumption. You must choose region/host, image, networks, credentials, and basic compute configuration (CPU, memory, storage, bandwidth, etc.).
Creation steps
Select region and host
Use the Region drop-down at the top of the page to choose the geographic location for the VM. Region determines physical location and network latency—pick the one closest to your target users.
Currently only the Hong Kong region is available. More regions will be opened in future updates.
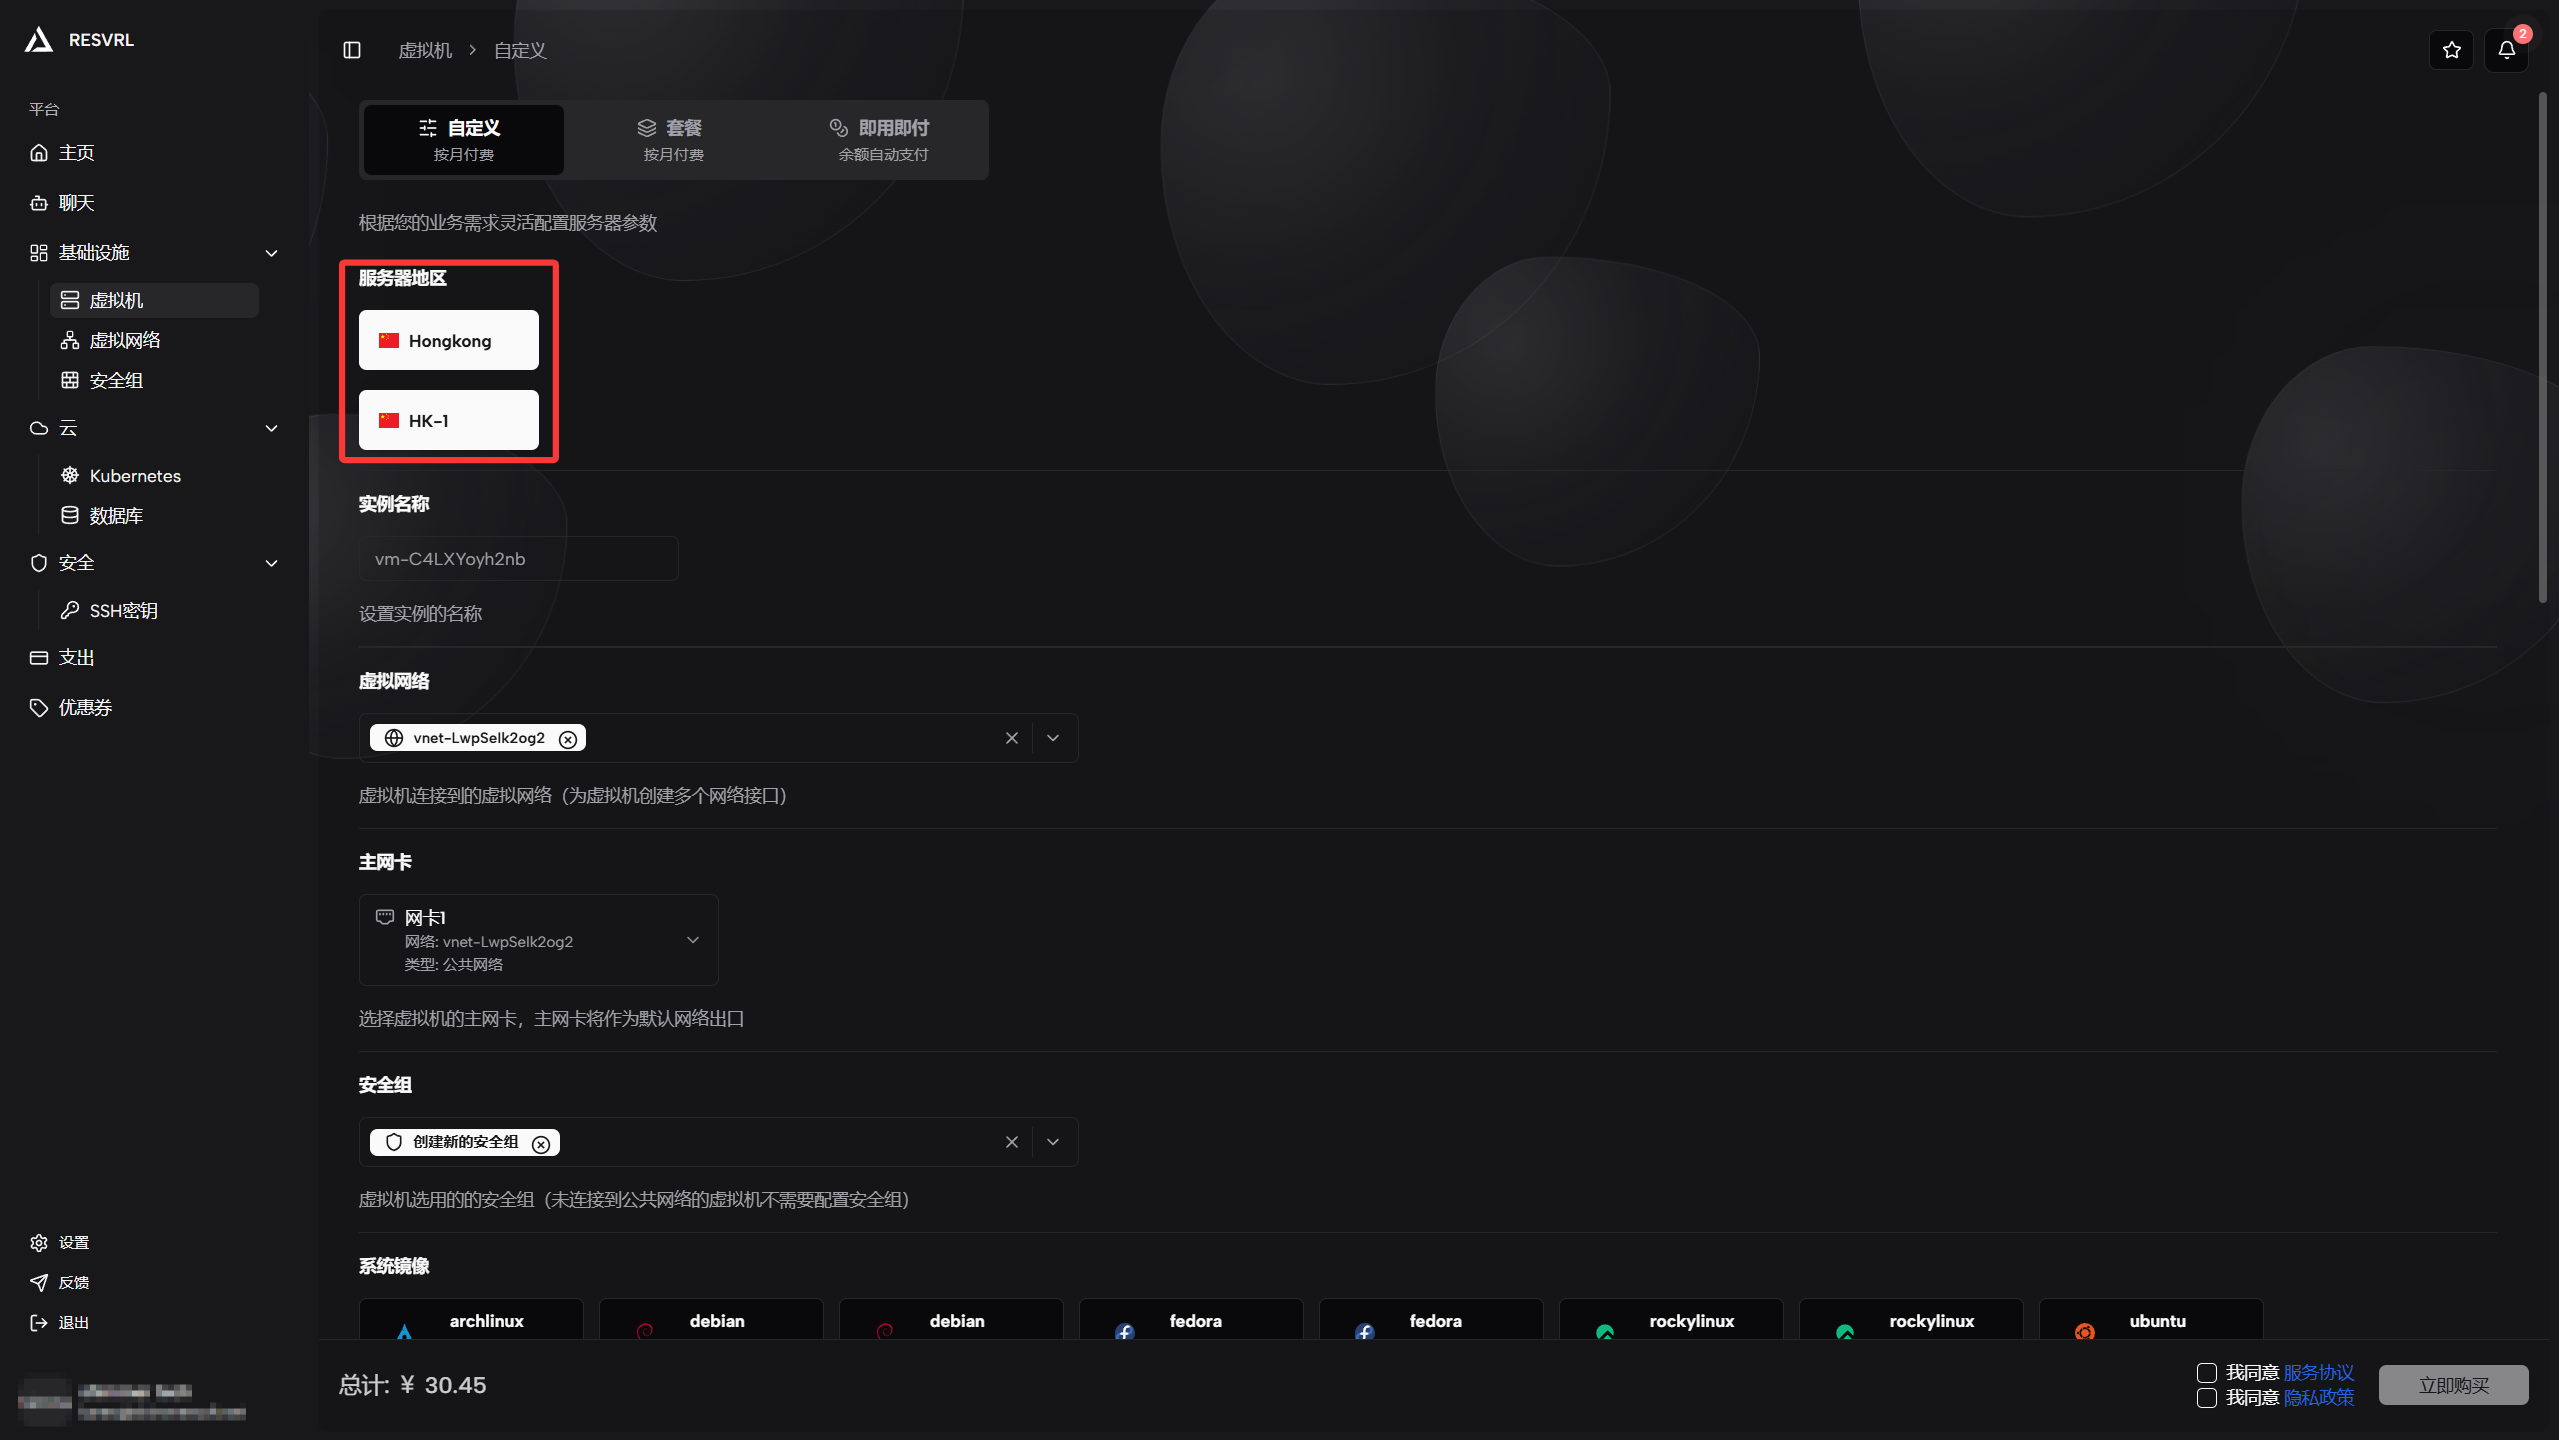
After selecting a region, the platform lists available hosts within that region. The host determines the maximum resources (CPU, memory, disk) you can allocate.
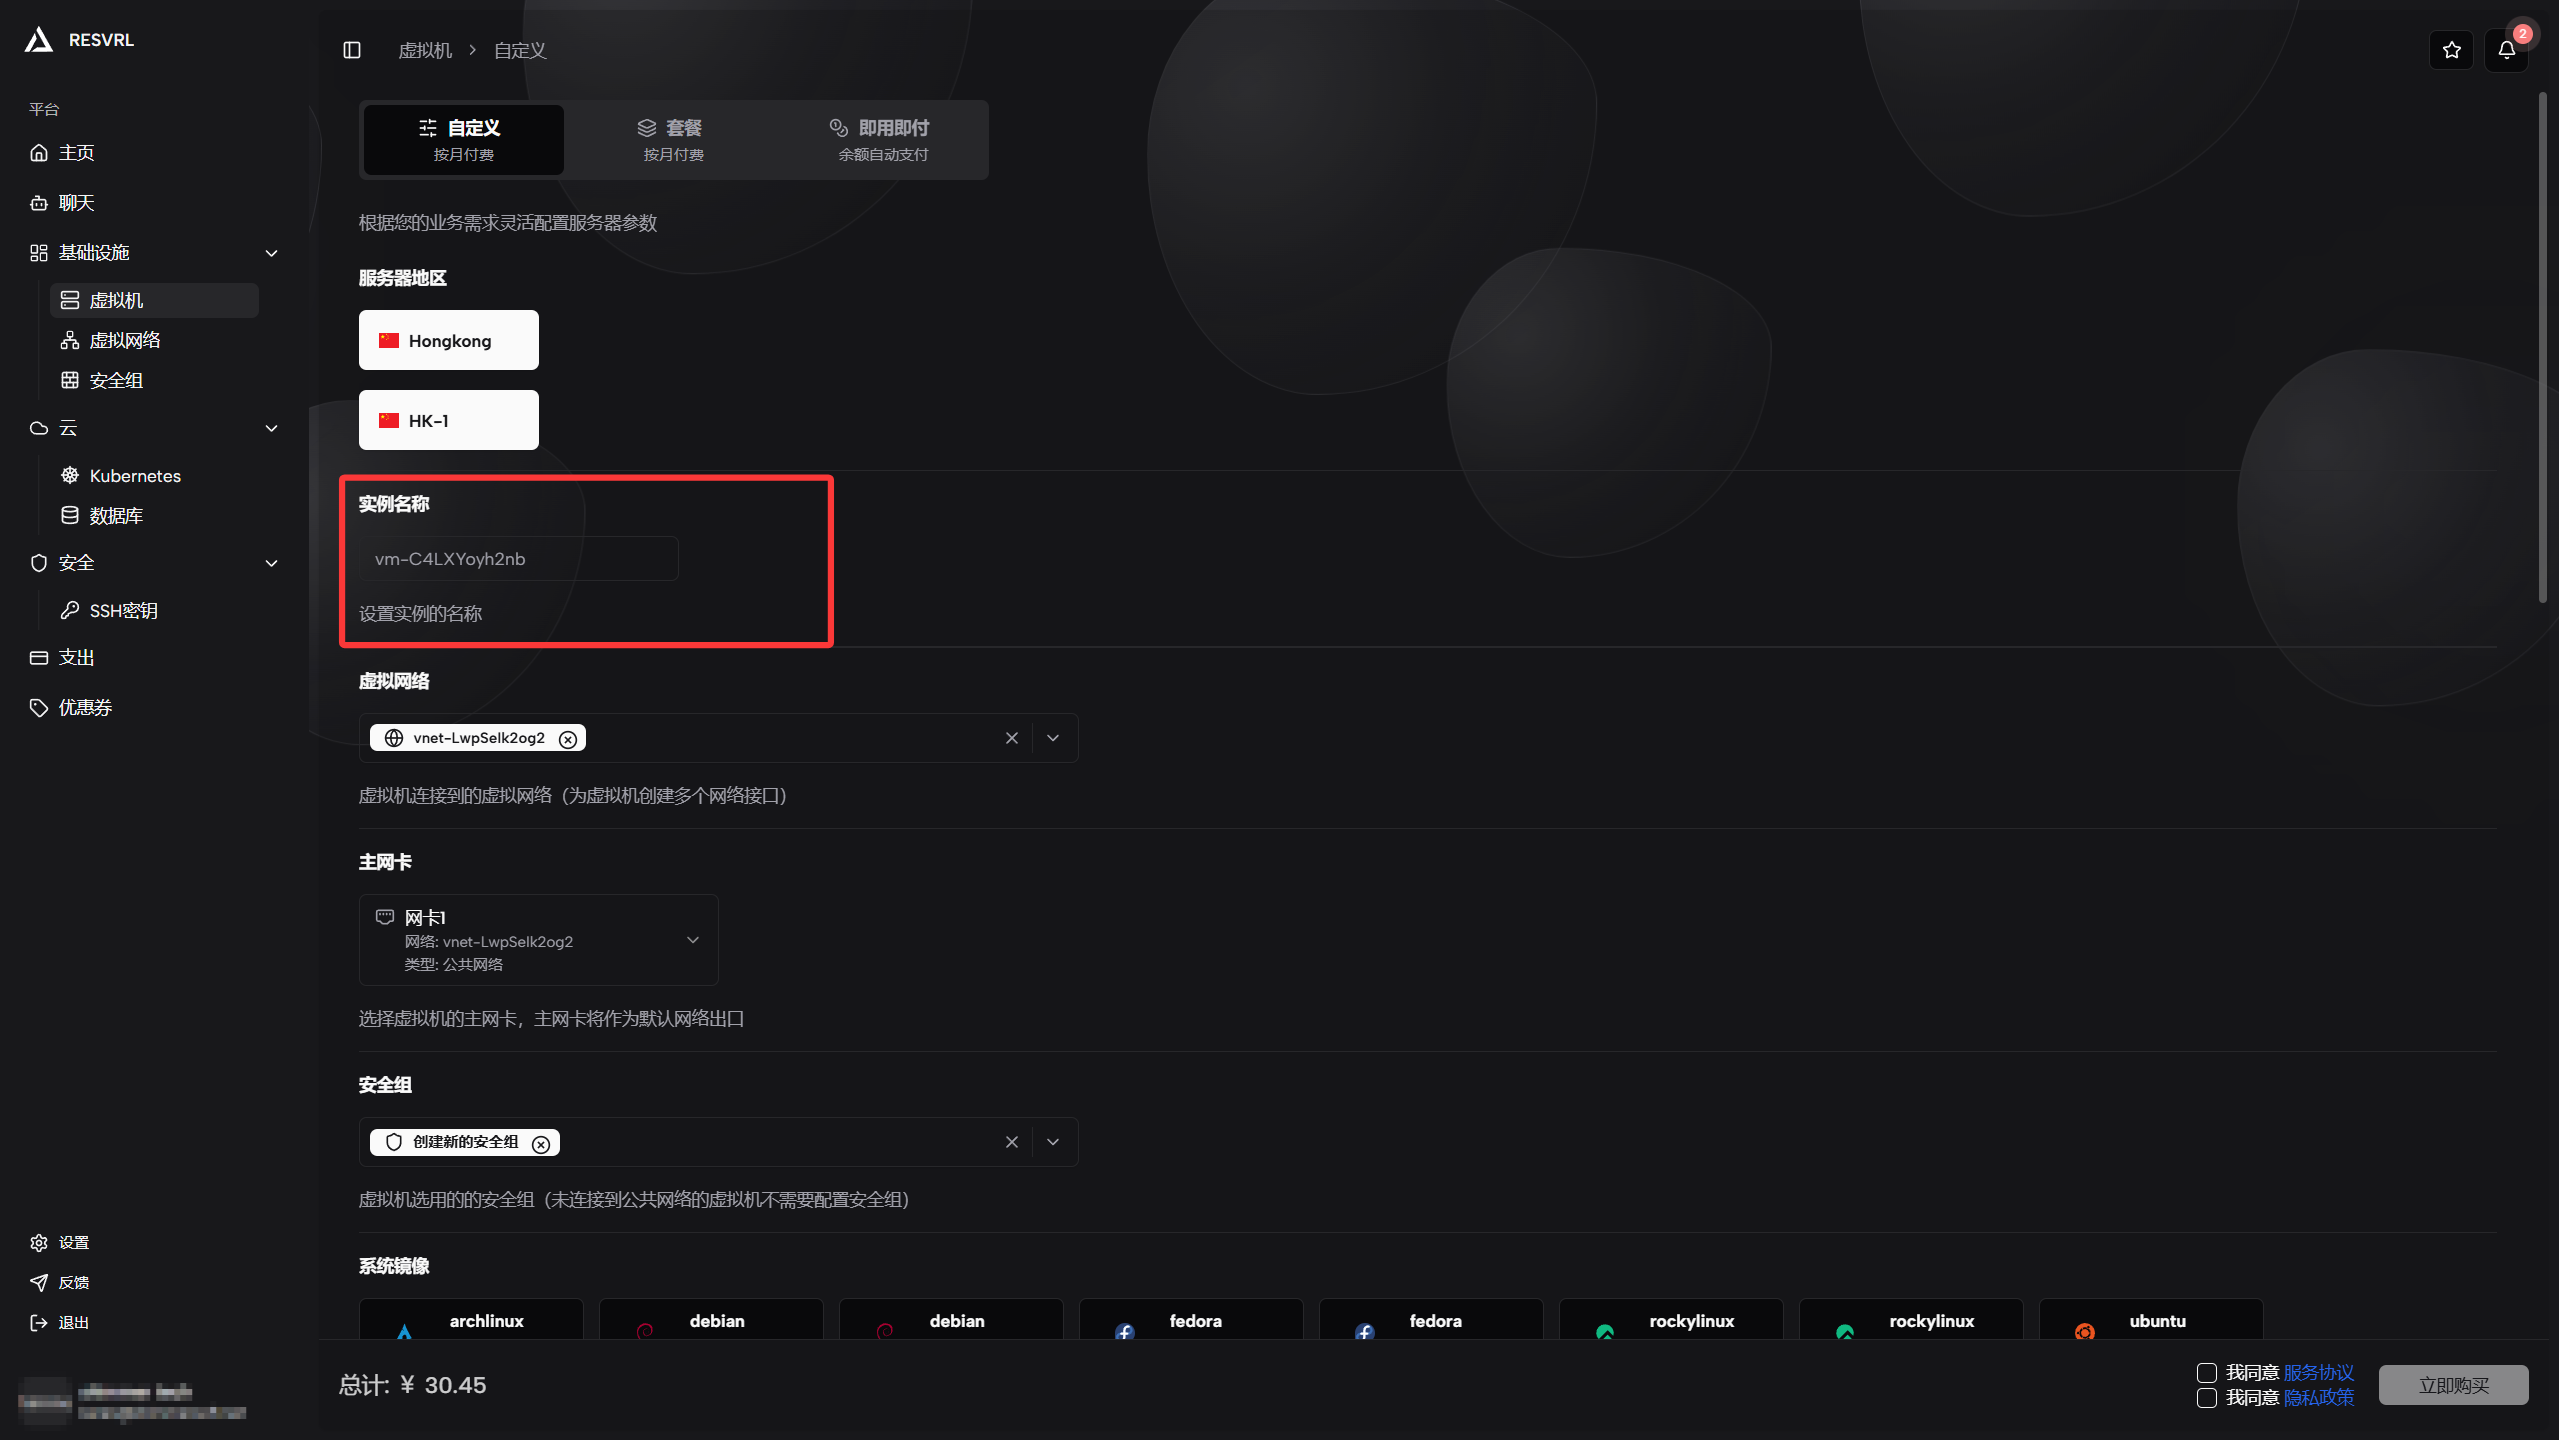
Configure instance name
Enter a recognizable name in the Instance Name field. This field is optional—if left blank, the platform generates a default name (e.g. vm-{randomID}).
We recommend setting a meaningful name for business-related instances so you can quickly identify them later.
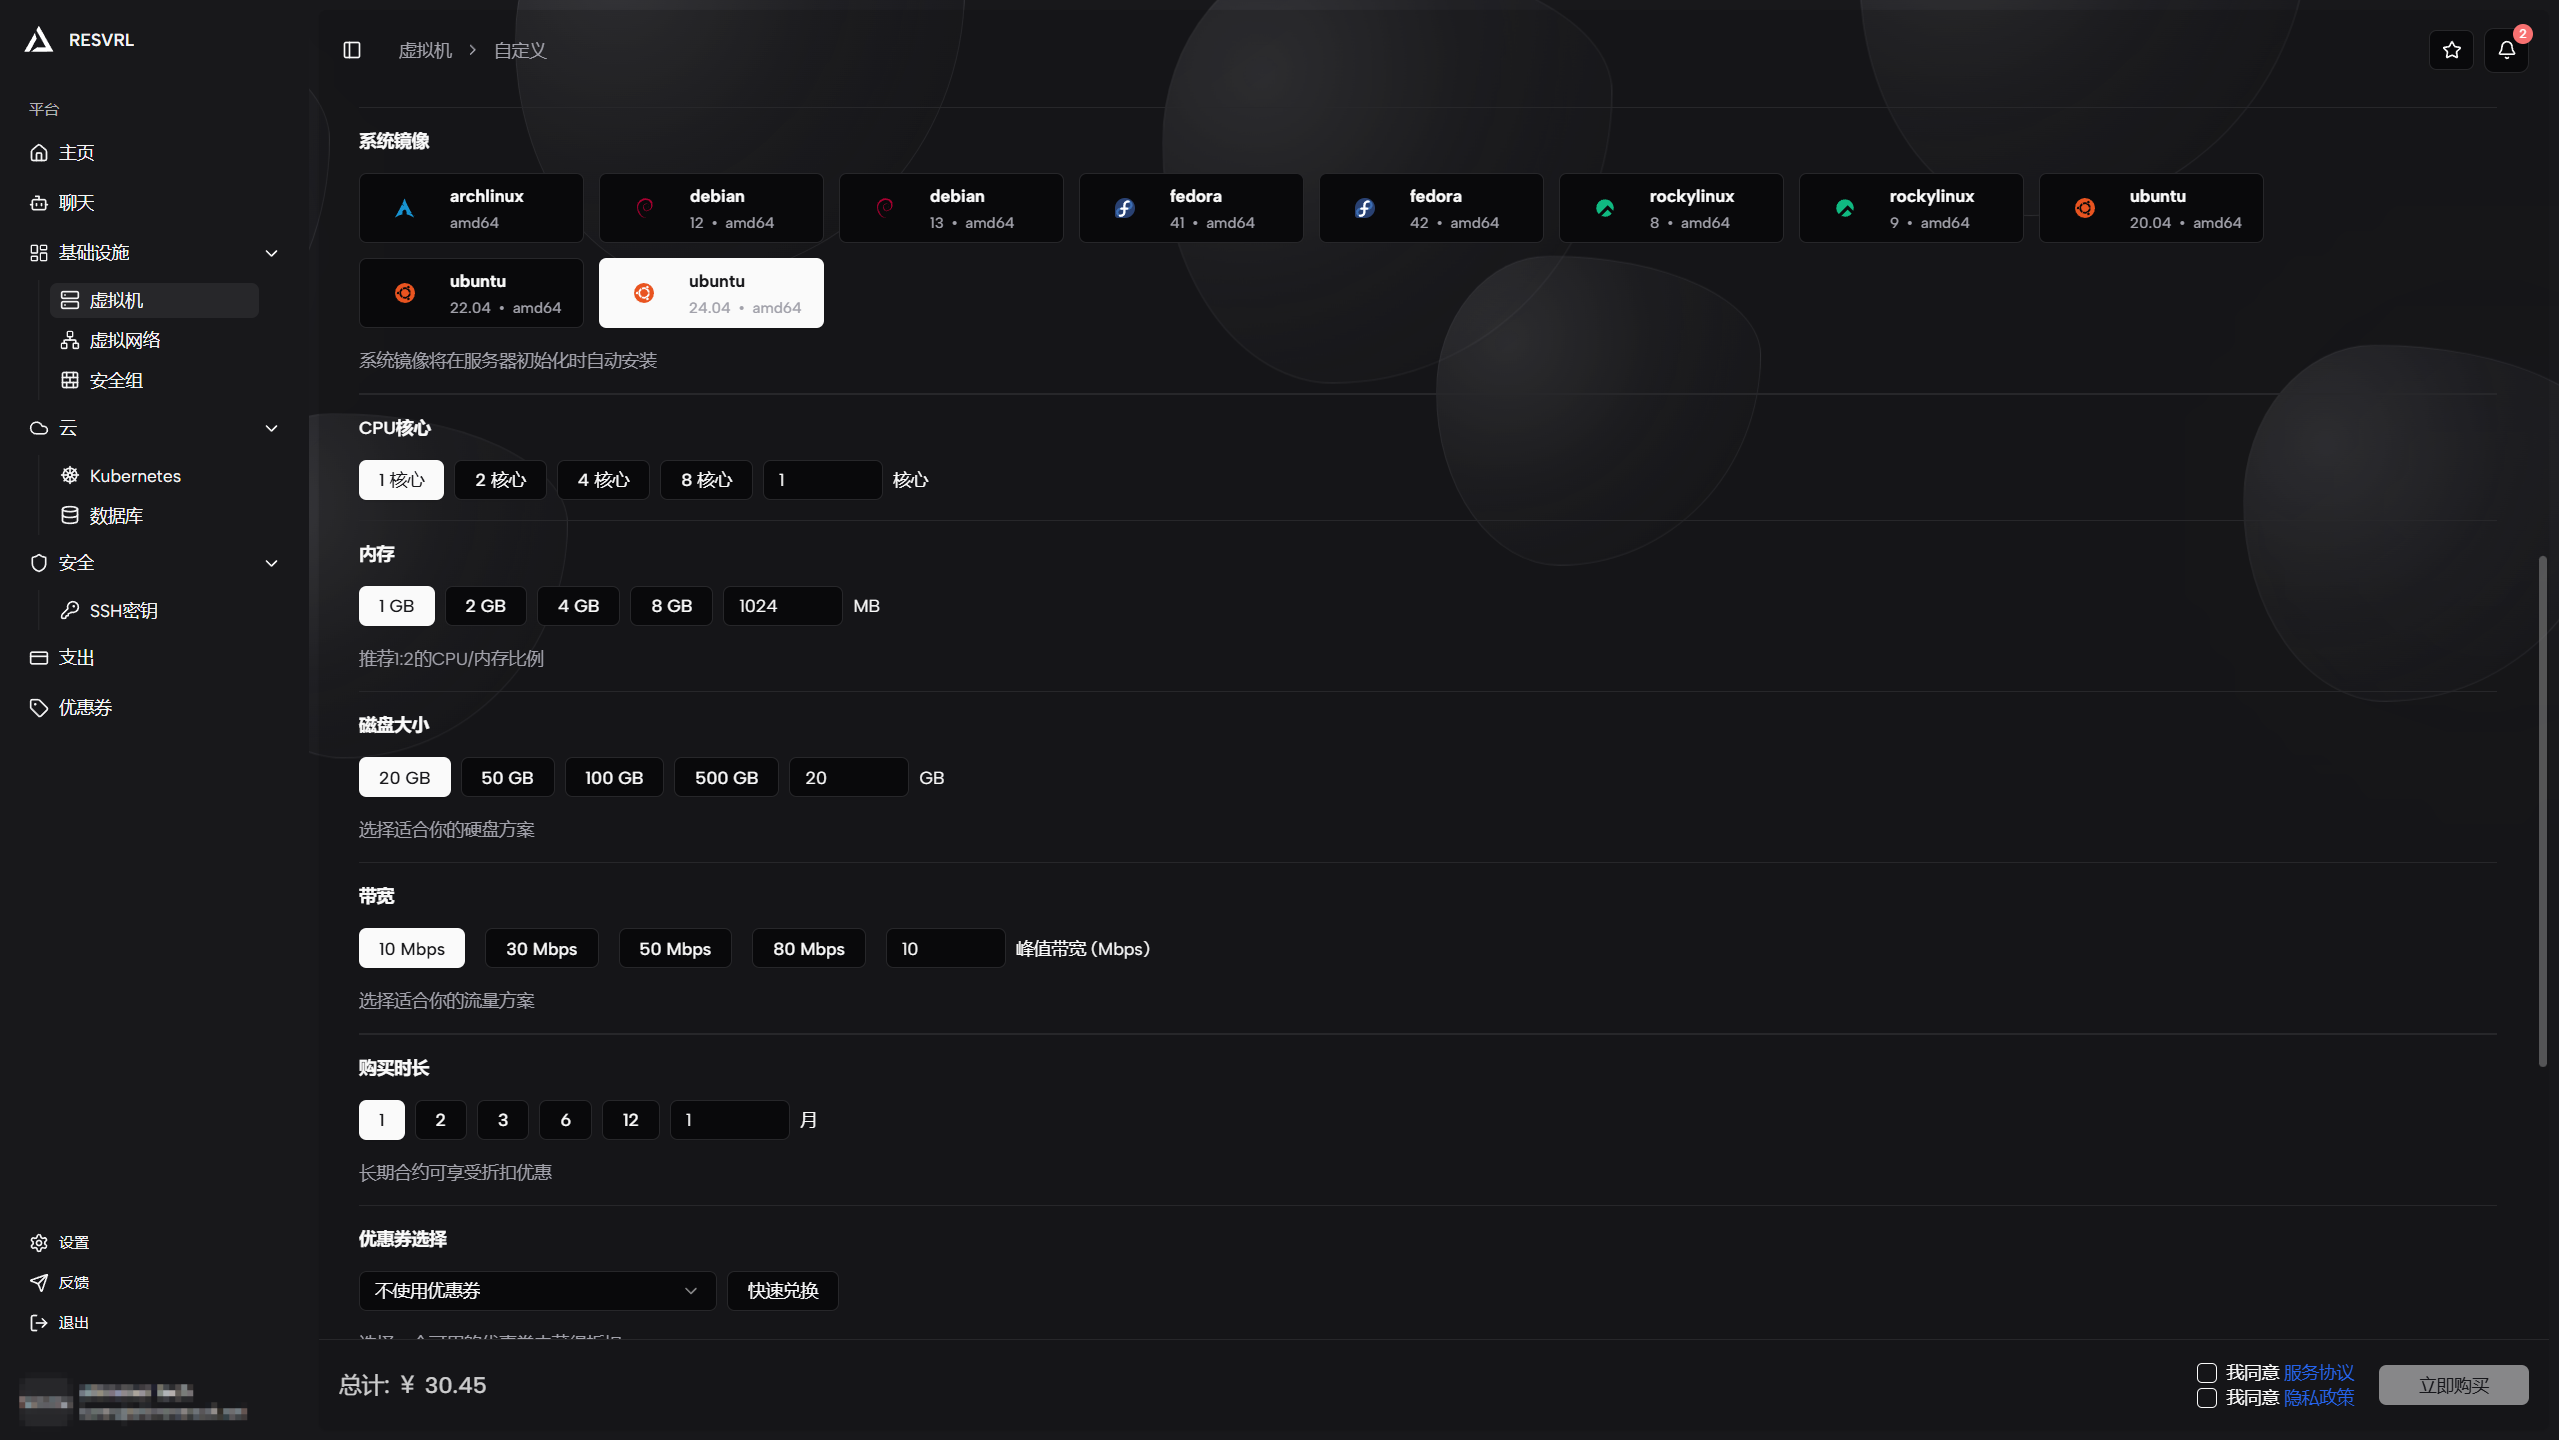
Select system image
Choose an operating system in the System Image area.
Refer to the Supported Systems guide when choosing an image for production workloads.
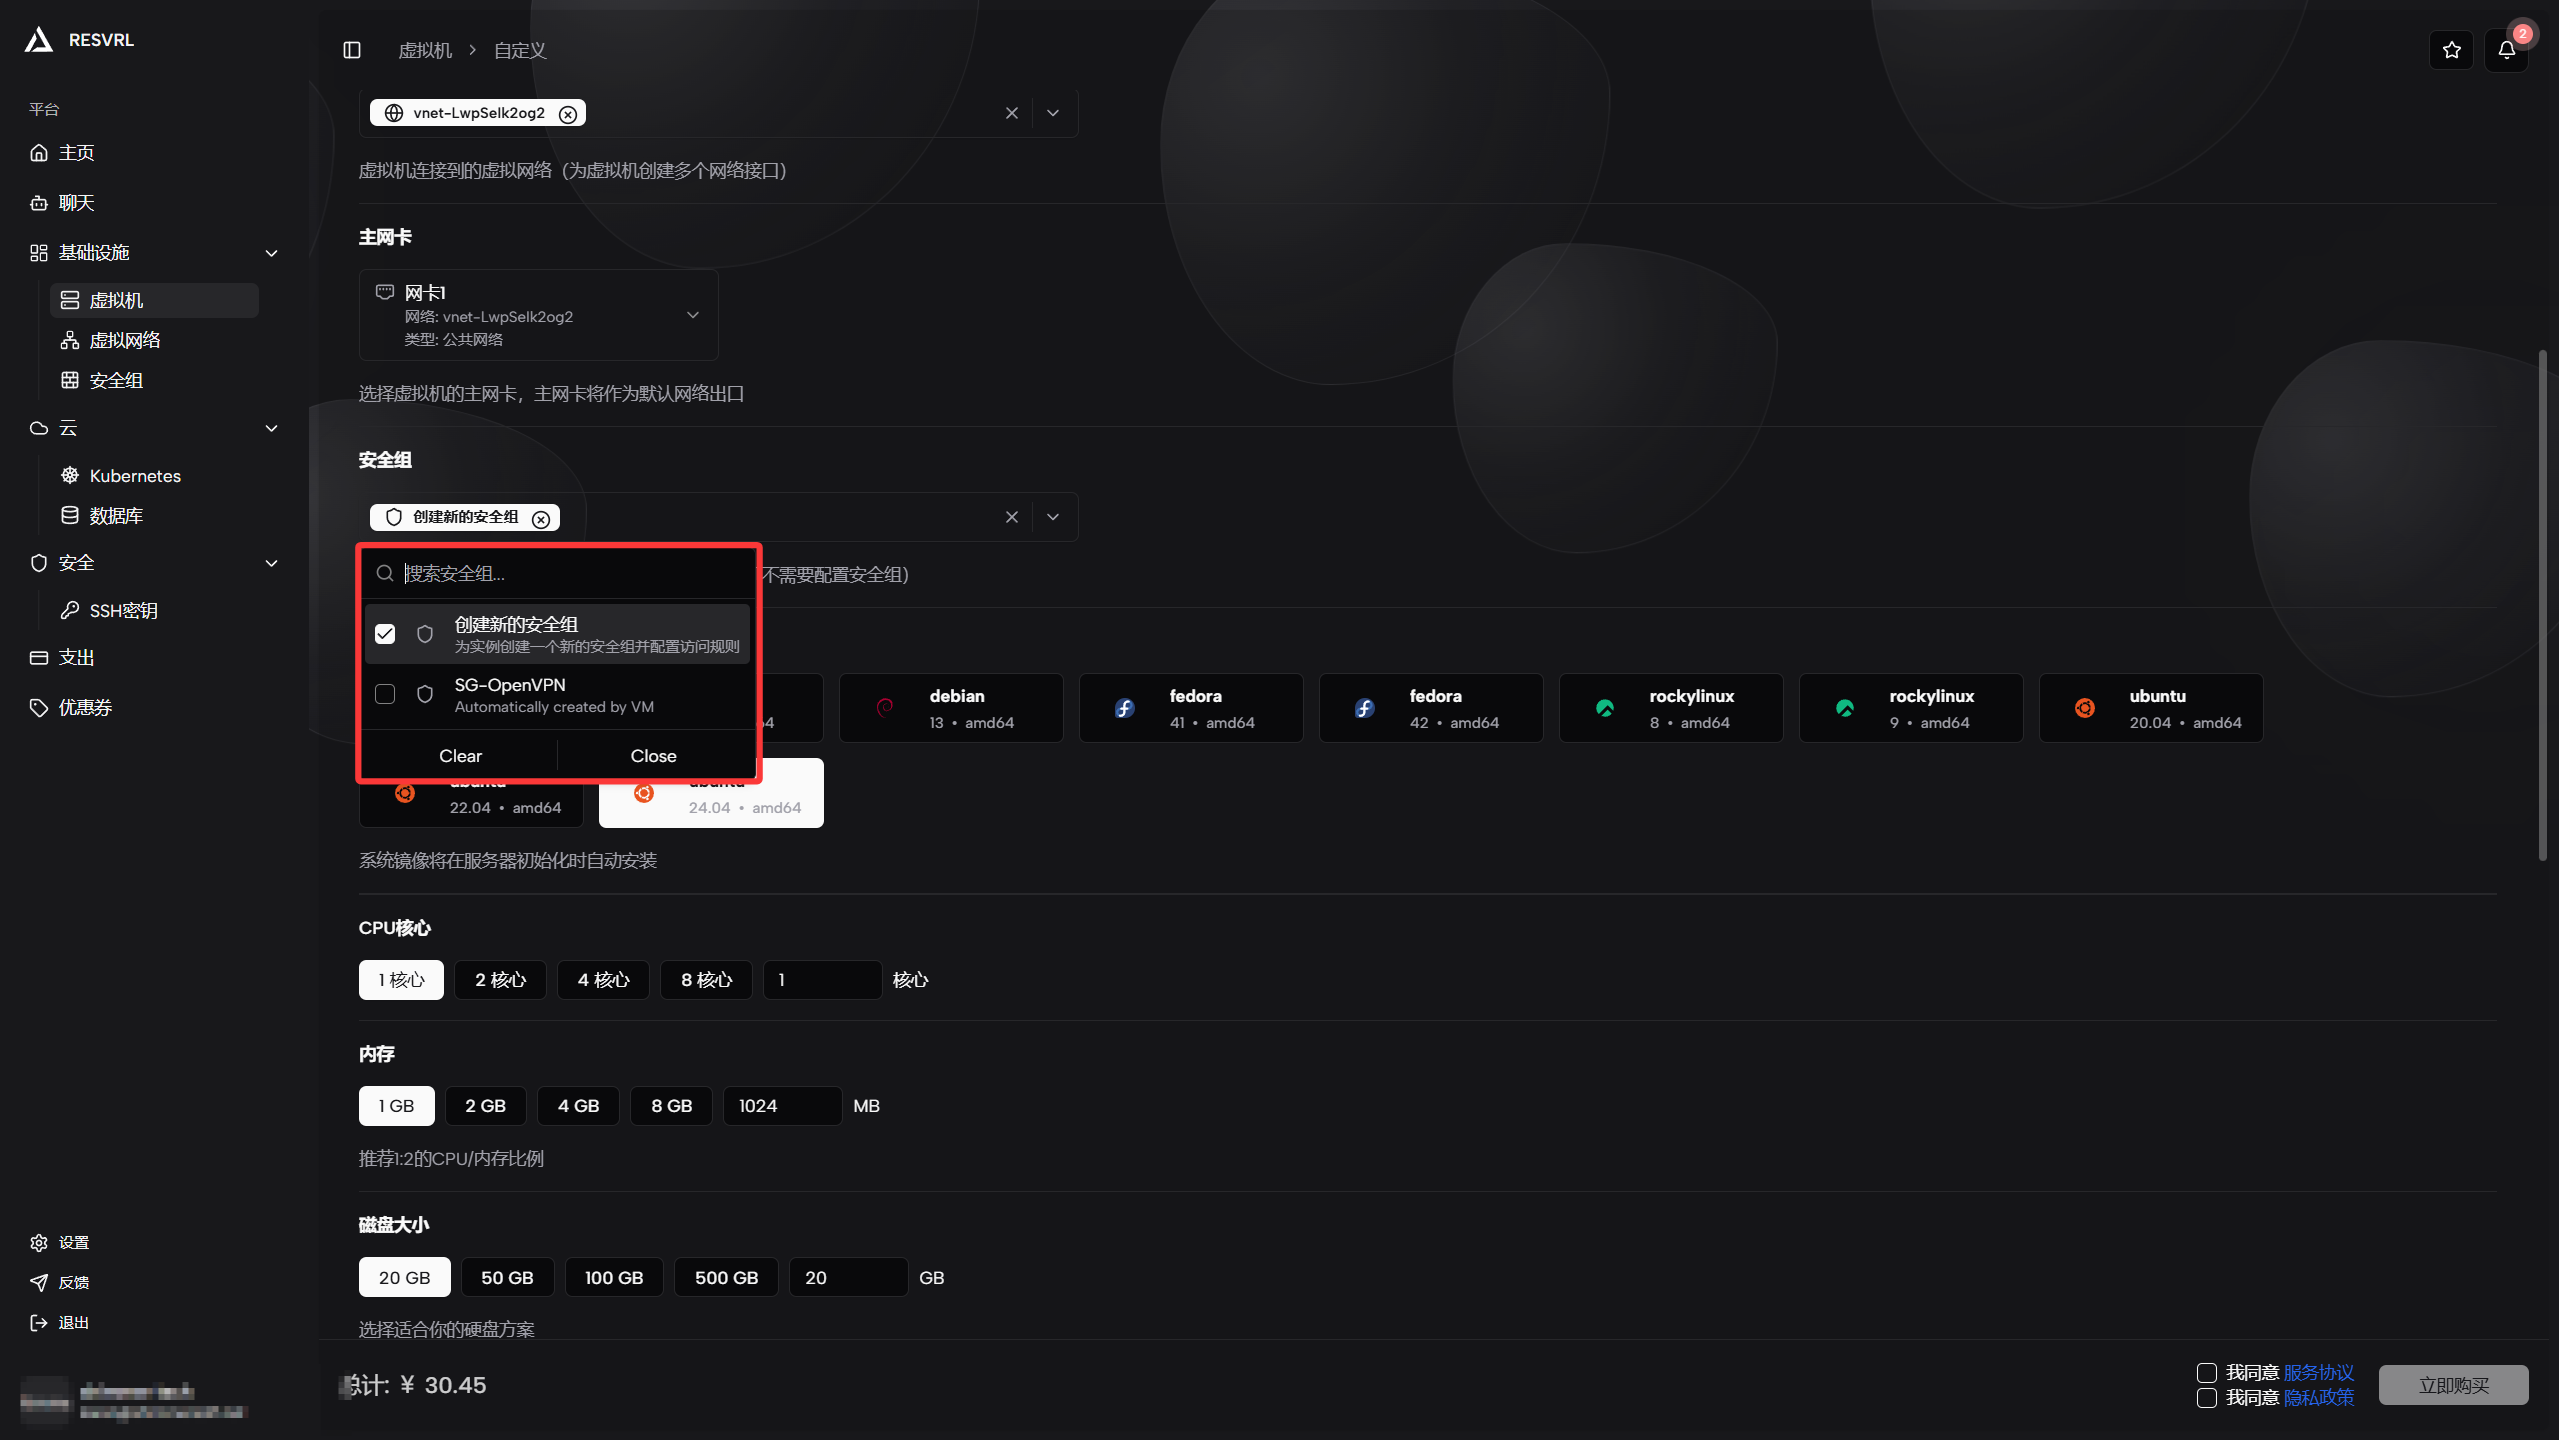
Configure compute resources
Set the following parameters in the Compute Resources area:
| Parameter | Description | Recommendation |
|---|---|---|
| CPU cores | Processor core count | 1–2 for lightweight apps, 2+ for production |
| Memory | Instance memory capacity | At least 2 GiB for web services |
| System disk | System disk capacity | Minimum 20 GiB; reserve extra for data |
| Bandwidth | Public network bandwidth cap | Choose based on expected traffic; upgradable later |
Price updates in real time as you adjust resources. Some hosts have constraints on CPU/memory combinations and will prompt you if a selection exceeds the limit.
Configure networks
A VM must be attached to at least one virtual network. In the Networks area, select an existing virtual network or click Create Network to add a new one.
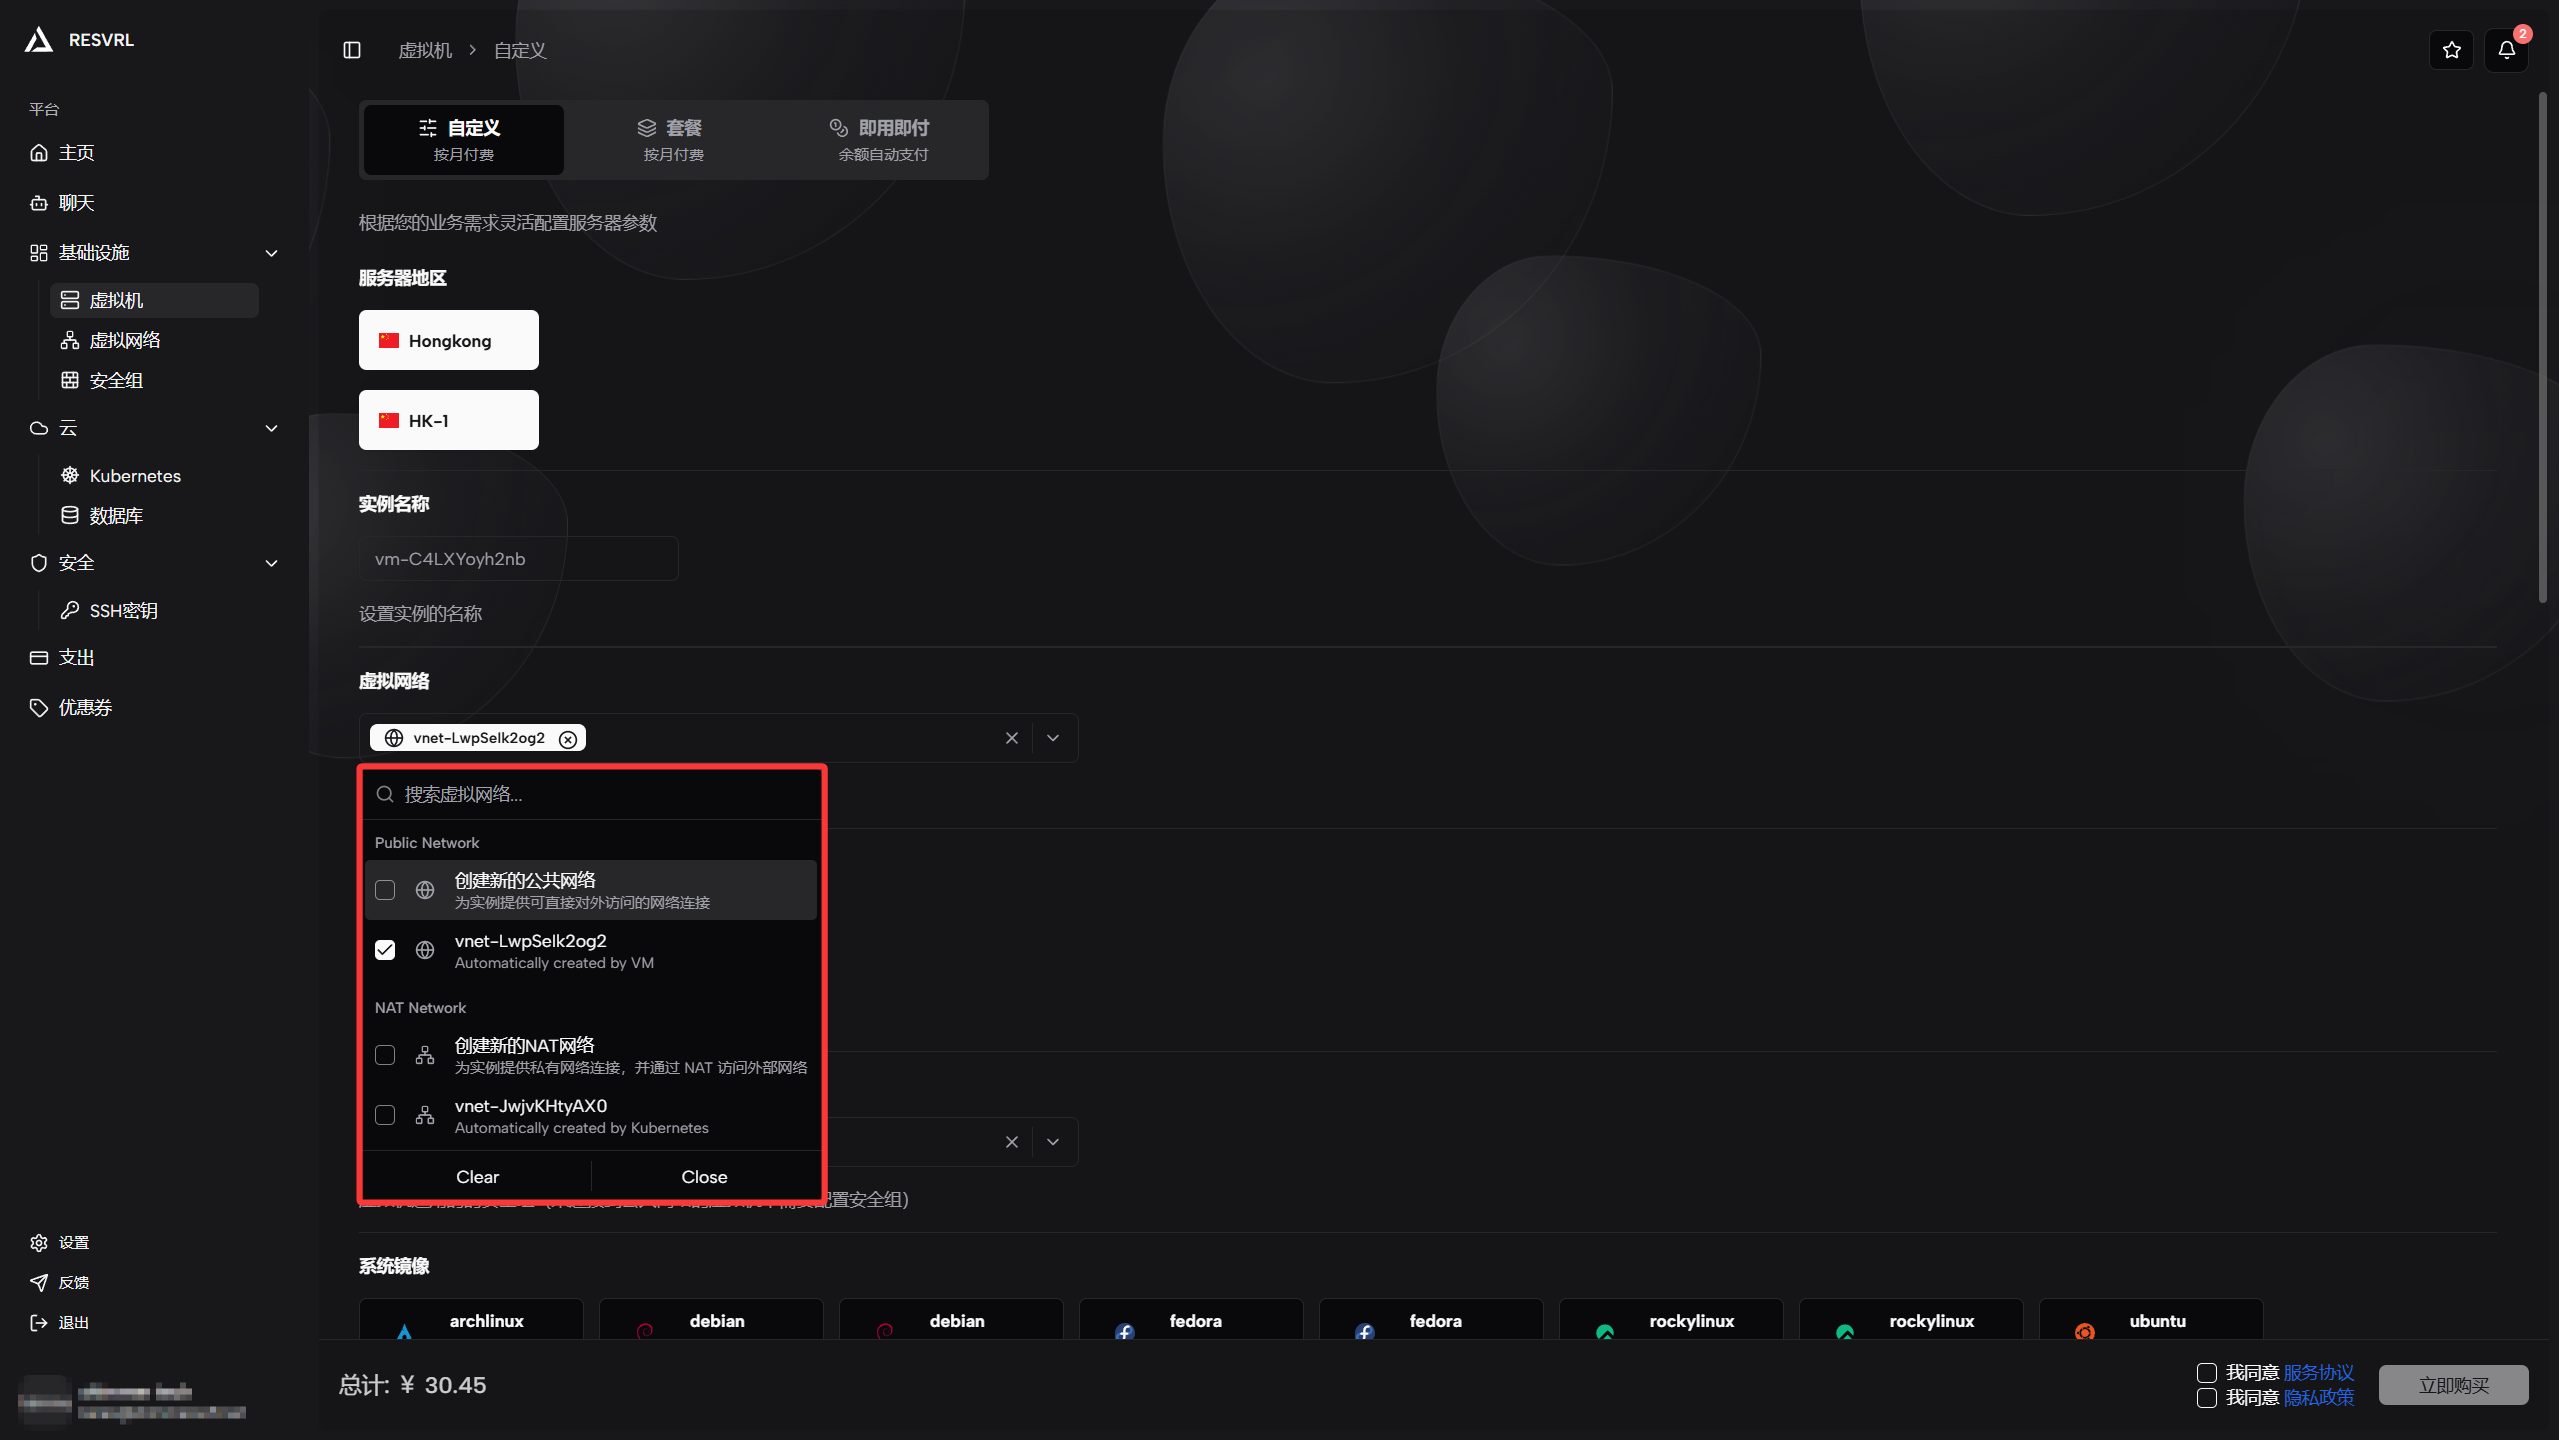
To create a new network, visit the Virtual Networks page first. Network types:
- NAT network: Internal east-west traffic; not exposed to the public internet.
- Public Network: Provides public internet access; requires a security group binding.
⚠️ Important Constraint: Public Networks require a security group binding. This is because Public Networks are directly exposed to the public internet, and security groups are critical for protecting instances from malicious access. Creation cannot proceed without a security group configured.
You can also specify a host NIC below (optional; platform auto-assigns by default).
Select security group
If the VM needs public internet access (Public Network attached), you must select a security group to control inbound and outbound traffic.
Choose an existing security group from the drop-down, or create one first on the Security Groups page.
For first-time setups, configure at least these rules:
- Inbound: Allow your local IP via SSH (TCP 22).
- Inbound: Open HTTP (TCP 80) and HTTPS (TCP 443) for web services.
Security group rules can be adjusted after creation—no rebuild needed.
Select purchase duration
Choose the service period in the Purchase Duration area. Monthly and yearly options are available; longer durations usually come with lower per-unit pricing.
- Monthly: Good for short-term projects or when you need flexibility.
- Yearly: Best for stable, long-running workloads; often discounted.
After selection, the page displays the total order price and expiration date at the bottom.
Use coupons
If you have available coupons, select one in the Coupon area. The system automatically calculates the discounted amount.
Coupon restrictions:
- Some coupons only apply to specific products or regions.
- Coupons cannot be stacked; one per order.
Skip this section if no coupons are available.
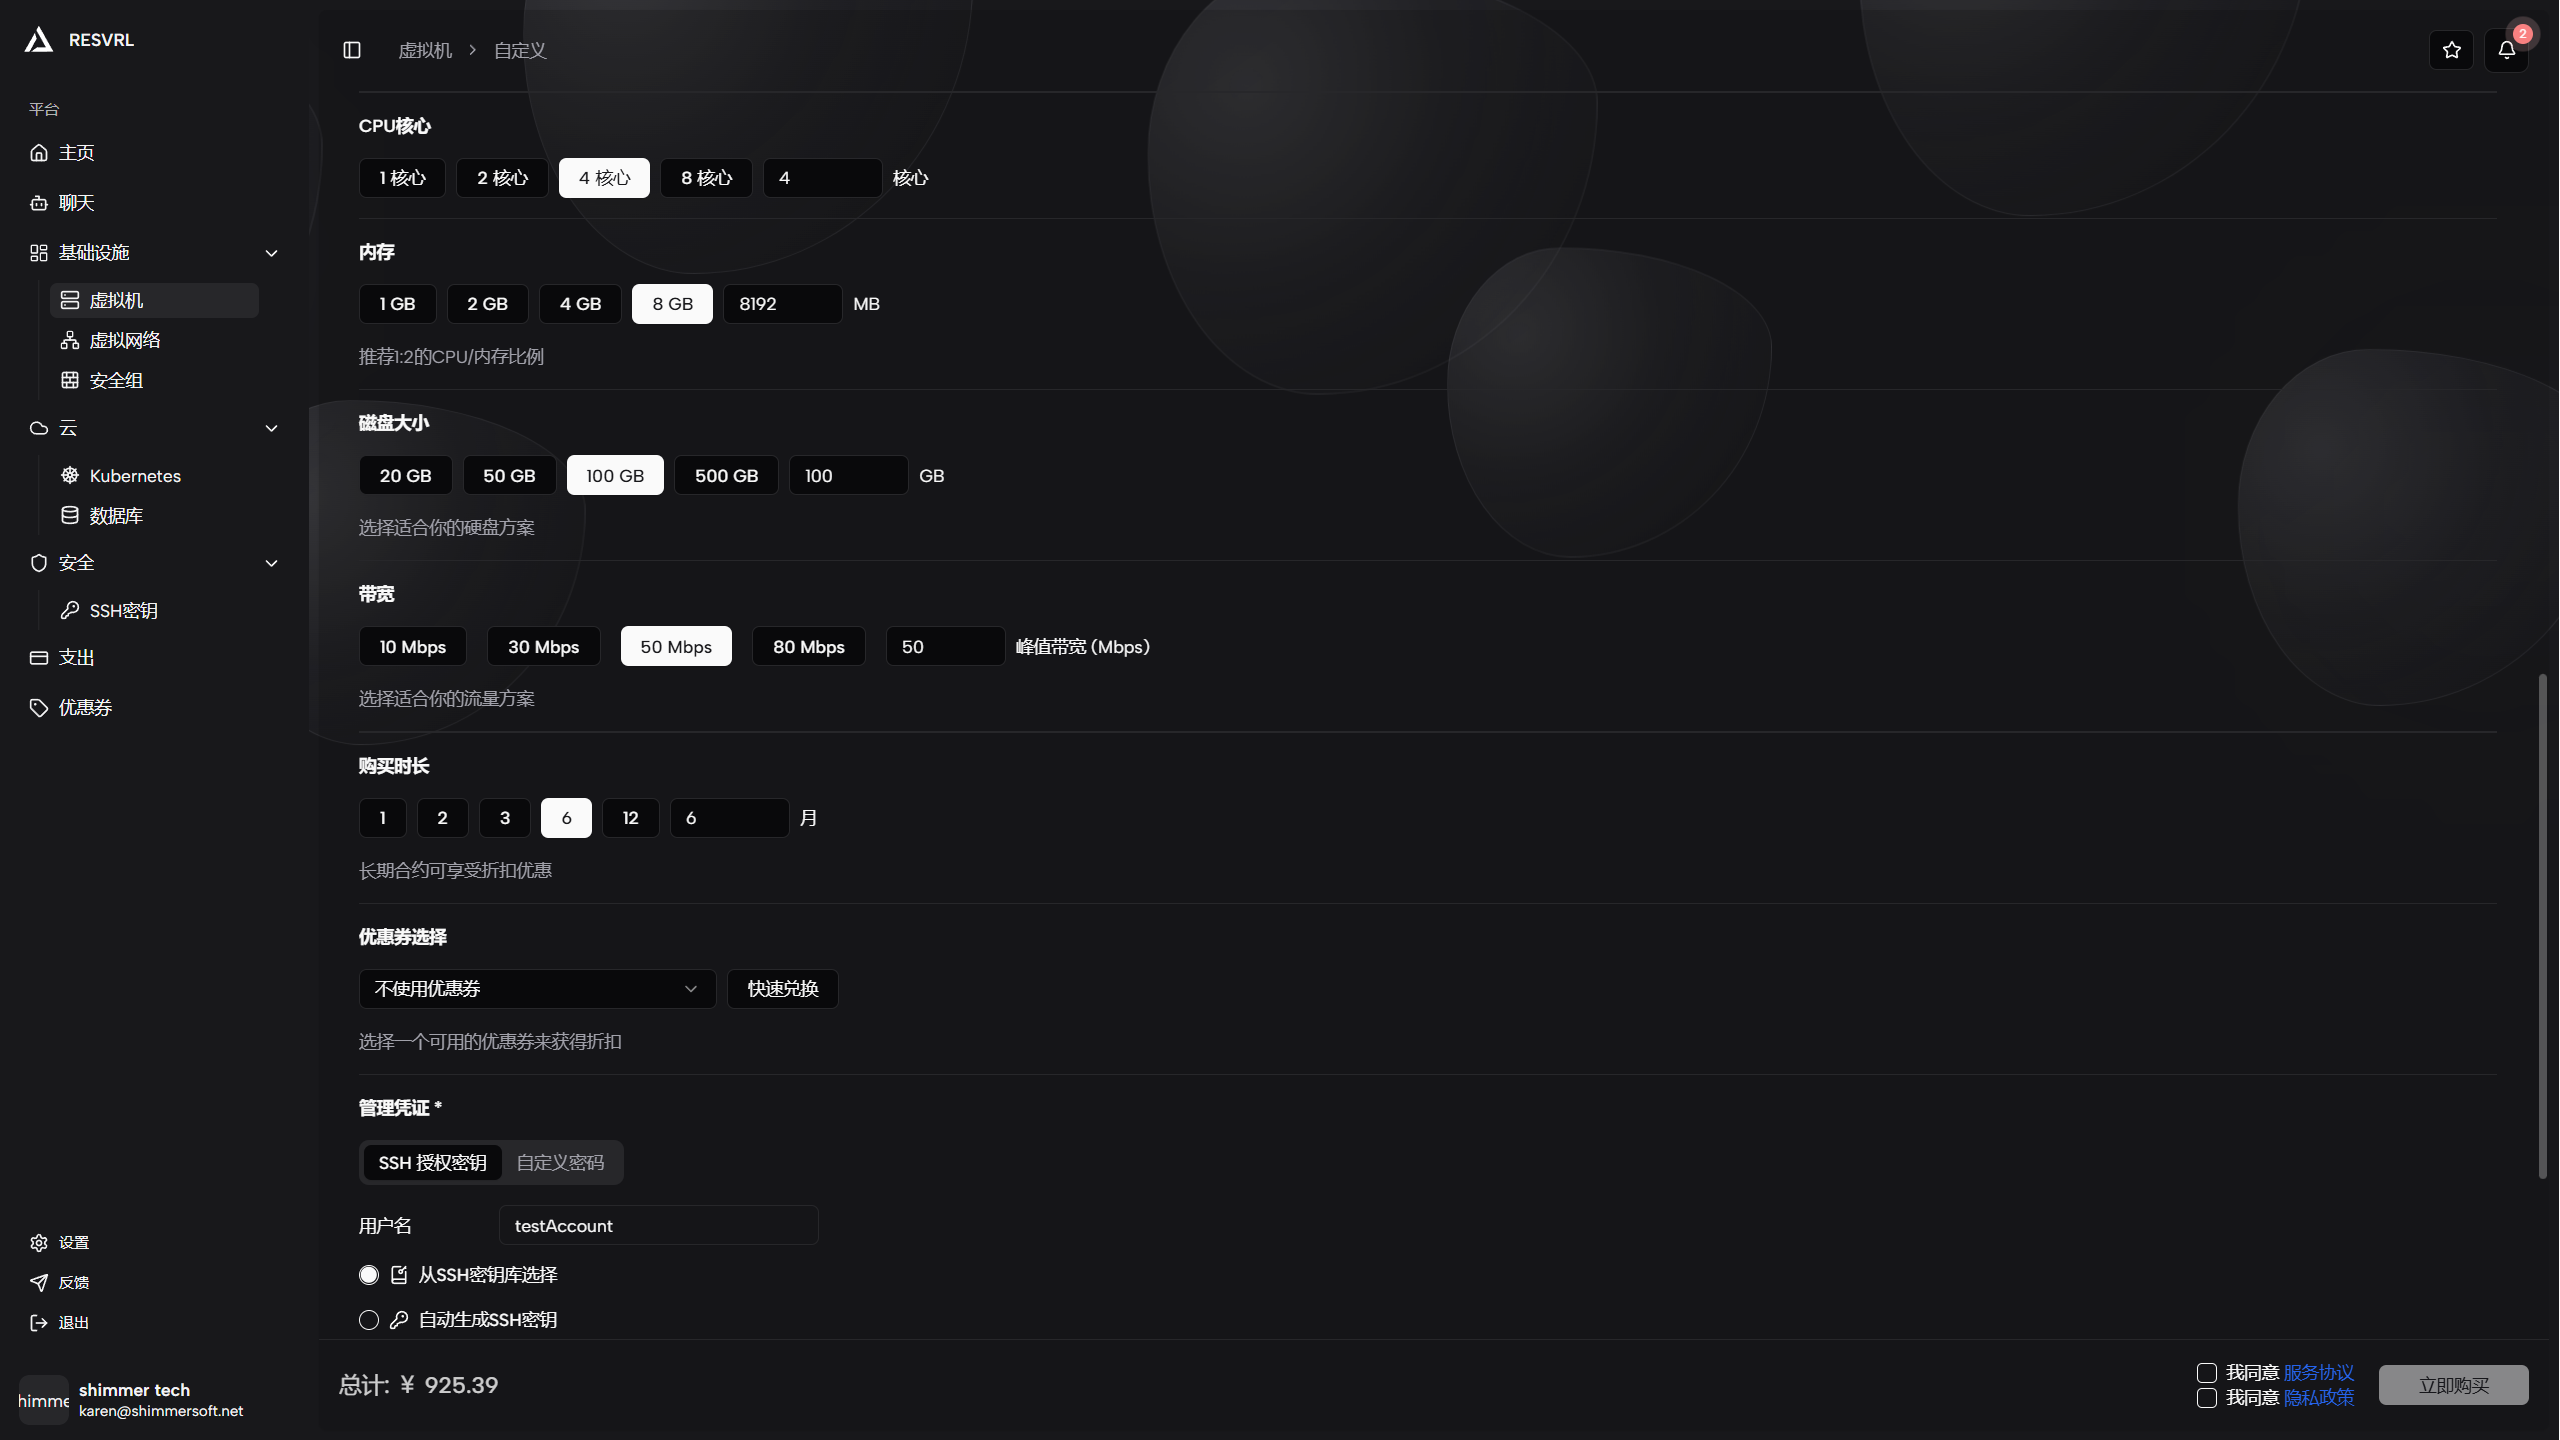
Configure login credentials
Configure the initial access method in the Login Credentials area at the bottom of the page.
Username
Enter the system login username in the Username field.
⚠️ Constraint: The username cannot be
adminorroot. Use a different name (e.g. your initials or an app identifier).
Login method
Two login methods are available; SSH public key is recommended:
| Method | Description | Security |
|---|---|---|
| SSH public key | Log in with a key pair; no password needed | High (recommended) |
| Password | Log in with an initial password | Medium |
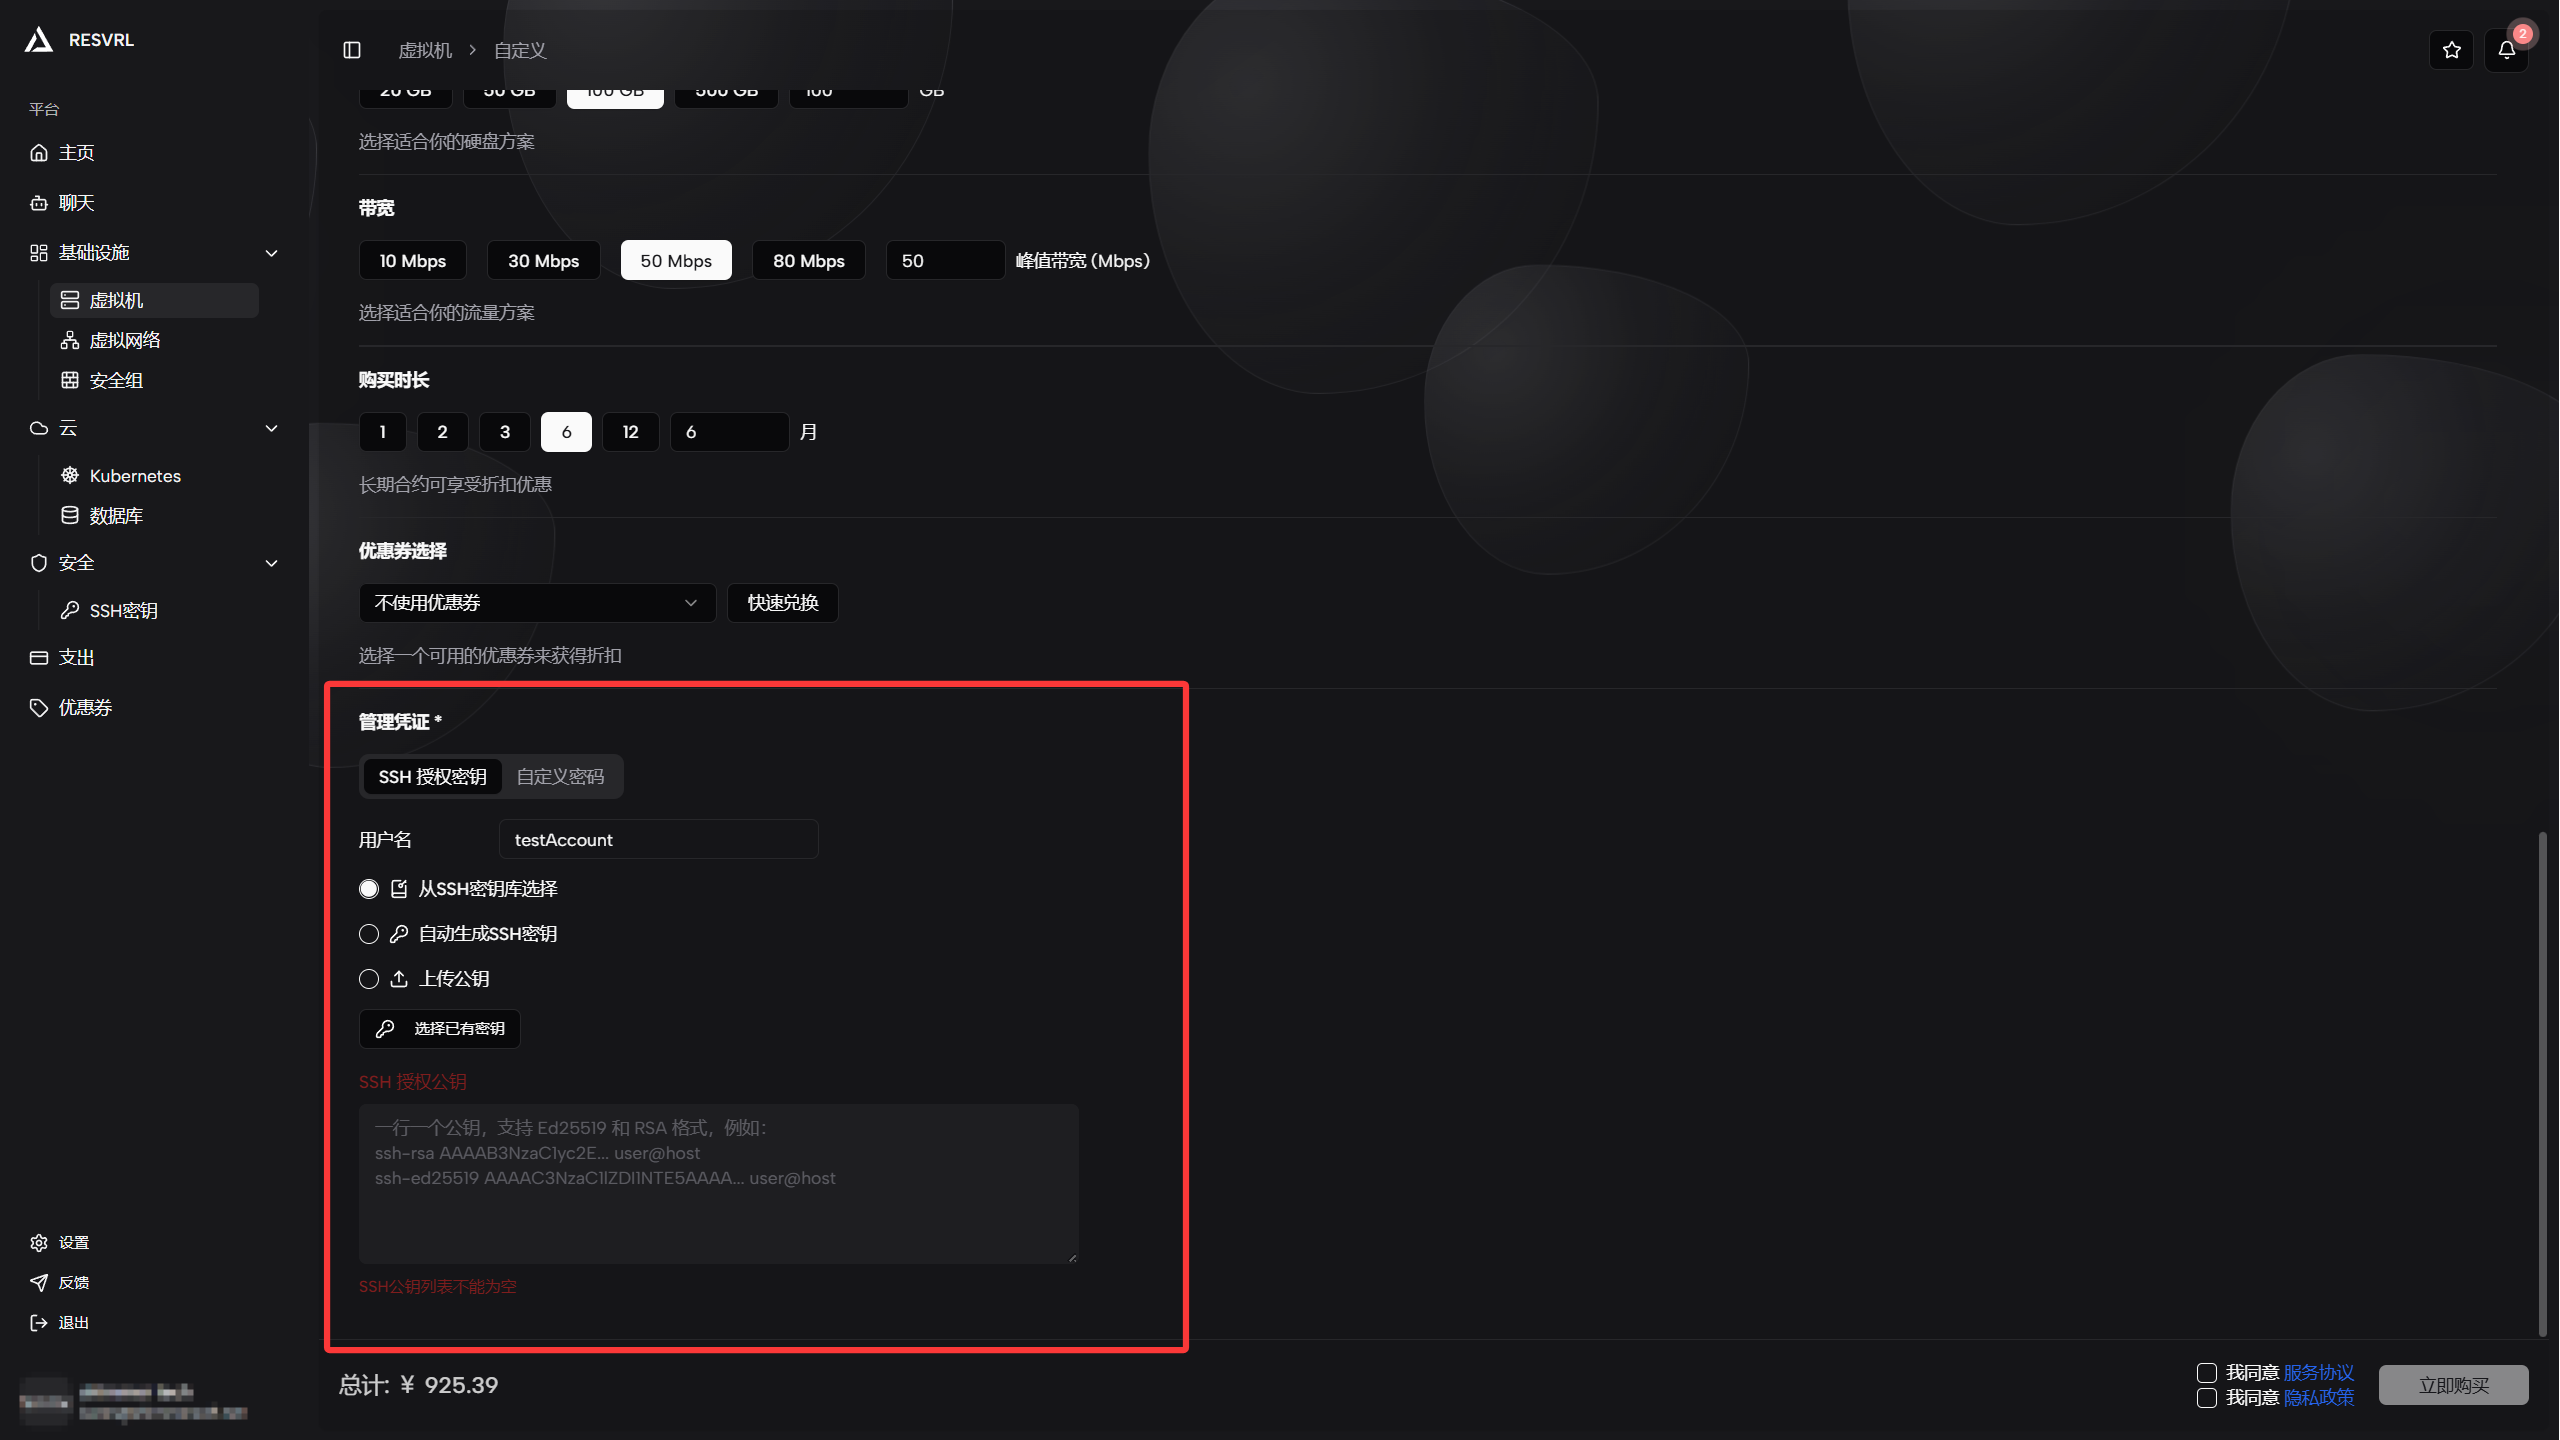
If you choose SSH public key, you can use an existing key or click Create Key to generate a new one. Download and securely store the private key immediately—the platform does not keep a copy. If the private key is lost, you will not be able to log in with that key.
Key management page: https://portal.resvrl.com/en-US/ssh-keys
⚠️ Strongly recommended: Use SSH public key login and store the private key in a secure password manager or controlled terminal after creation.
Submit order and pay
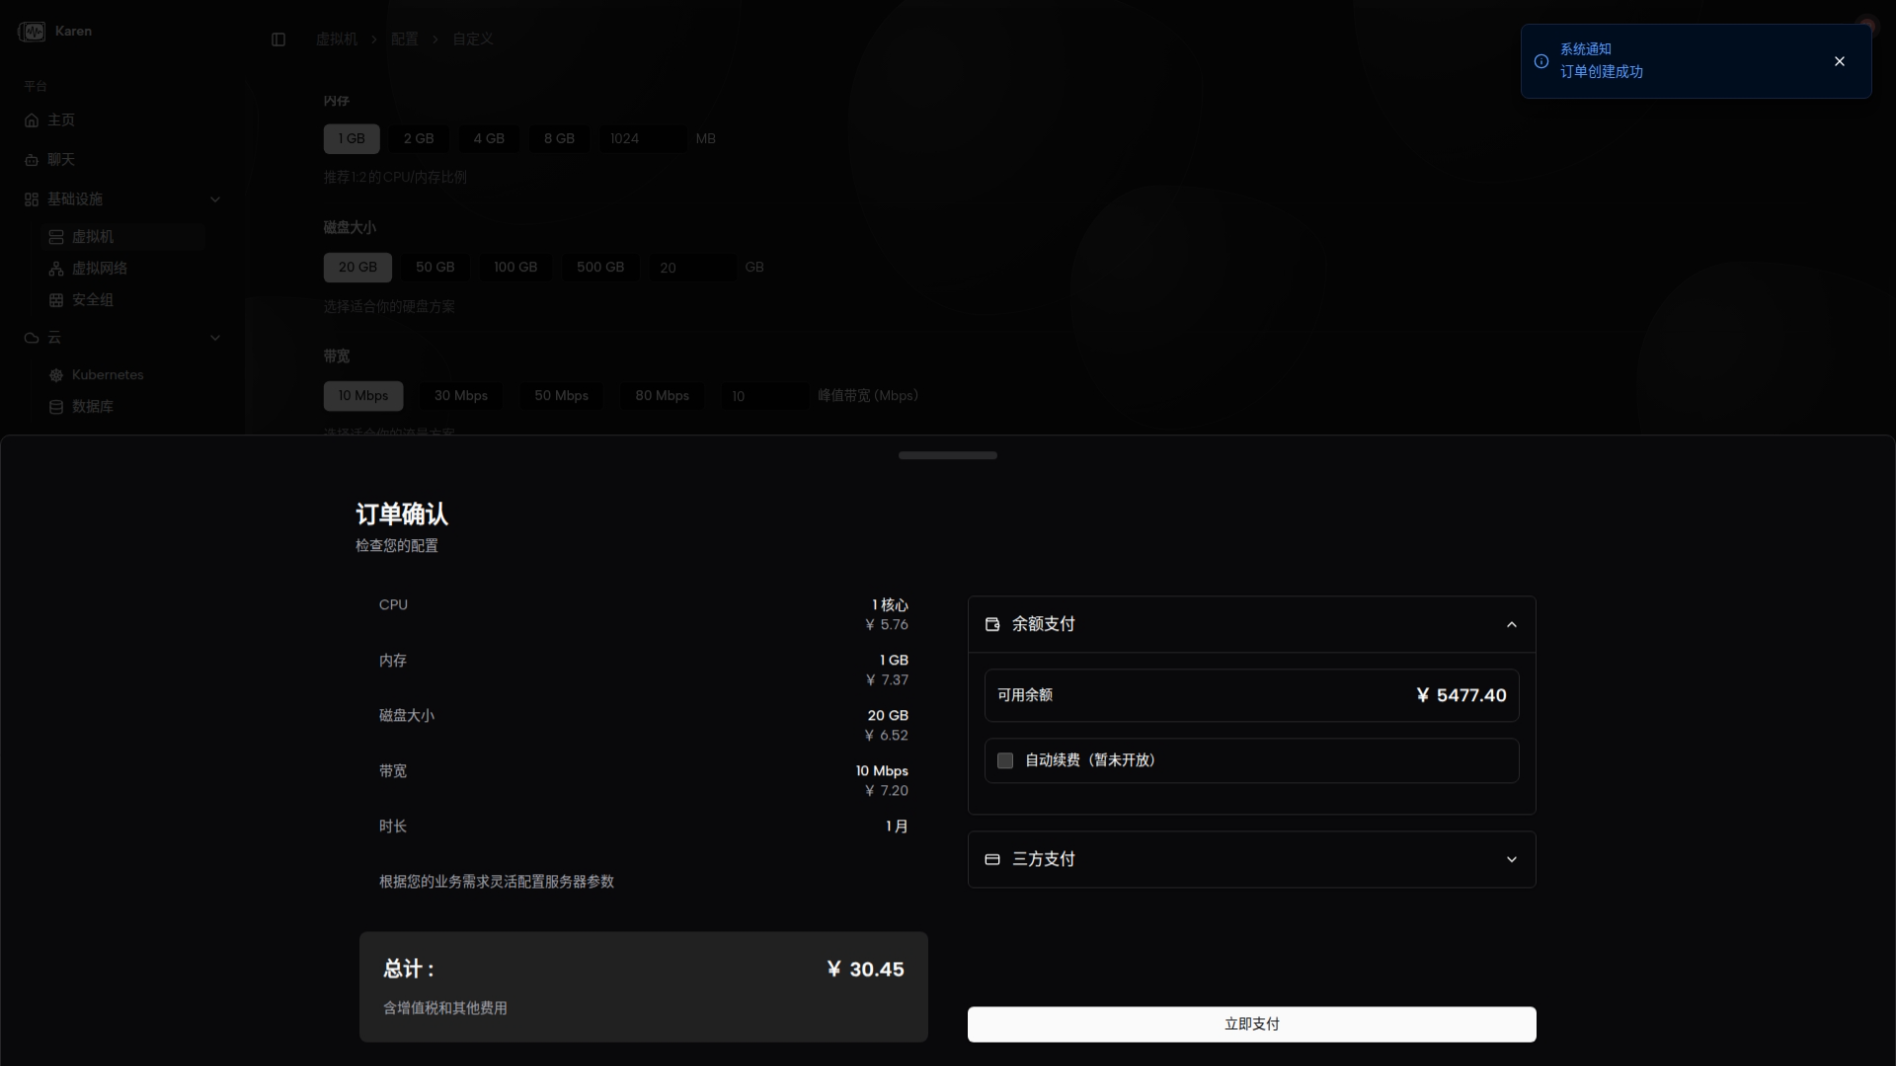
After confirming all settings, click the Buy Now button at the bottom of the page. A confirmation dialog appears showing a summary of your configuration and the amount due.
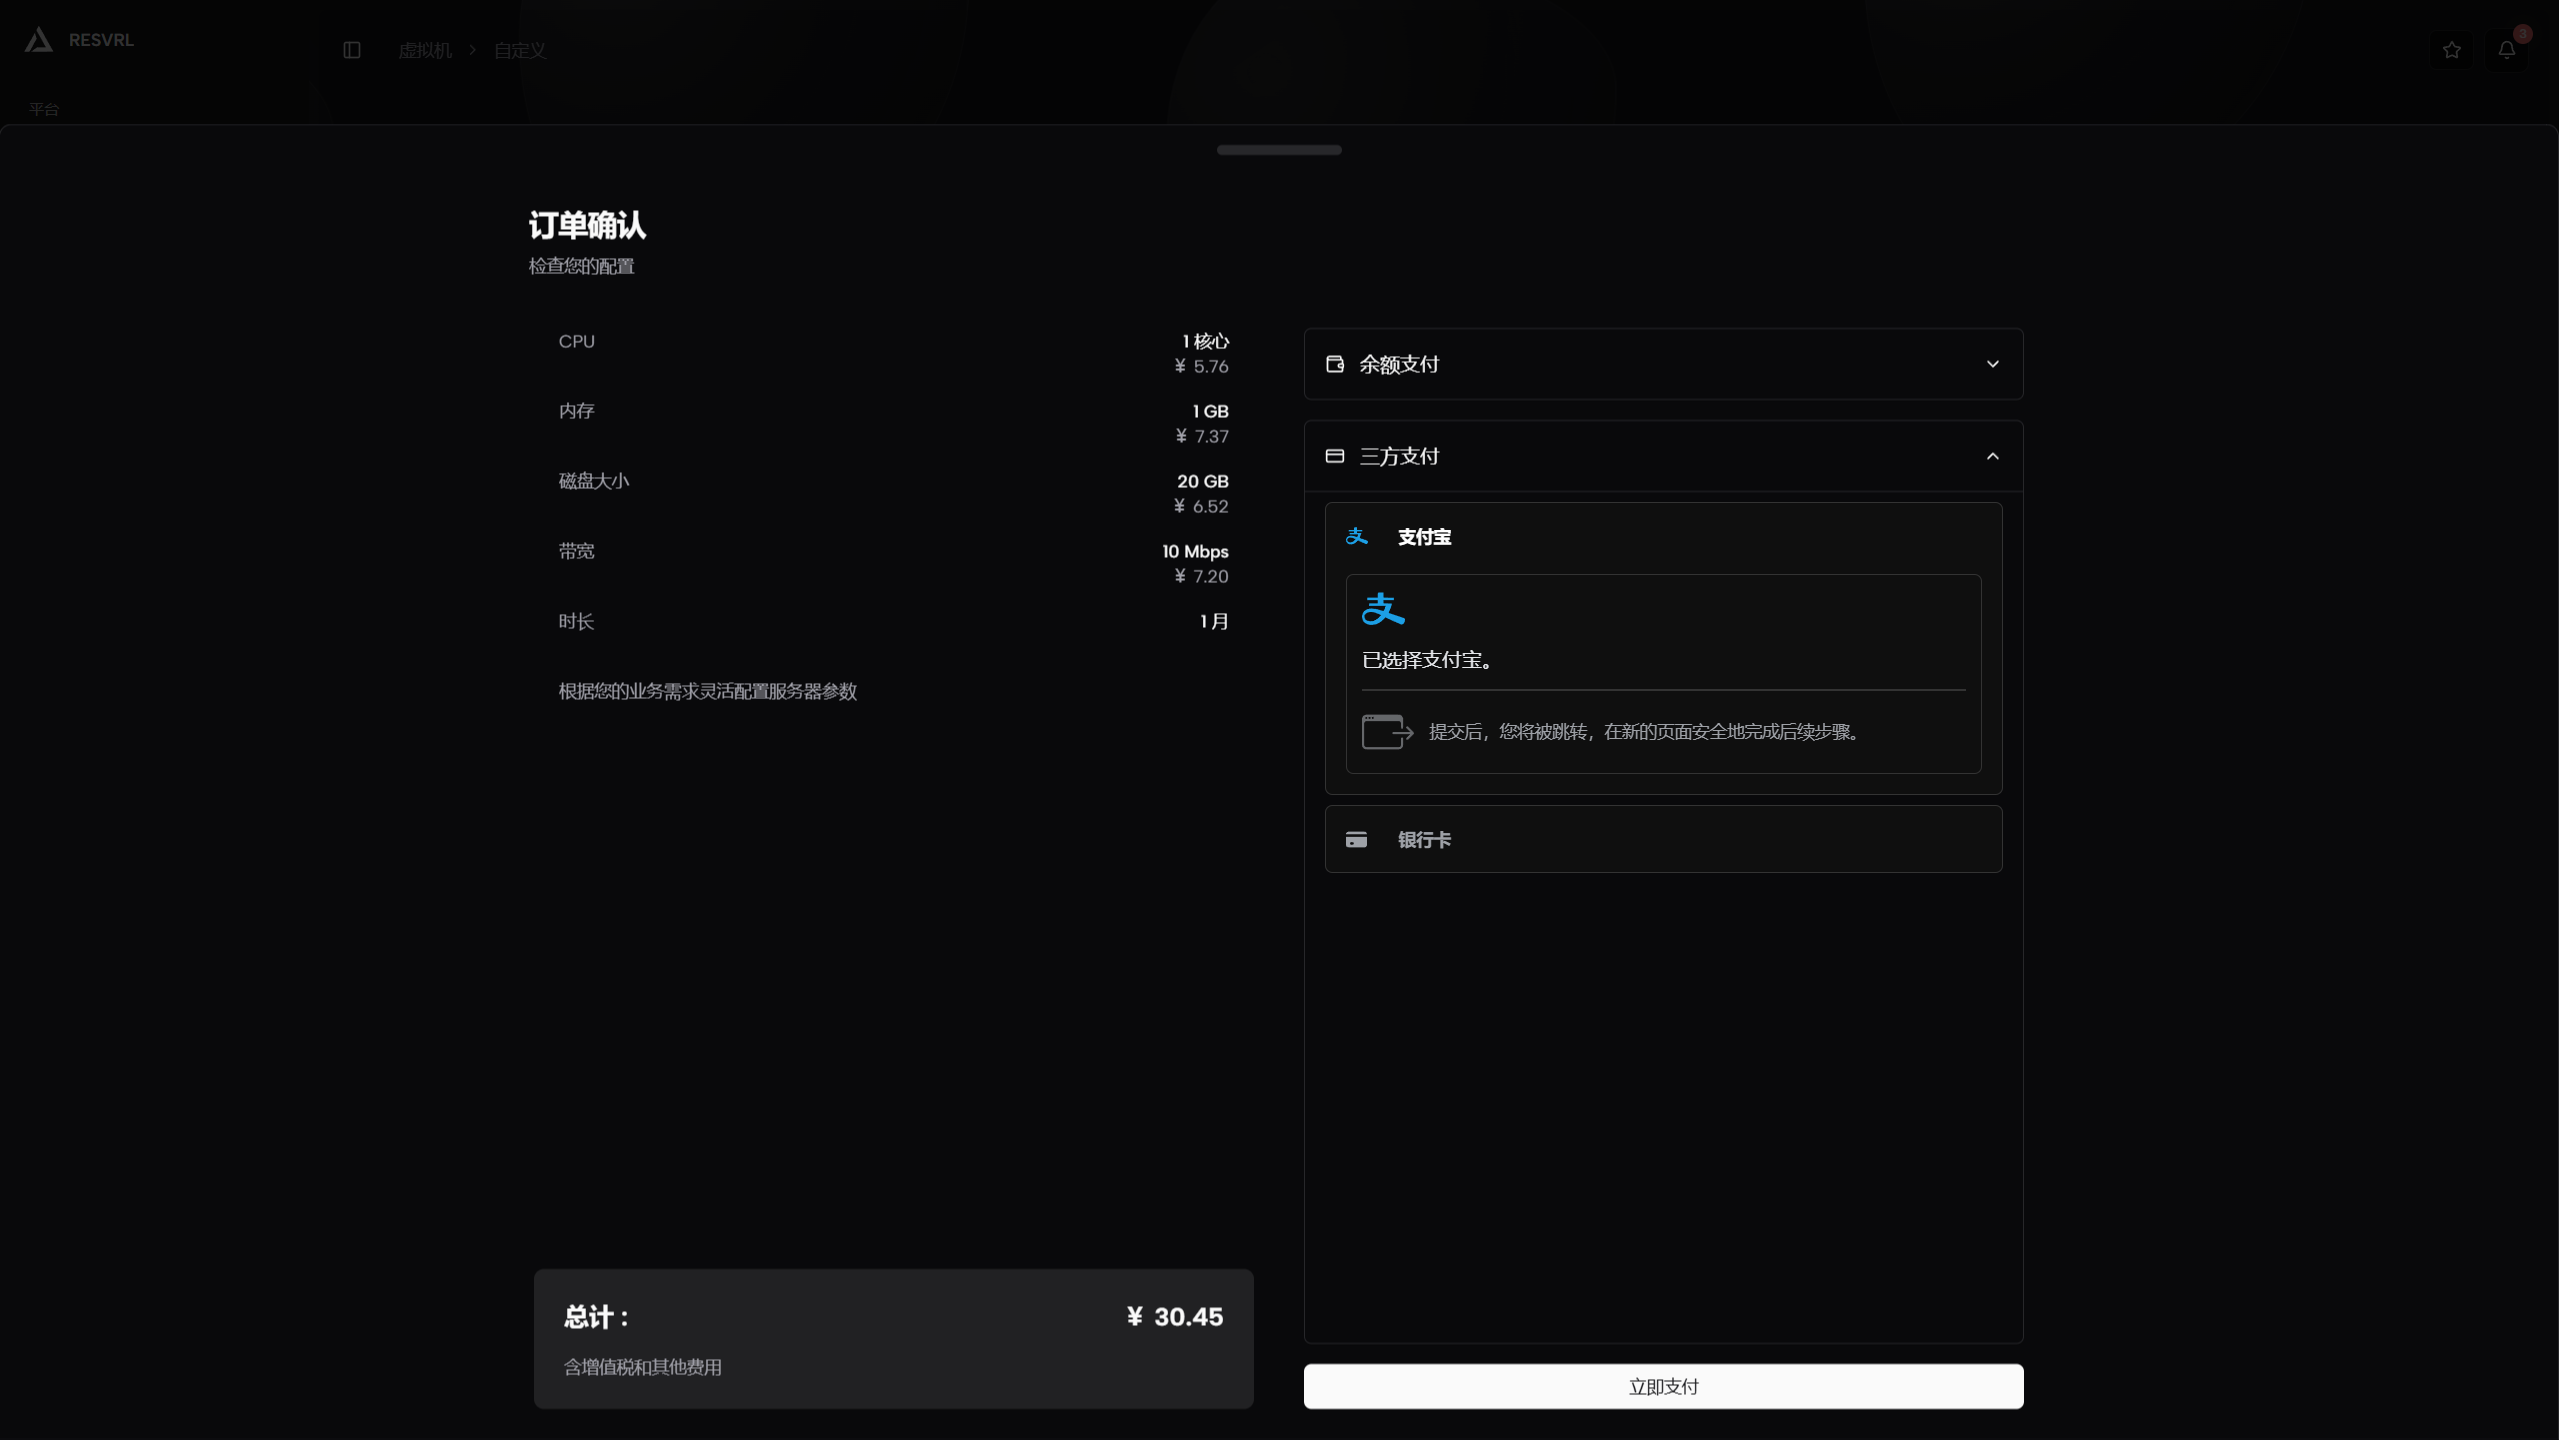
Verify the following in the dialog:
- Instance configuration (CPU, memory, disk, bandwidth)
- Purchase duration and expiration date
- Coupon discount (if applicable)
- Total order price
Select Alipay as the payment method and click Confirm Payment. After successful payment, the order enters the creation flow.
Wait a moment (usually 1–3 minutes) and the new instance will appear on the VM list page. The initial status is Creating; it automatically changes to Running once initialization is complete, and you can log in and use it normally.
After filling in the form, the price panel at the bottom shows a breakdown of the selected configuration. Confirm the details and submit the order.
After the order is placed
The system creates an order and enters the payment/confirmation flow. After successful payment, you will be directed to the VM details page where you can view system information, image, region, and bandwidth. Actions include starting, stopping, rebooting, resetting credentials, reinstalling the operating system, renewing the service, and adding or removing network interfaces.
Quick checks (first time opening)
- Confirm the instance has the expected public IP addresses or private IPs.
- Verify security group rules before exposing SSH, HTTP, HTTPS, or database ports.
- Log in and update the operating system.
- Confirm monitoring data is reporting on the monitor page.
Common mistakes
No public access after creation
Check whether you attached only a NAT network or whether the Public Network is missing the required security-group rules.
Unable to log in
Confirm whether the initial order used an SSH key or password, and use the credential reset action from the instance page if needed.
Wrong size selection
If the workload is not a fit for the current specification, review available upgrade options from the instance page and monitor real resource usage before changing size.
Can I get a refund after deleting a resource?
You can manually delete virtual machines and other resources, but no refunds will be issued after deletion. Please ensure your data is backed up and confirm you no longer need the resource before deleting it. Do not delete resources unless necessary.
Related guides
This document was updated on 2026-04-25 09:00