Cluster Settings
The cluster settings page manages cluster configuration and lifecycle operations, including general info editing, auto-scaling configuration, and cluster deletion.
Cluster Settings
The cluster settings page manages cluster configuration and lifecycle operations, including general info editing, auto-scaling configuration, and cluster deletion.
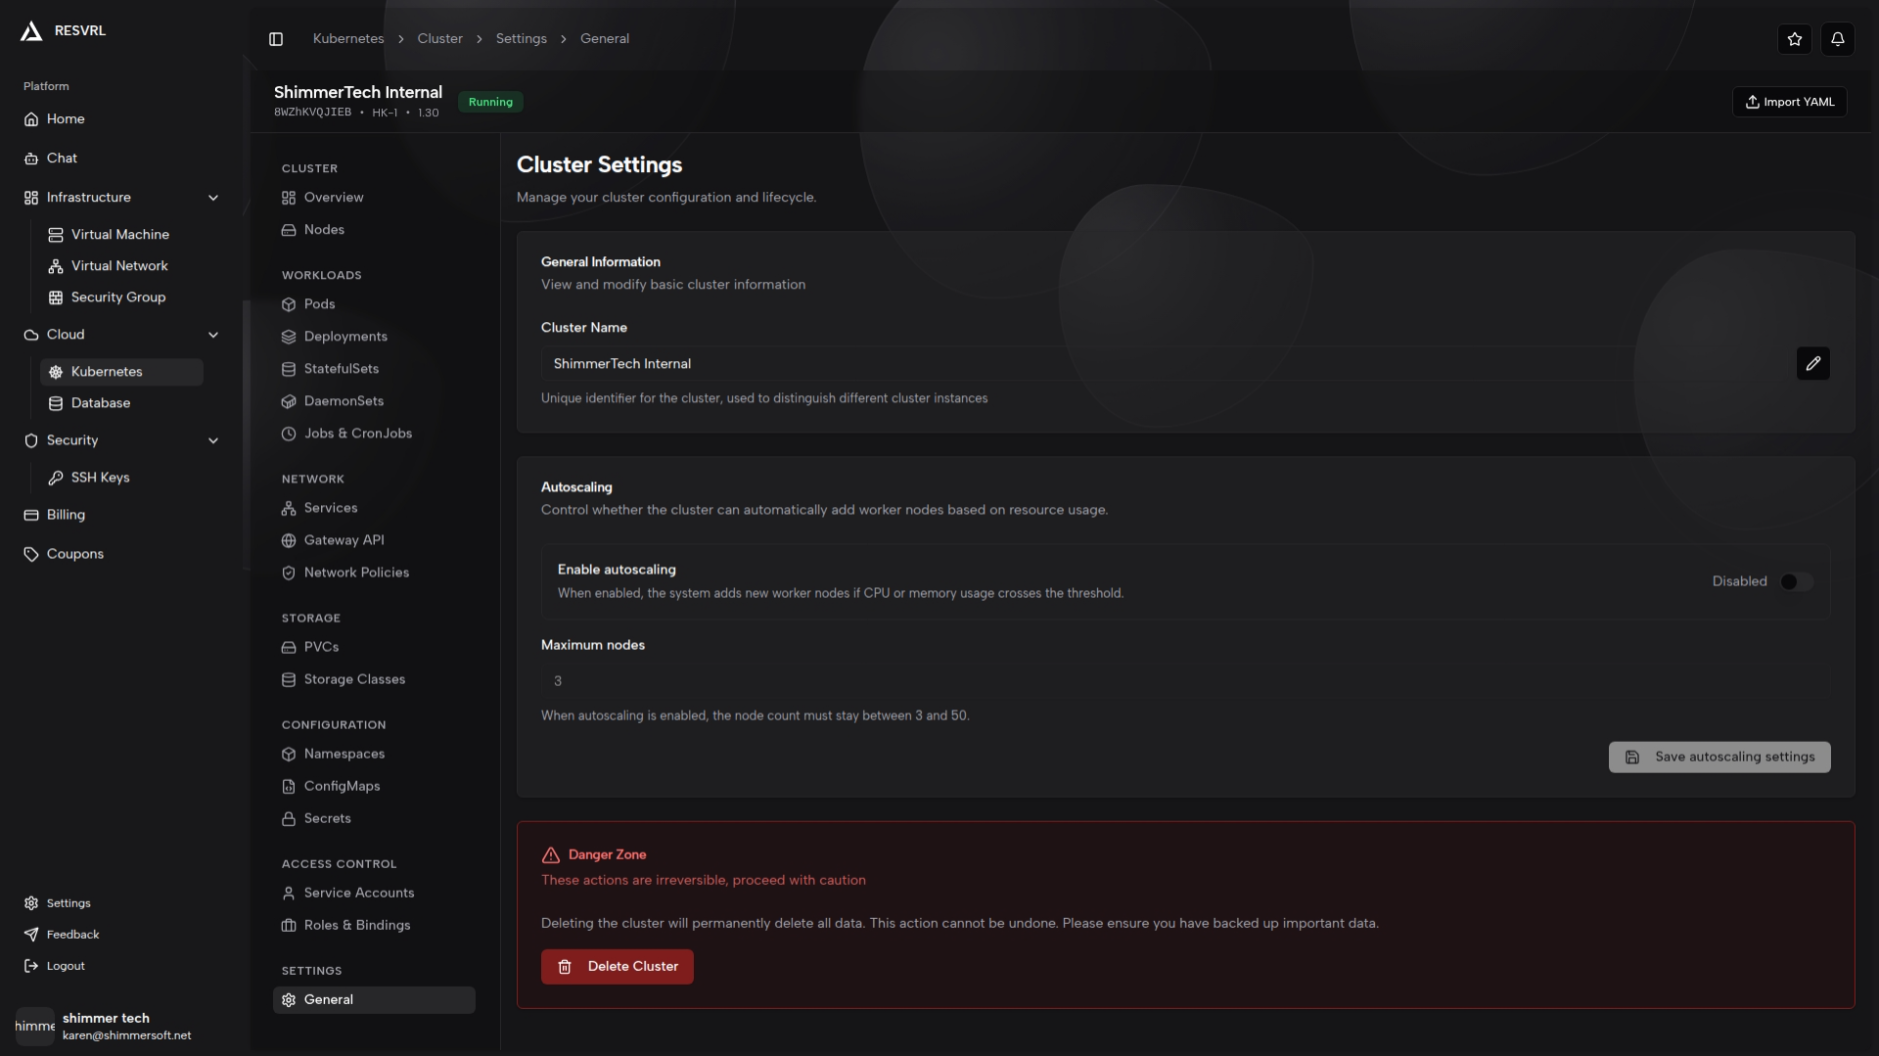
General Info
The general info card displays the current cluster name as a read-only text field. Click the edit button next to the name to open the rename dialog.
Enter a new name in the dialog and click "Save". The name has a maximum length of 63 characters and takes effect immediately upon saving. Renaming only affects the display in the console and does not change the cluster's internal configuration. A notification appears on success or failure.
Auto-Scaling
The auto-scaling card controls whether the cluster automatically adds Worker nodes based on resource utilization.
Enable and Disable
Toggle the switch to enable or disable auto-scaling. When enabled, the system automatically creates new Worker nodes when CPU or memory usage exceeds a threshold. Disabling auto-scaling does not remove nodes that were already created; it only stops further automatic scaling.
Max Nodes
When auto-scaling is enabled, configure the maximum number of nodes. The lower bound is the current number of worker nodes, and the upper bound is 50. A hint below the input field shows the valid node range.
The save button is only active when settings have changed. Click "Save" to apply changes. A notification appears on success or failure.
Danger Zone
The danger zone is displayed as a red-themed card with a warning icon and a delete cluster button.
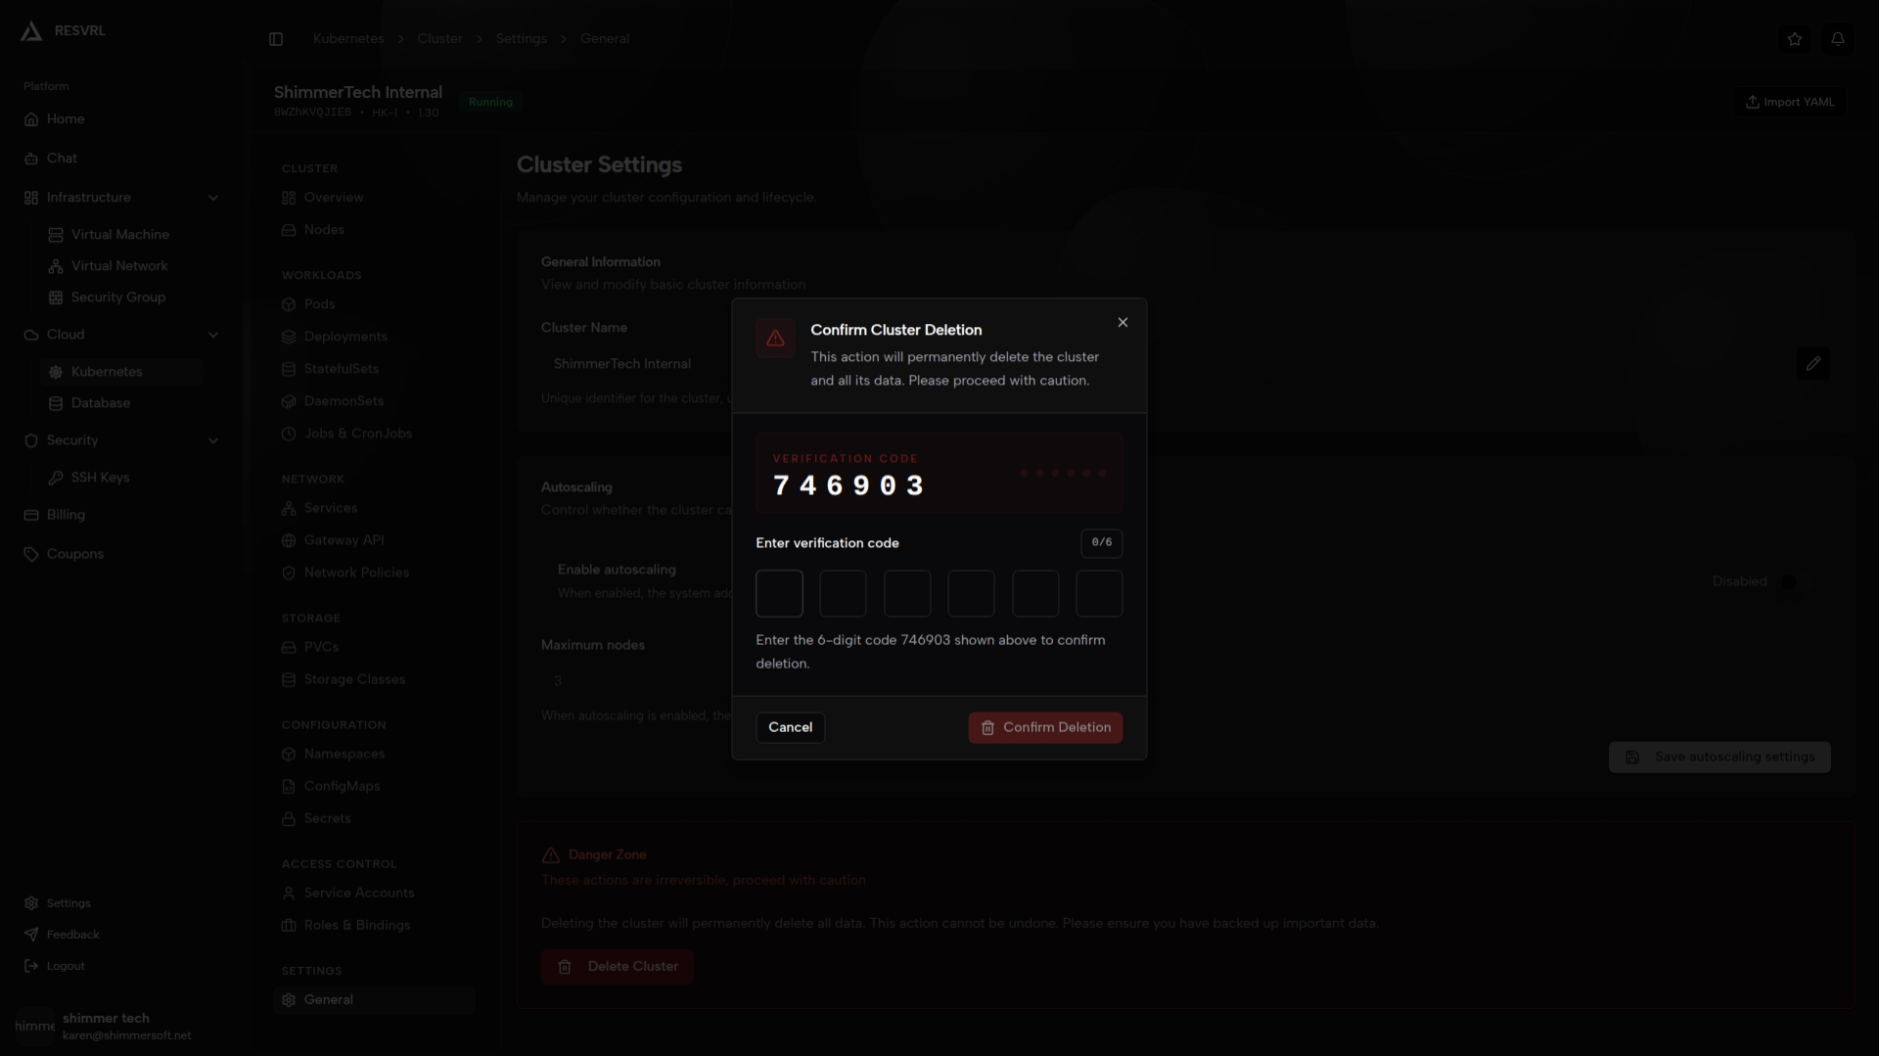
Clicking "Delete Cluster" opens a confirmation dialog with a description of the operation. After confirming, a delete request is sent and the button shows a loading state. Deleting a cluster is irreversible. All resources (node VMs, storage volumes, network configurations, etc.) will be permanently removed. Ensure important data has been backed up. On success, the page redirects to the Kubernetes cluster list and the cluster status changes to DELETING.
Import YAML
The Import YAML feature is located in the cluster detail page header via the "Import YAML" button, not in the settings sidebar. Clicking it opens a side panel with a code editor for pasting YAML content. Use --- to separate multiple resources, then click "Apply YAML" to deploy resources to the cluster. The apply operation executes immediately, so ensure the YAML conforms to the Kubernetes API specification.
Notes
- Nodes added by auto-scaling use the same specifications as the worker nodes configured during cluster creation.
- Do not perform other operations on the cluster while it is in the DELETING state.
- Import YAML only supports creating or updating resources; it does not support deleting resources.
Related Docs
This document was updated on 2026-04-25 09:00