Deploy Applications with Kubernetes
This tutorial walks you through creating a Deployment and deploying an application in an existing Kubernetes cluster via the platform console.
Deploy Applications with Kubernetes
This tutorial walks you through creating a Deployment and deploying an application in an existing Kubernetes cluster via the platform console.
Prerequisites
- You have a Kubernetes cluster in Running status. If not, please refer to the cluster creation documentation first.
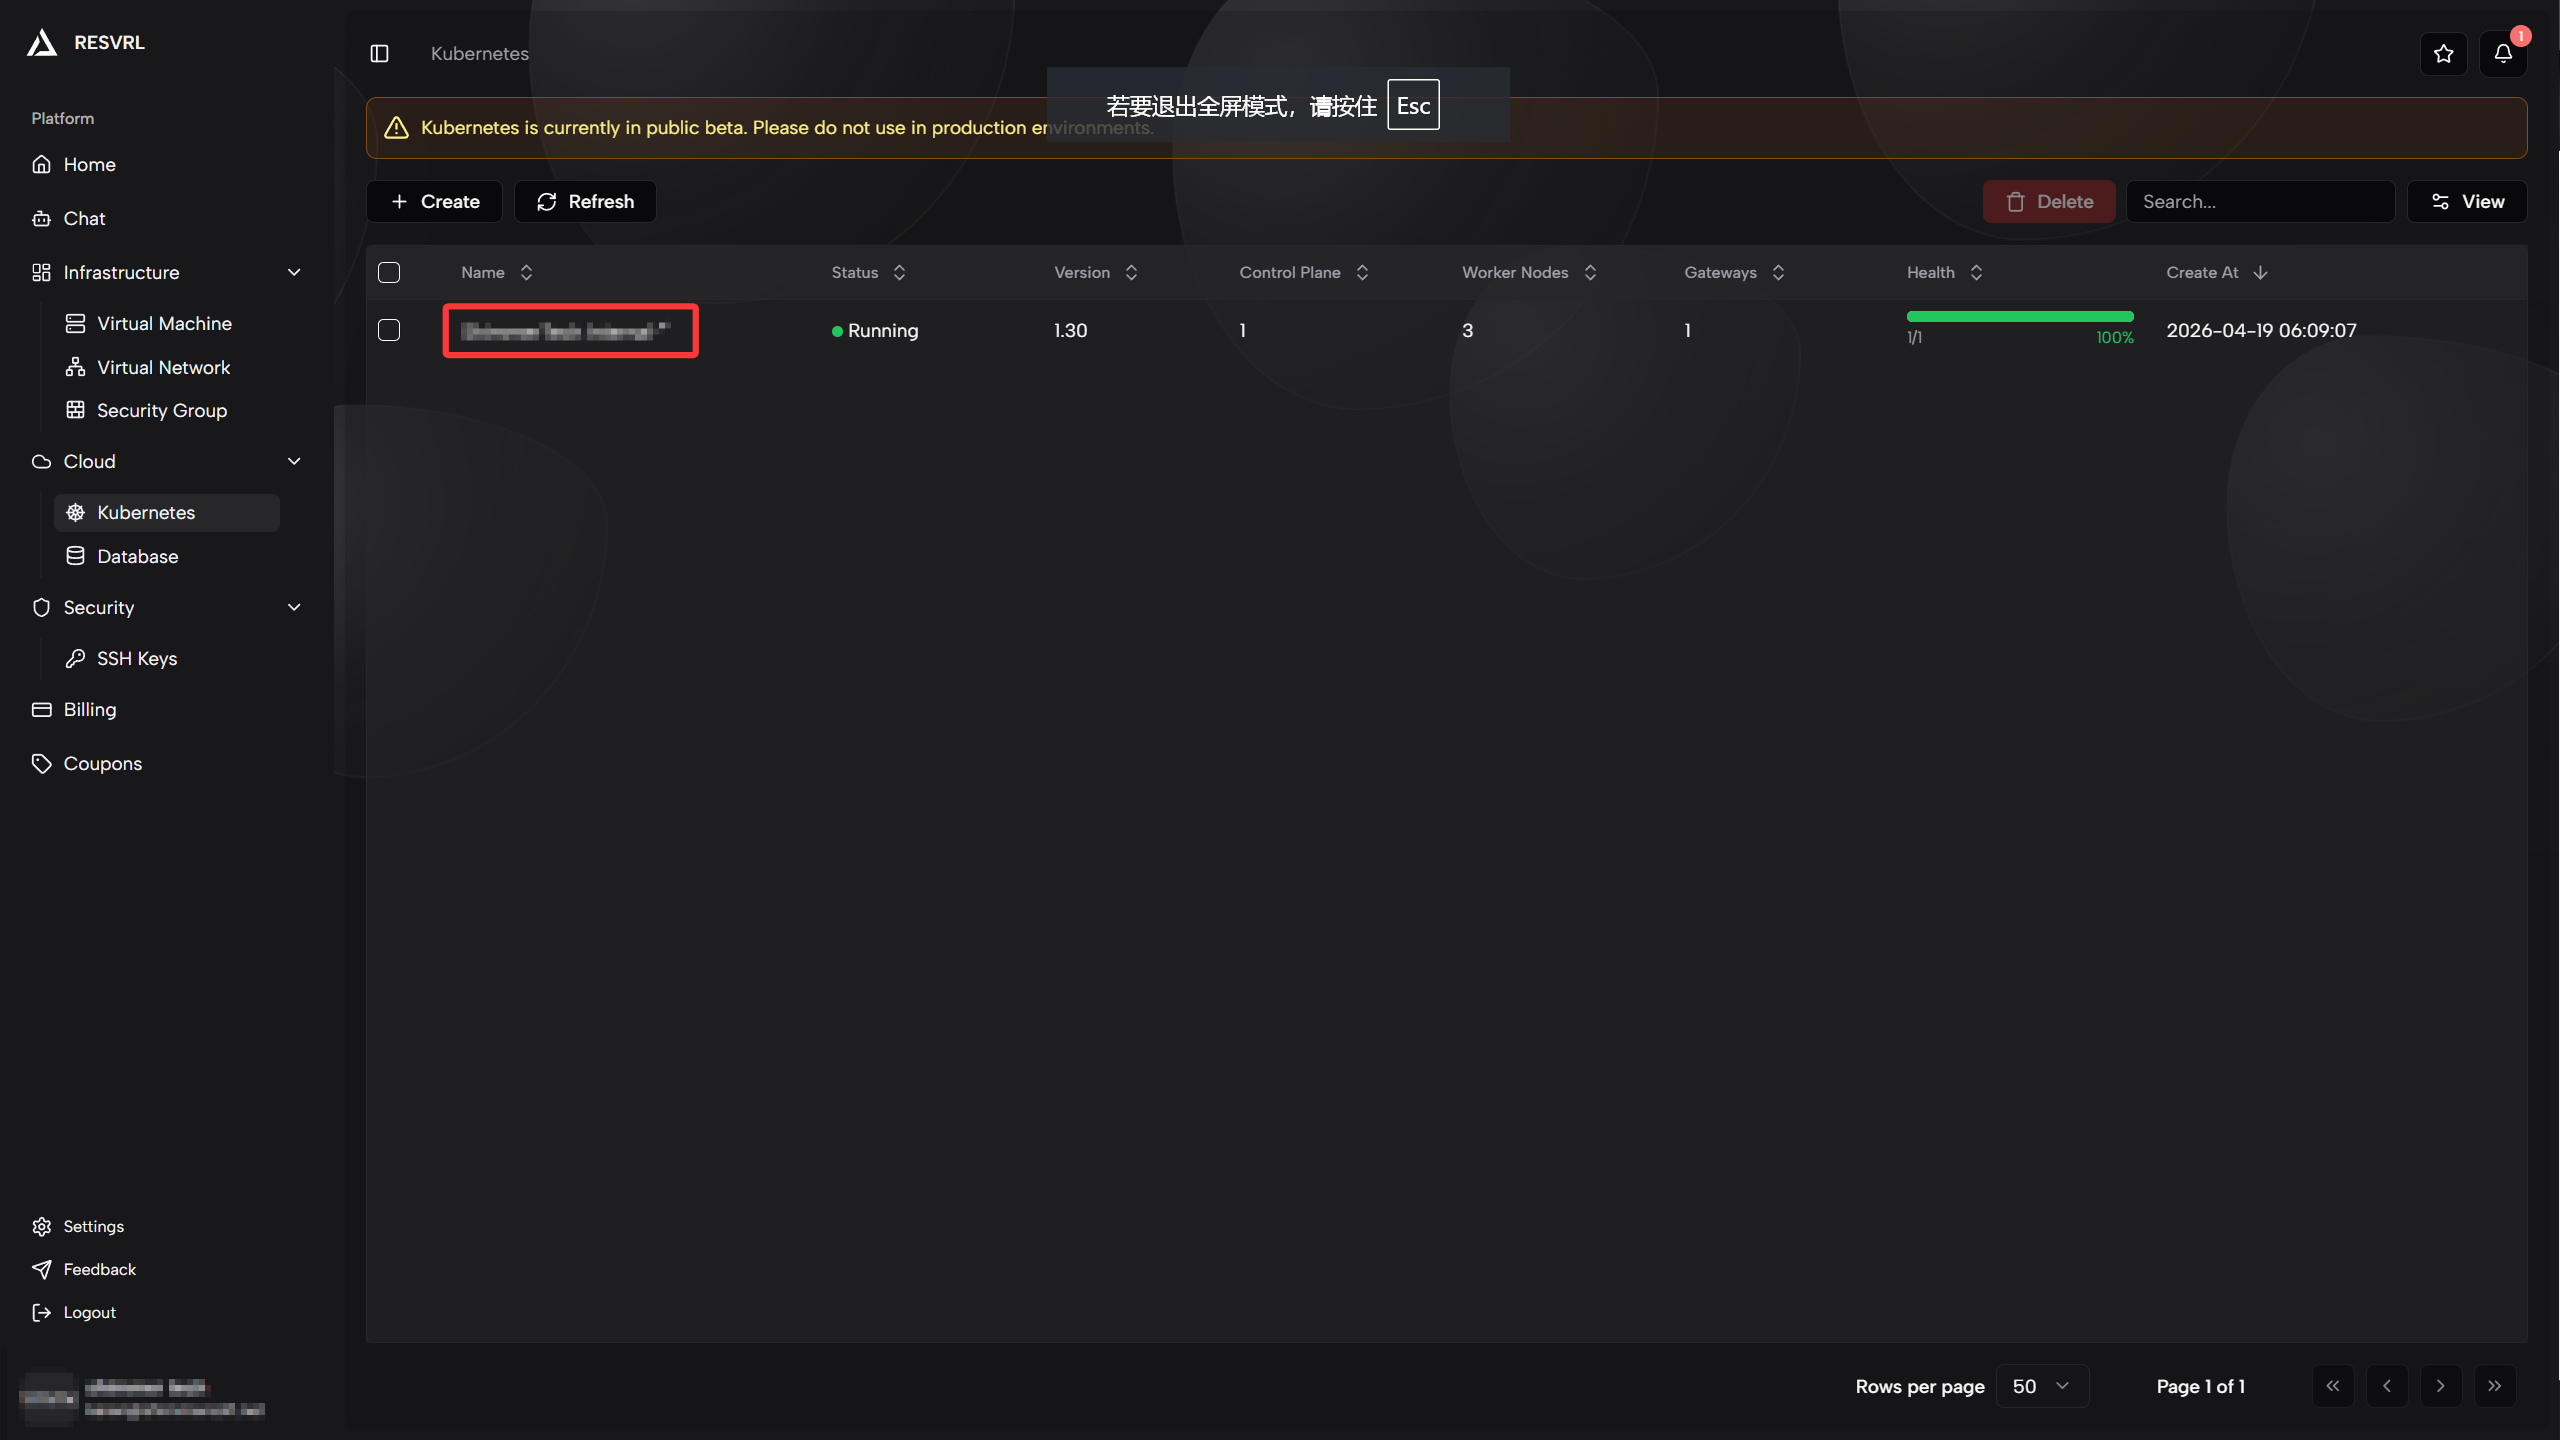
Access the Cluster Panel
-
After logging into the console, select Cloud -> Kubernetes from the top navigation bar.
-
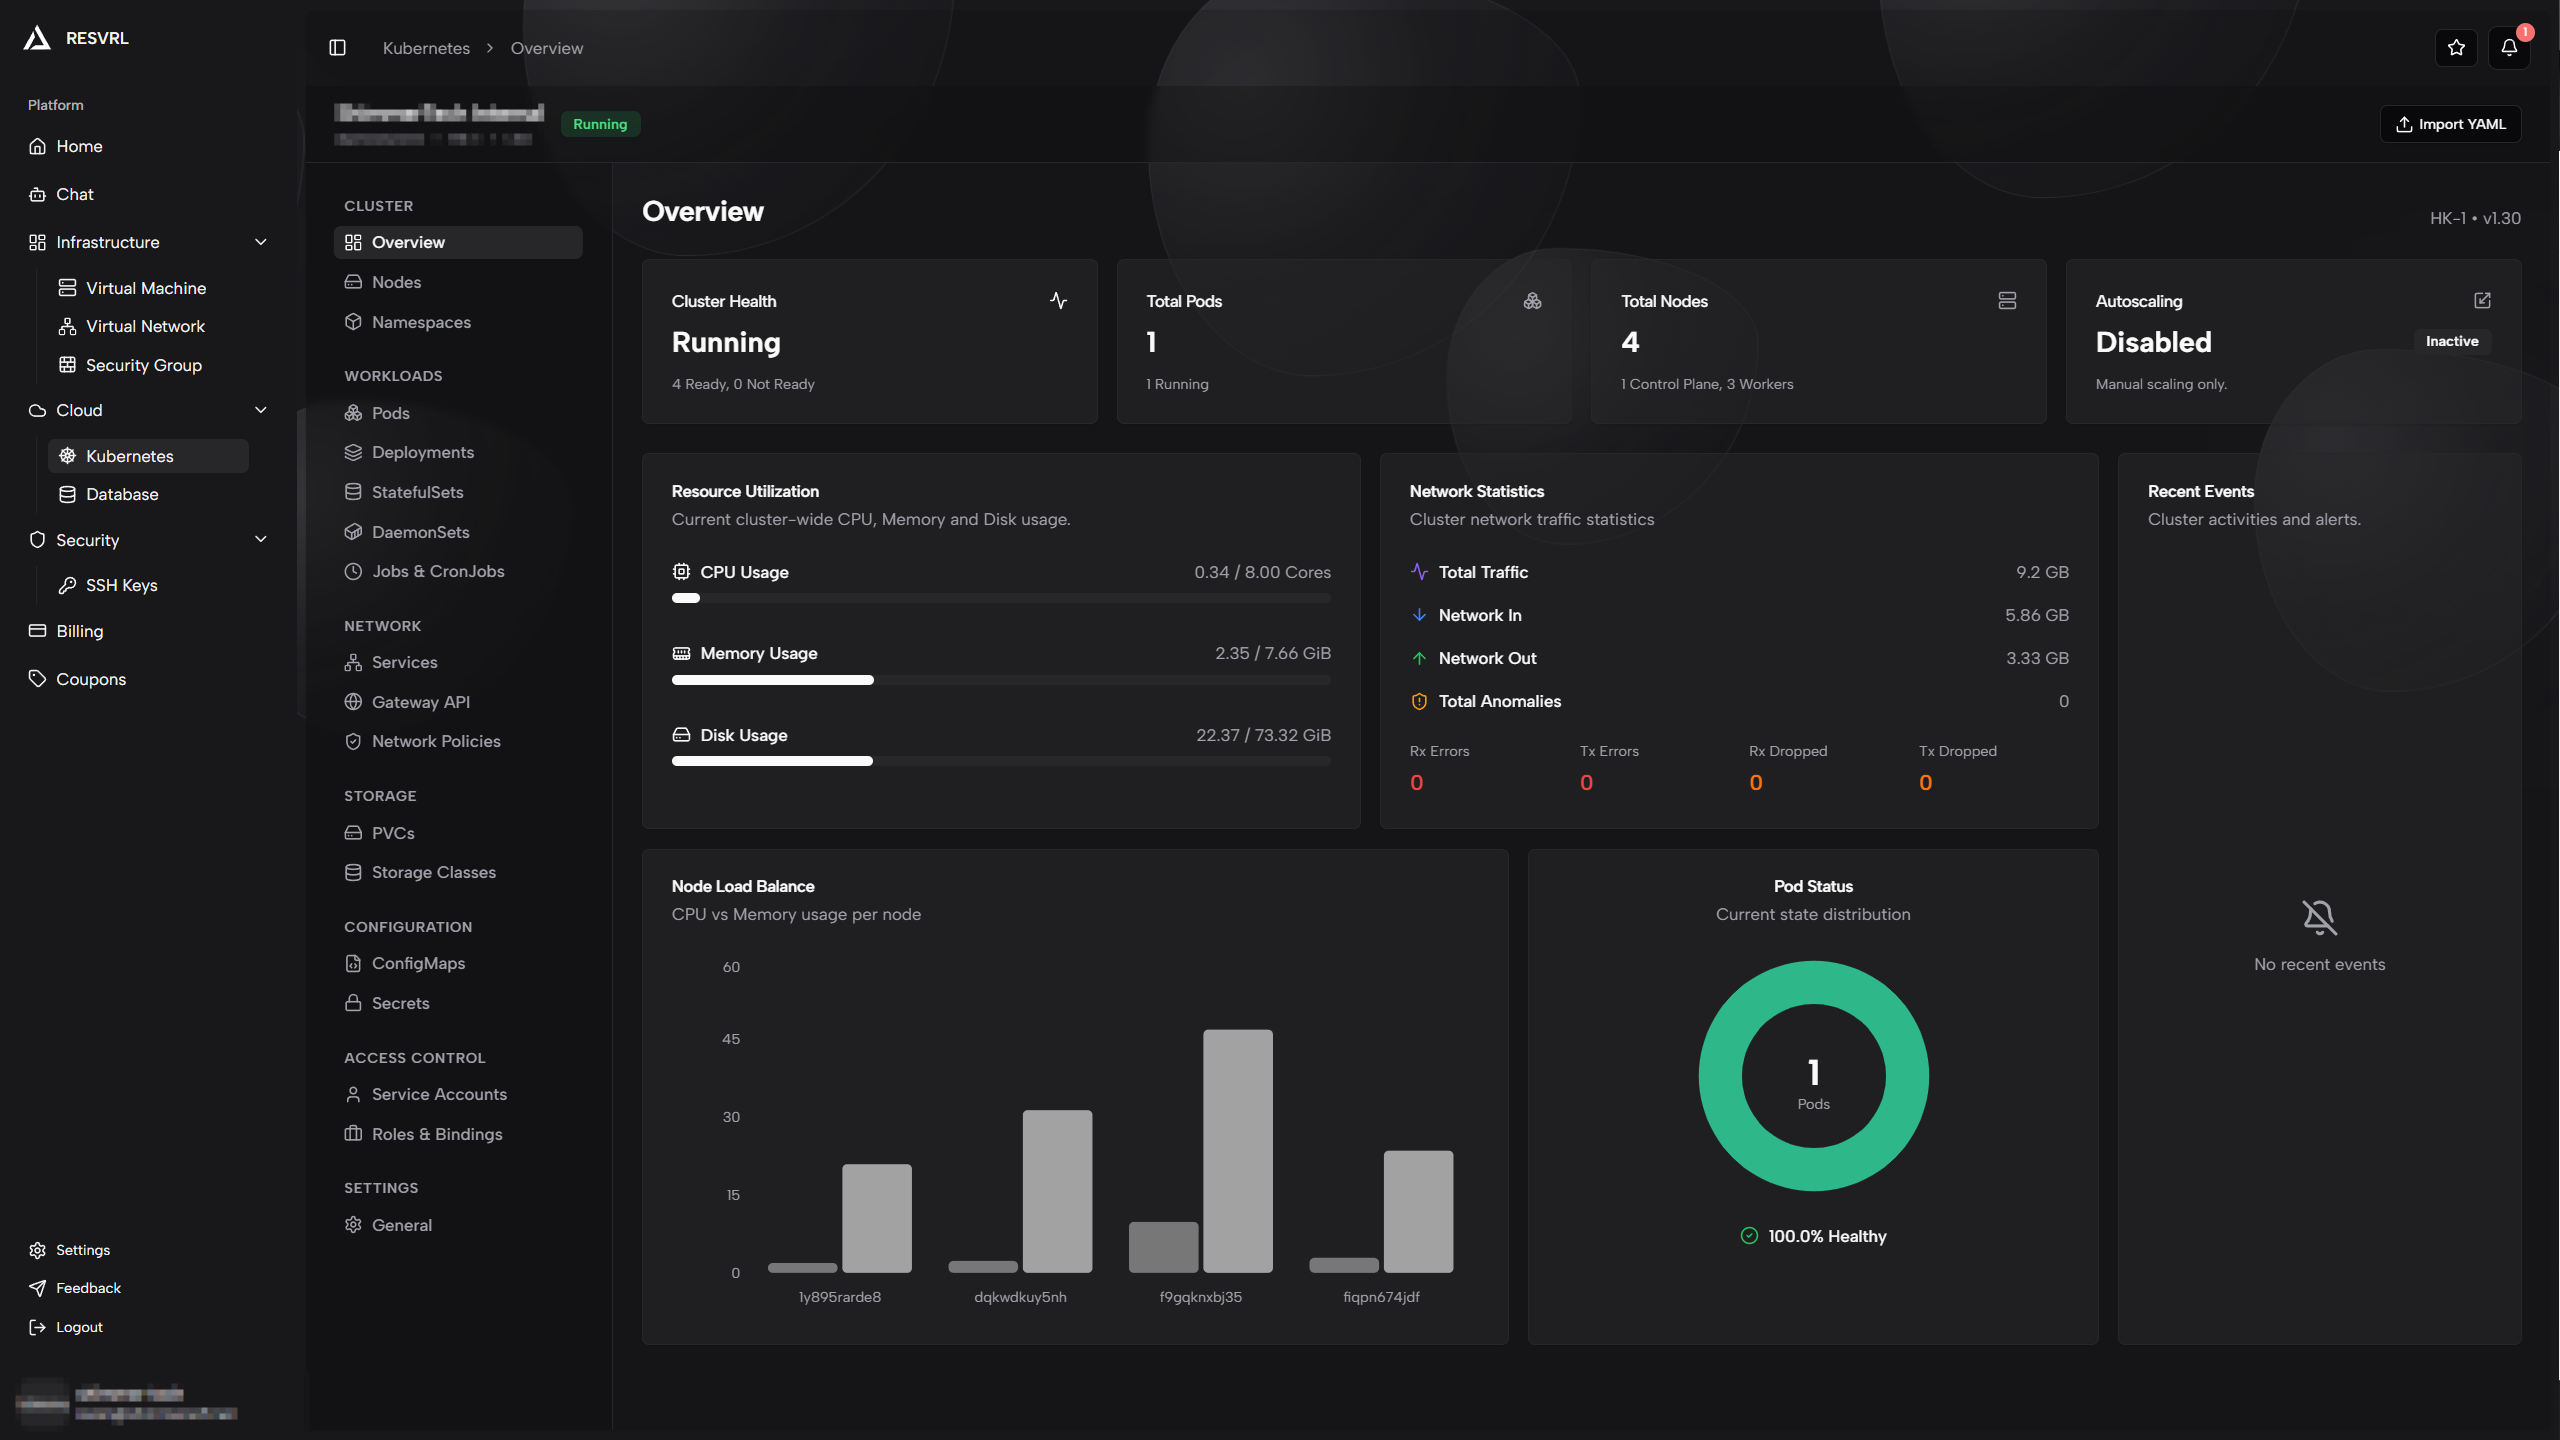
In the Kubernetes cluster list, find your created cluster and click the cluster name to enter its details.
-
You will see the cluster panel with overview, node status, resource usage, and other information.
Create a Deployment
Deployment is a core Kubernetes resource for managing stateless applications. It maintains a specified number of Pod replicas and supports rolling updates and other deployment strategies.
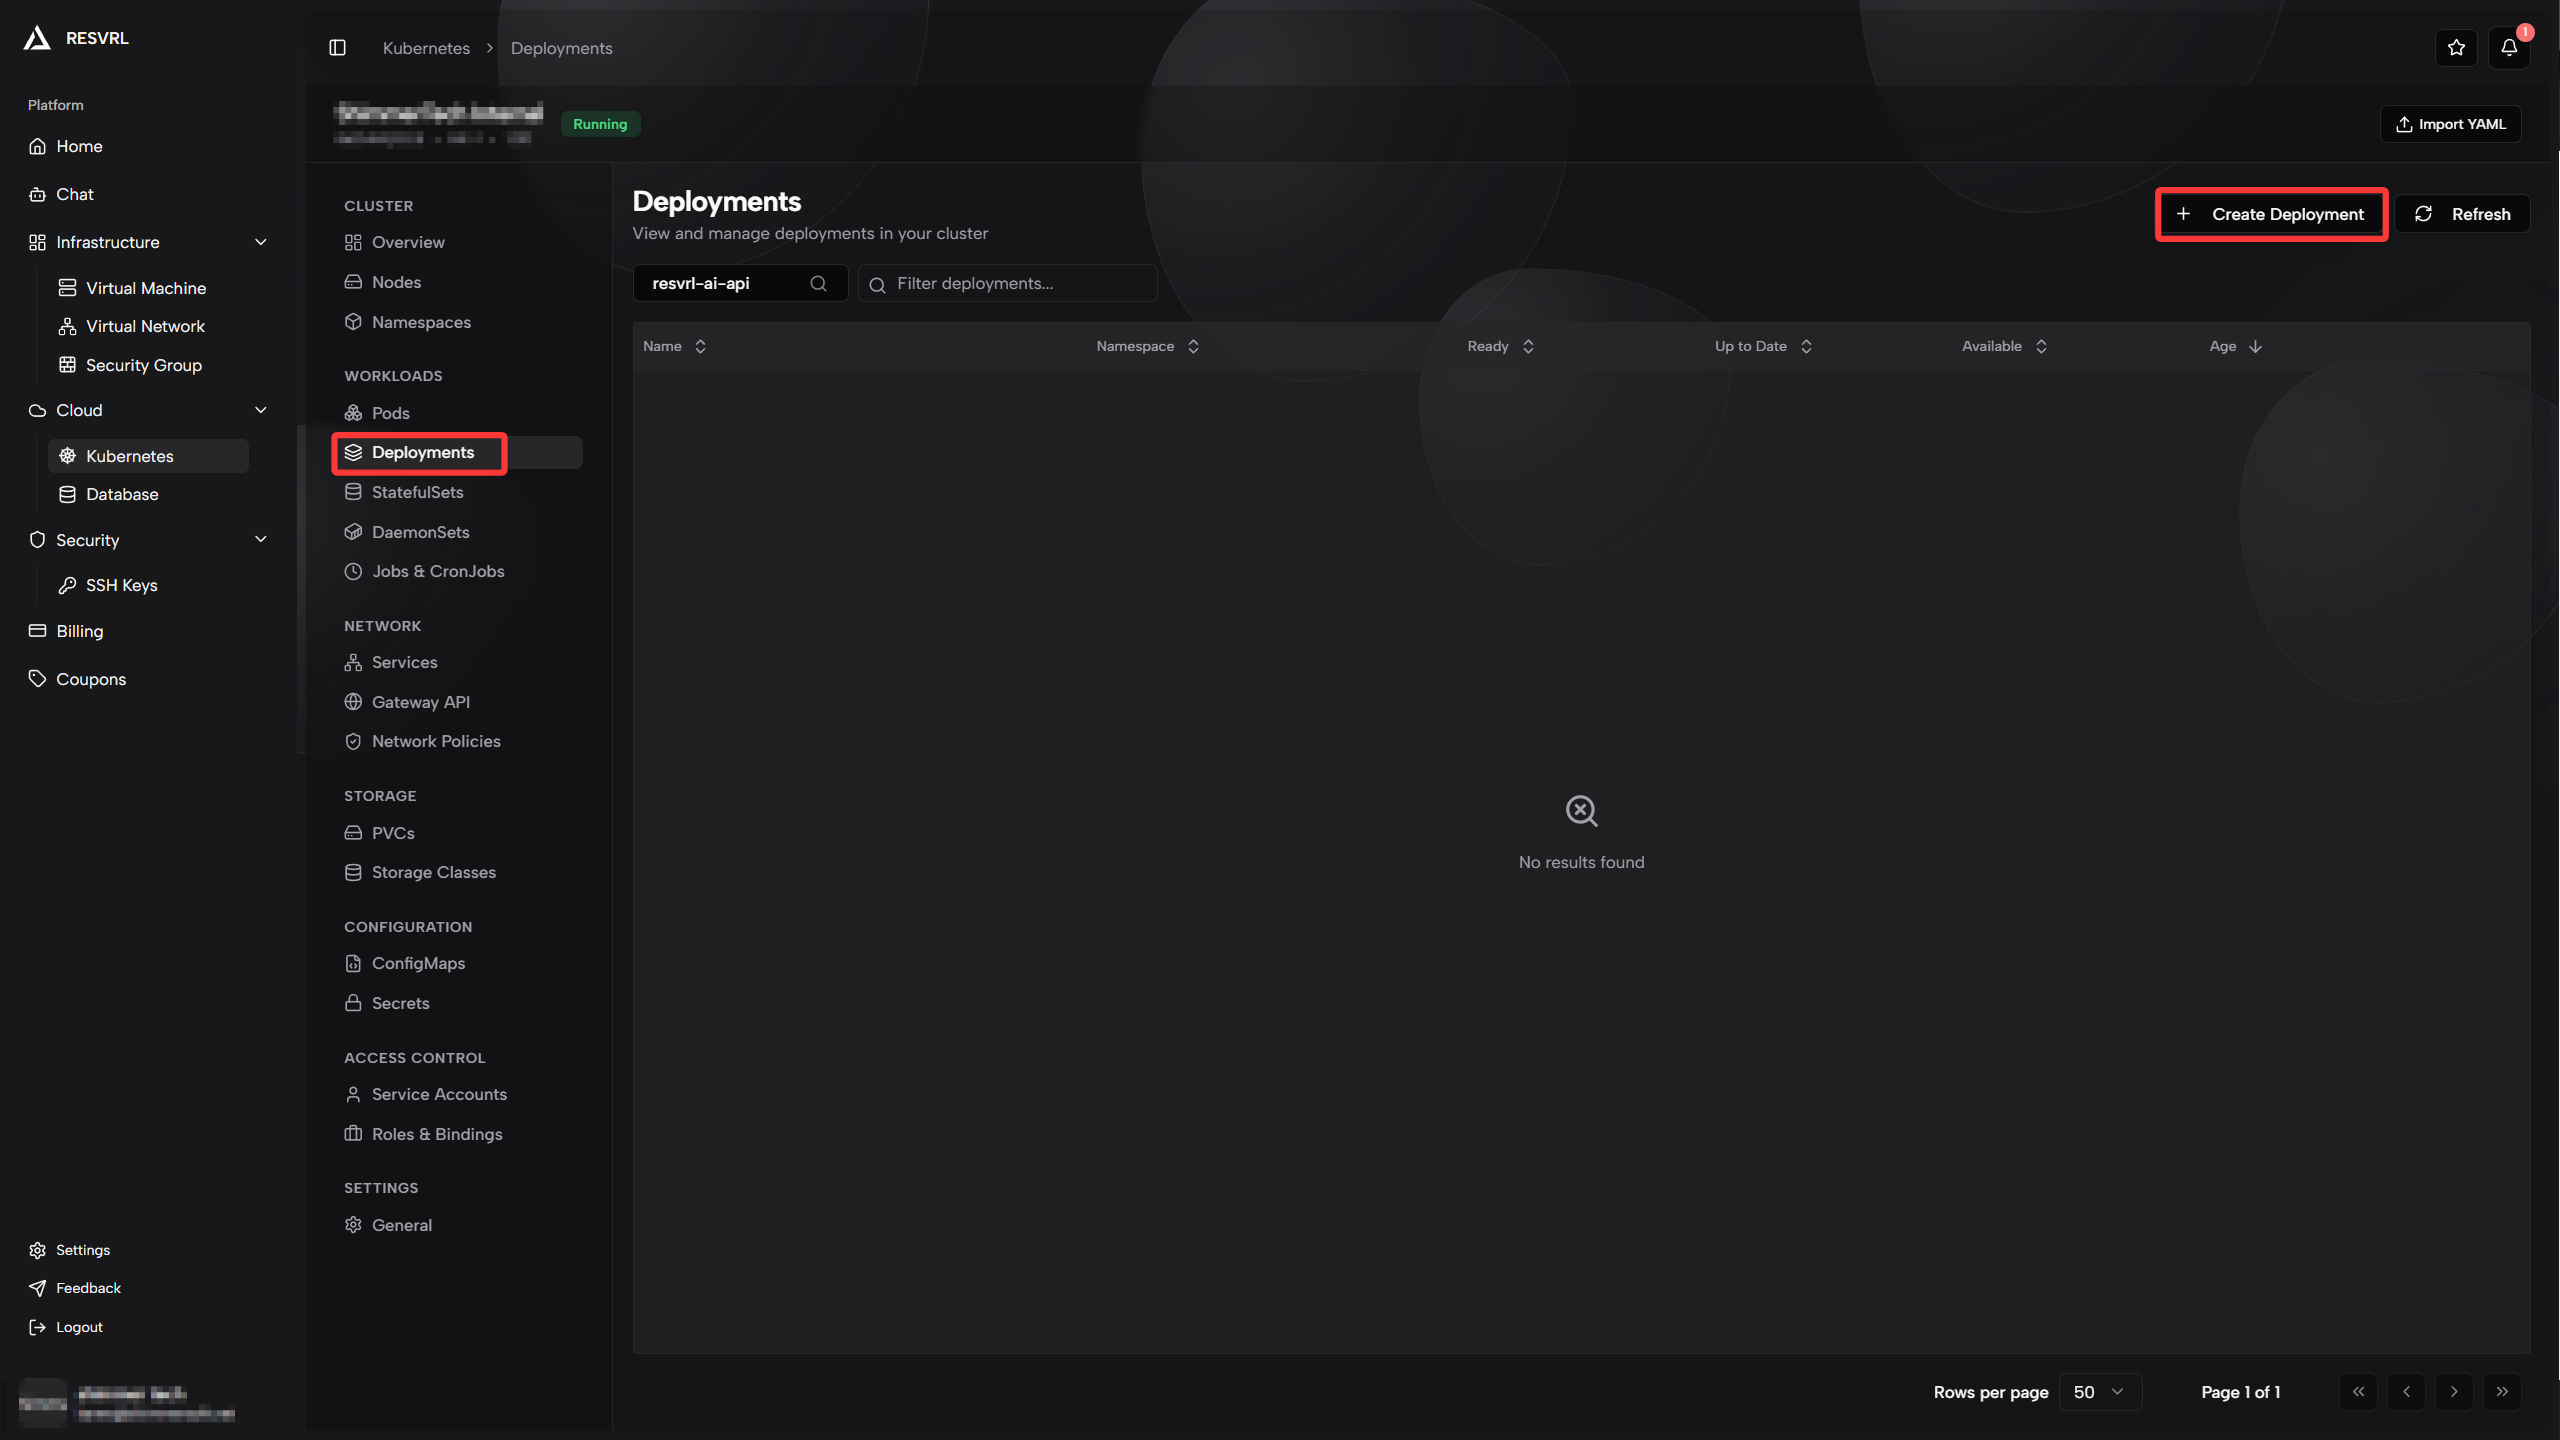
Navigate to Deployments Page
-
Click Deployments in the left menu of the cluster panel.
-
Click the Create Deployment button in the top right.
Fill in Basic Information
On the creation page, first configure the basic information for the Deployment.
-
Deployment Name: Enter a unique name to identify this Deployment. Can only contain lowercase letters, numbers, and hyphens.
-
Namespace: Select the namespace you created (e.g.,
TestNameSpace).Parameter Description Example Deployment Name Unique resource ID nginx-deploymentNamespace Target namespace TestNameSpace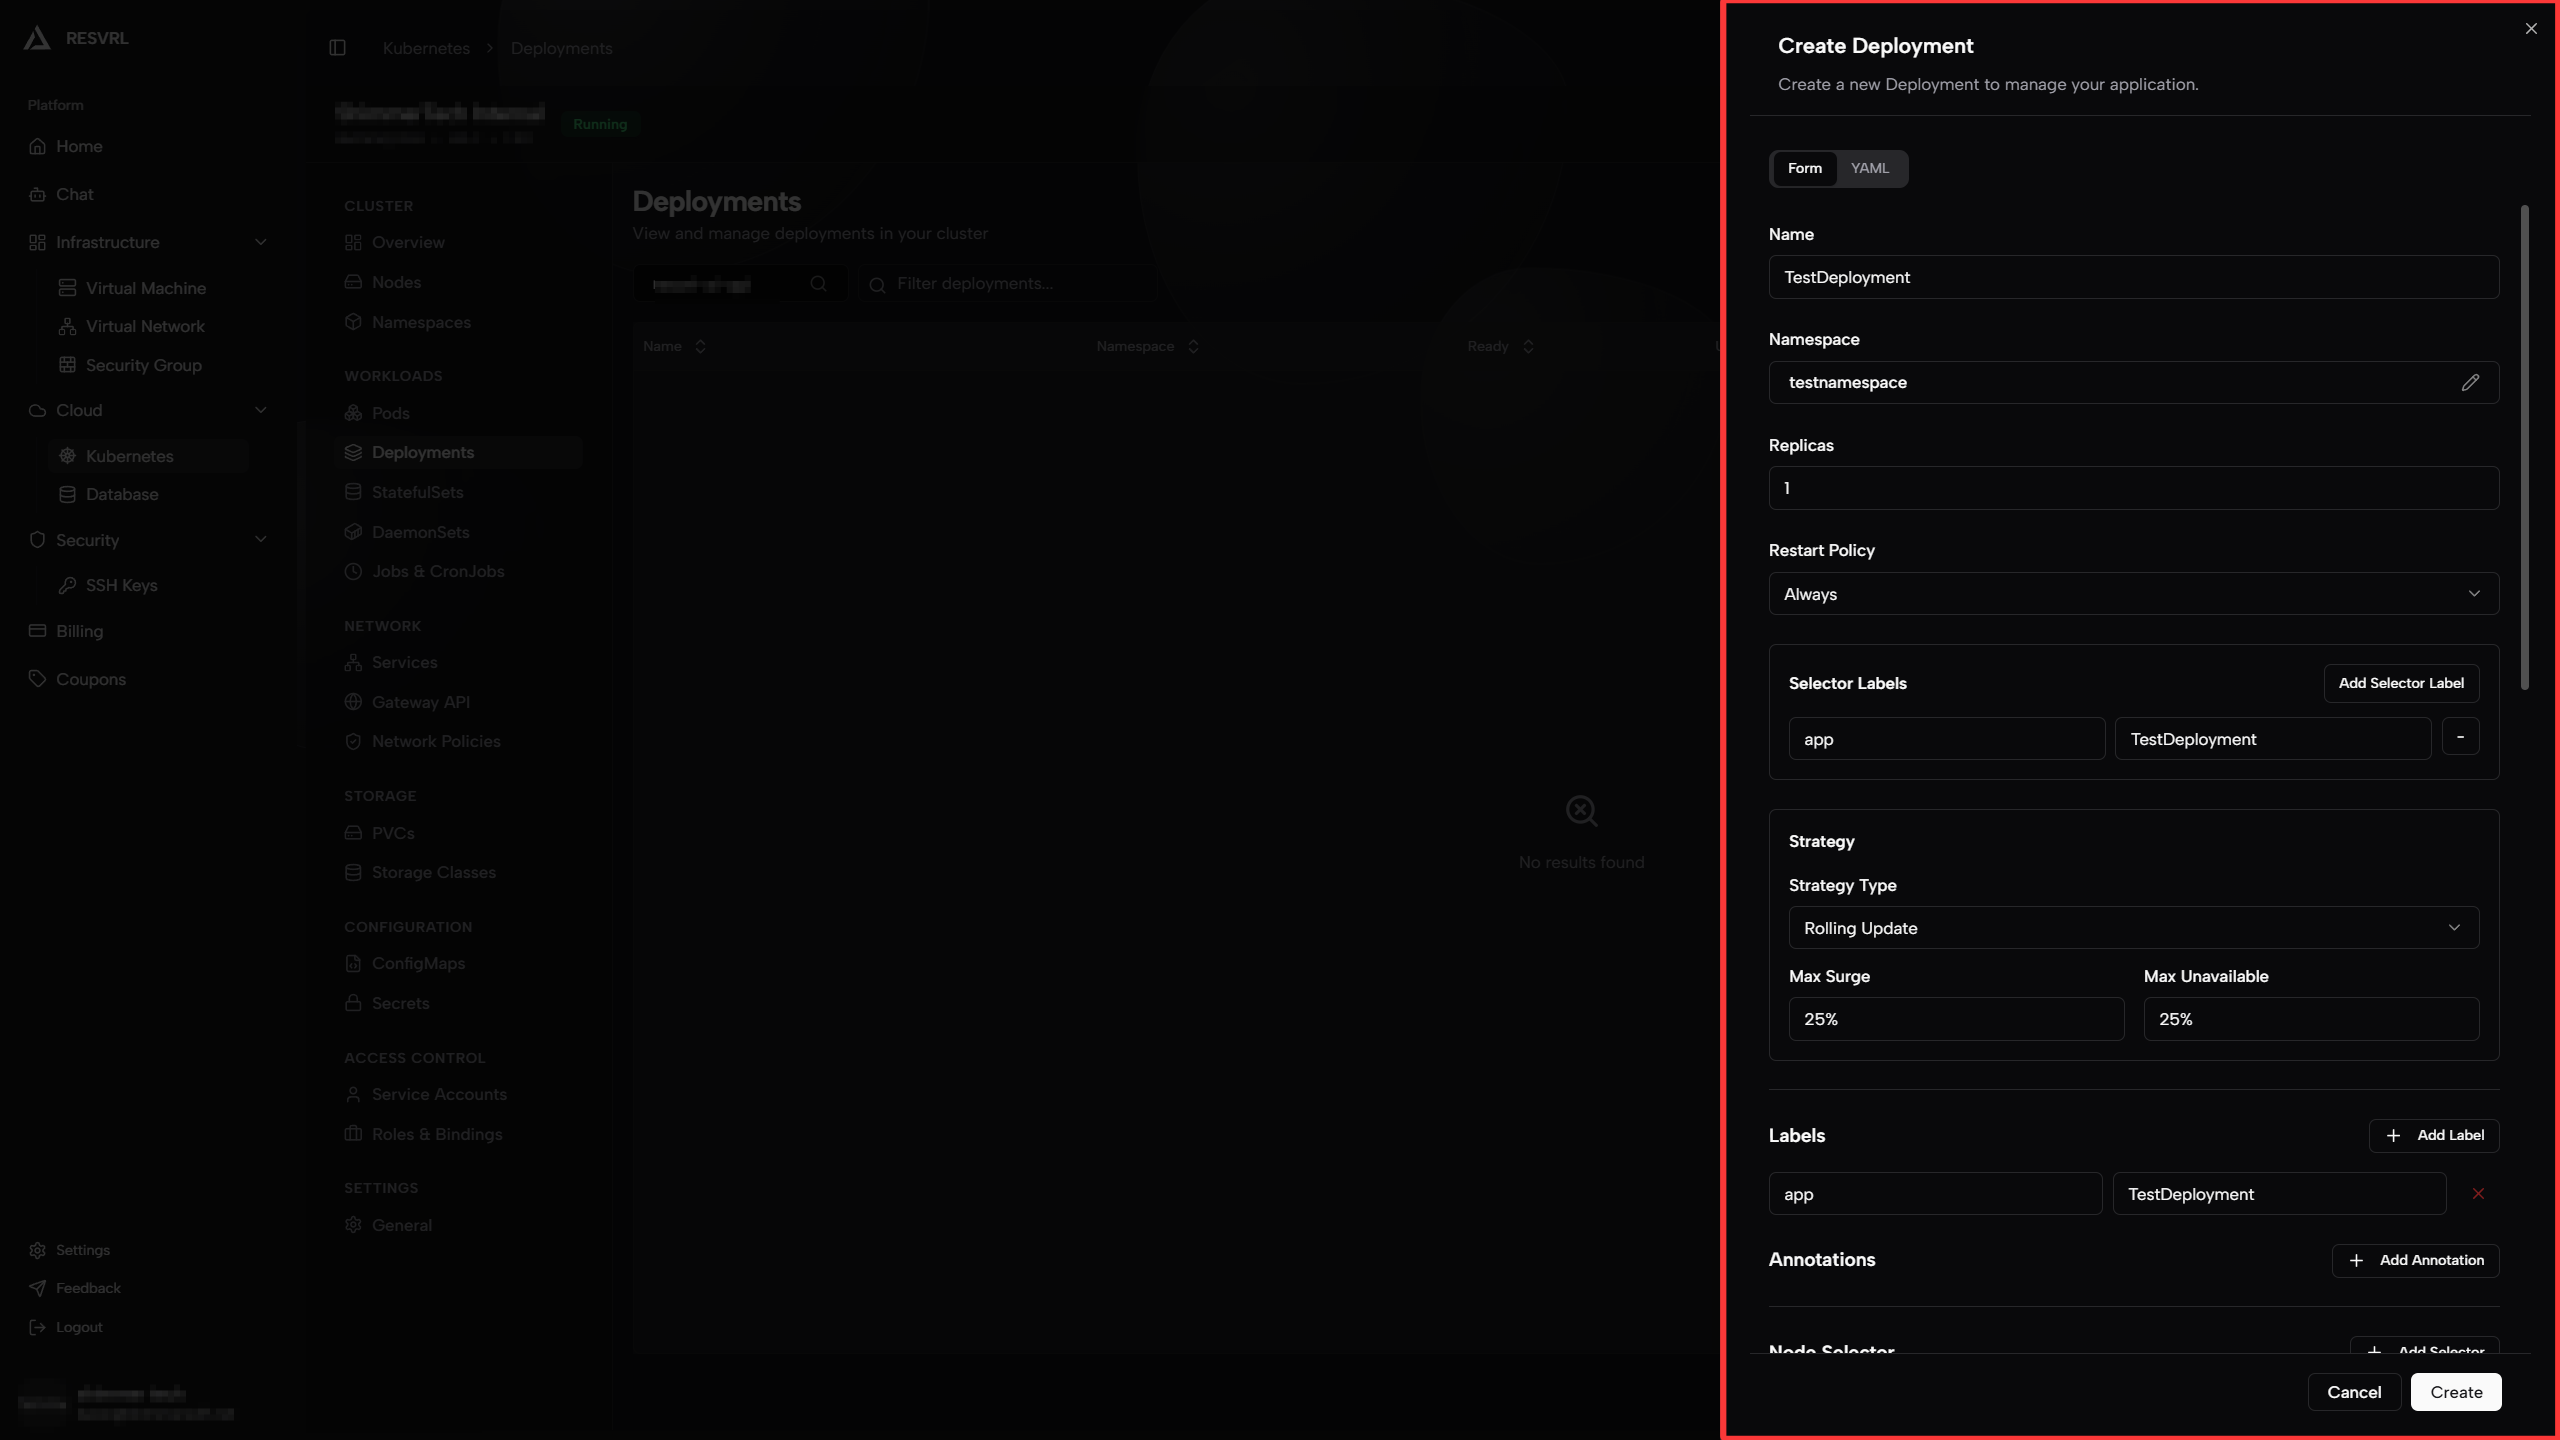
Configure Replicas and Restart Policy
-
Replicas: Specify the number of Pod replicas this Deployment should maintain. The platform automatically creates or recycles Pods to ensure the specified number is always running.
-
Restart Policy: Defines the behavior when processes in a container exit.
- Always: Always restart the container regardless of exit code (default, suitable for long-running services).
- OnFailure: Only restart when the process exits abnormally (non-zero status code, suitable for batch tasks).
- Never: Never automatically restart (suitable for one-time tasks).
Parameter Description Recommended Replicas Desired number of Pod replicas 3Restart Policy Behavior when container exits Always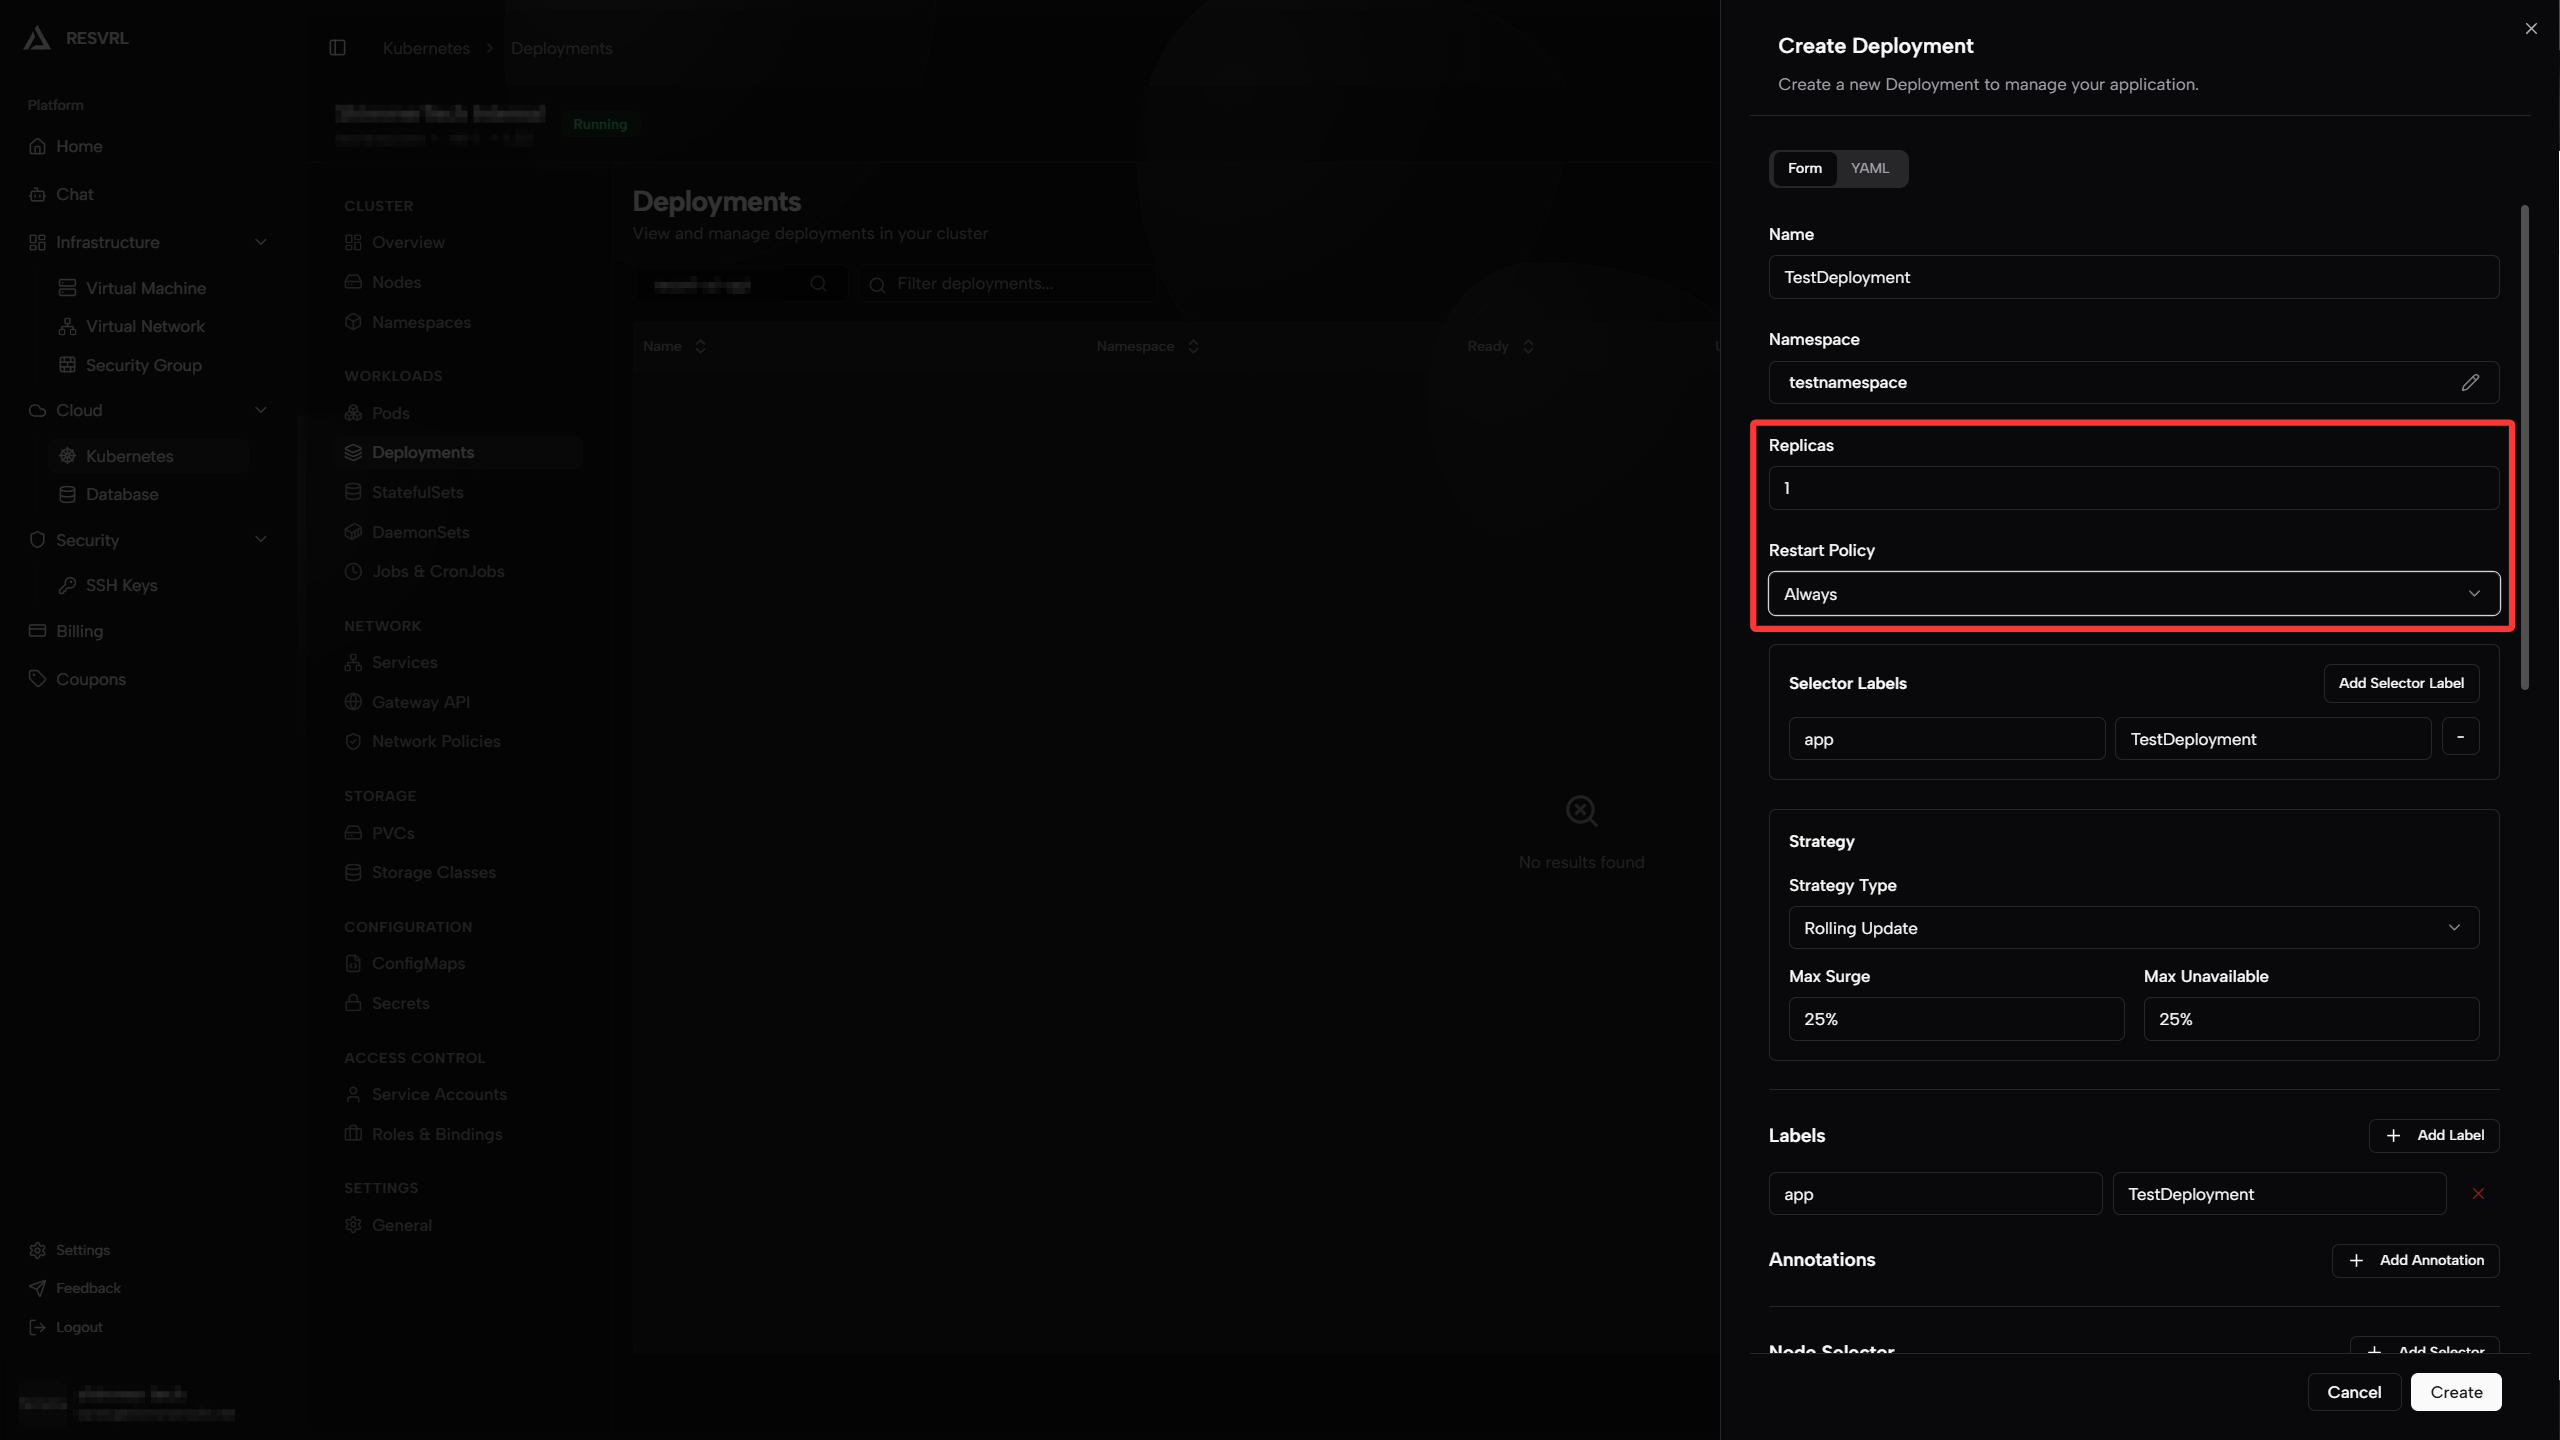
Configure Selector Labels
Selector labels allow the Deployment to identify and manage Pods that belong to it. You need to define a set of key-value pairs; the Pod template created later must contain the same labels for the Deployment to correctly associate with those Pods.
Note Selector labels cannot be modified after creation. To change them, you must delete and recreate the Deployment.
Configure Update Strategy
Update strategy determines how old Pods are replaced by new Pods when a Deployment changes (e.g., image version upgrade).
-
Rolling Update: Gradually replace old Pods with new ones. Service remains available during upgrade. Recommended for production environments.
- Max Surge: Maximum number of Pods allowed to exceed the replica count during upgrade. Can be a number or percentage. For example, if set to
25%with 4 replicas, up to 5 Pods can exist simultaneously (4 old + 1 new). - Max Unavailable: Maximum number of Pods allowed to be unavailable during upgrade. Can be a number or percentage. For example, if set to
25%with 4 replicas, at most 1 Pod can be unavailable.
- Max Surge: Maximum number of Pods allowed to exceed the replica count during upgrade. Can be a number or percentage. For example, if set to
-
Recreate: Delete all old Pods first, then create new ones. Brief service interruption occurs during upgrade, but resource usage is minimal.
Parameter Description Recommended Strategy Type Rolling Update or Recreate Rolling UpdateMax Surge Pods allowed to exceed during upgrade 25%Max Unavailable Pods allowed to be unavailable during upgrade 25%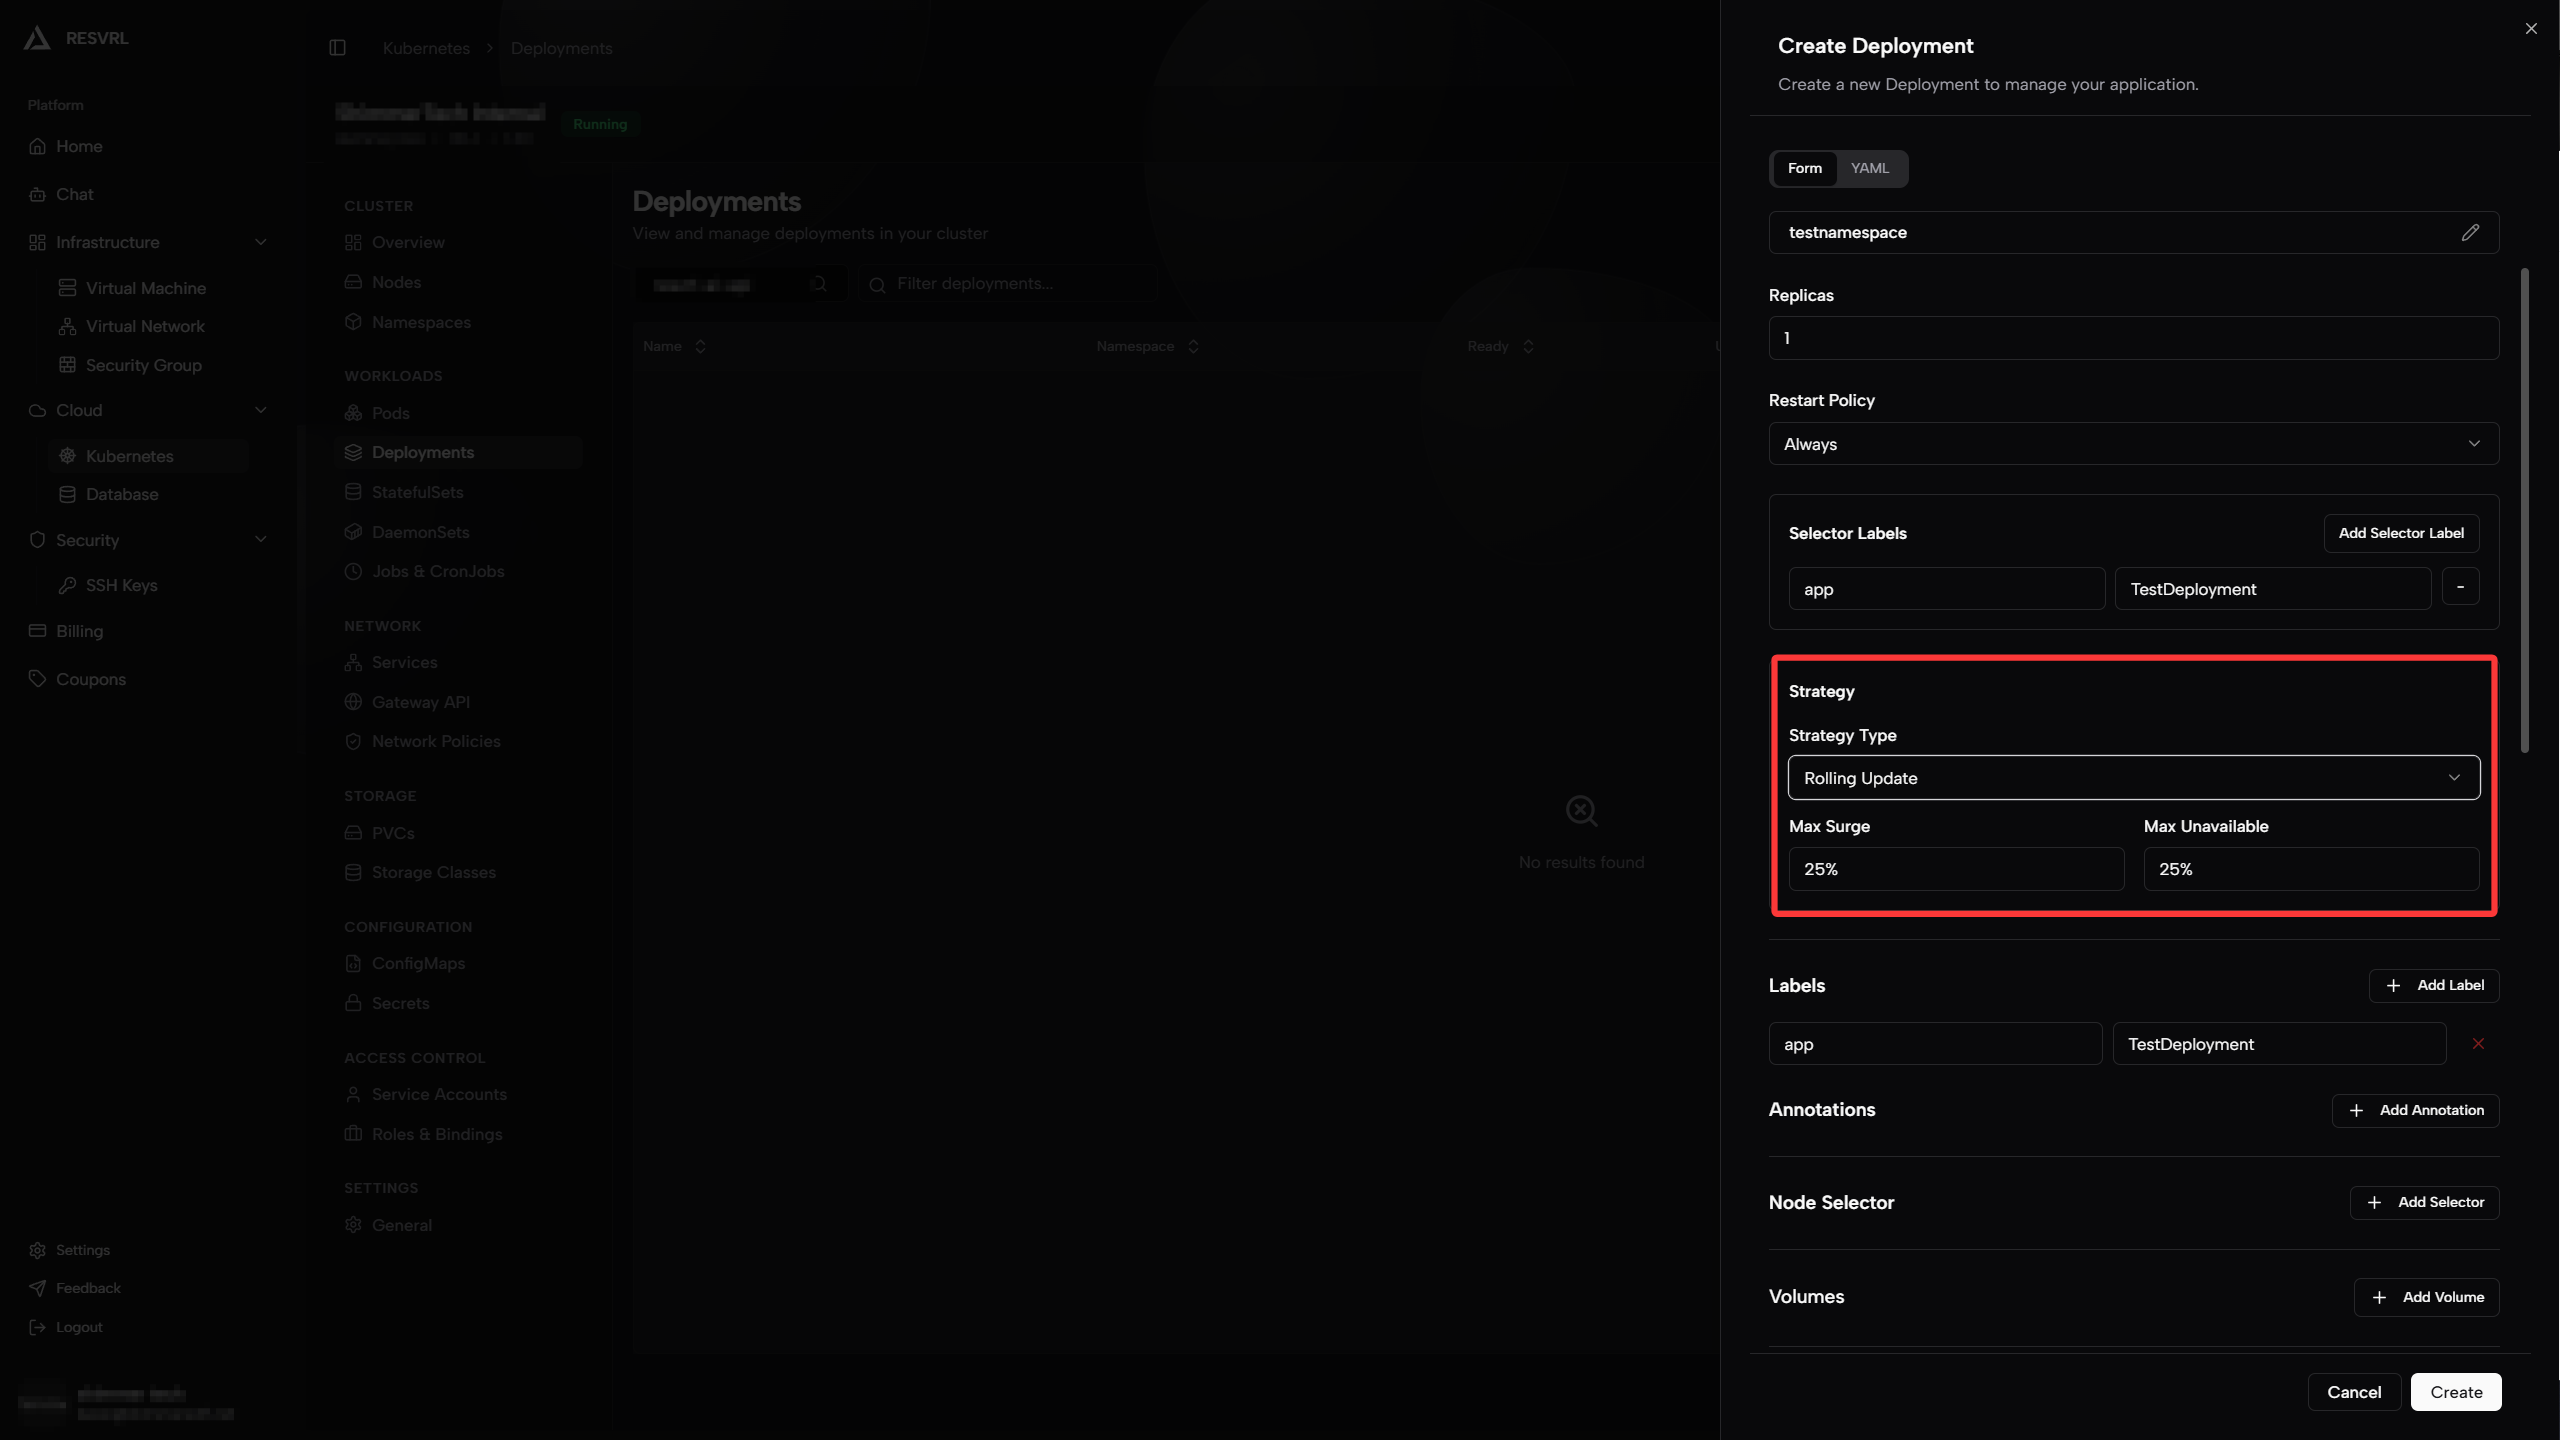
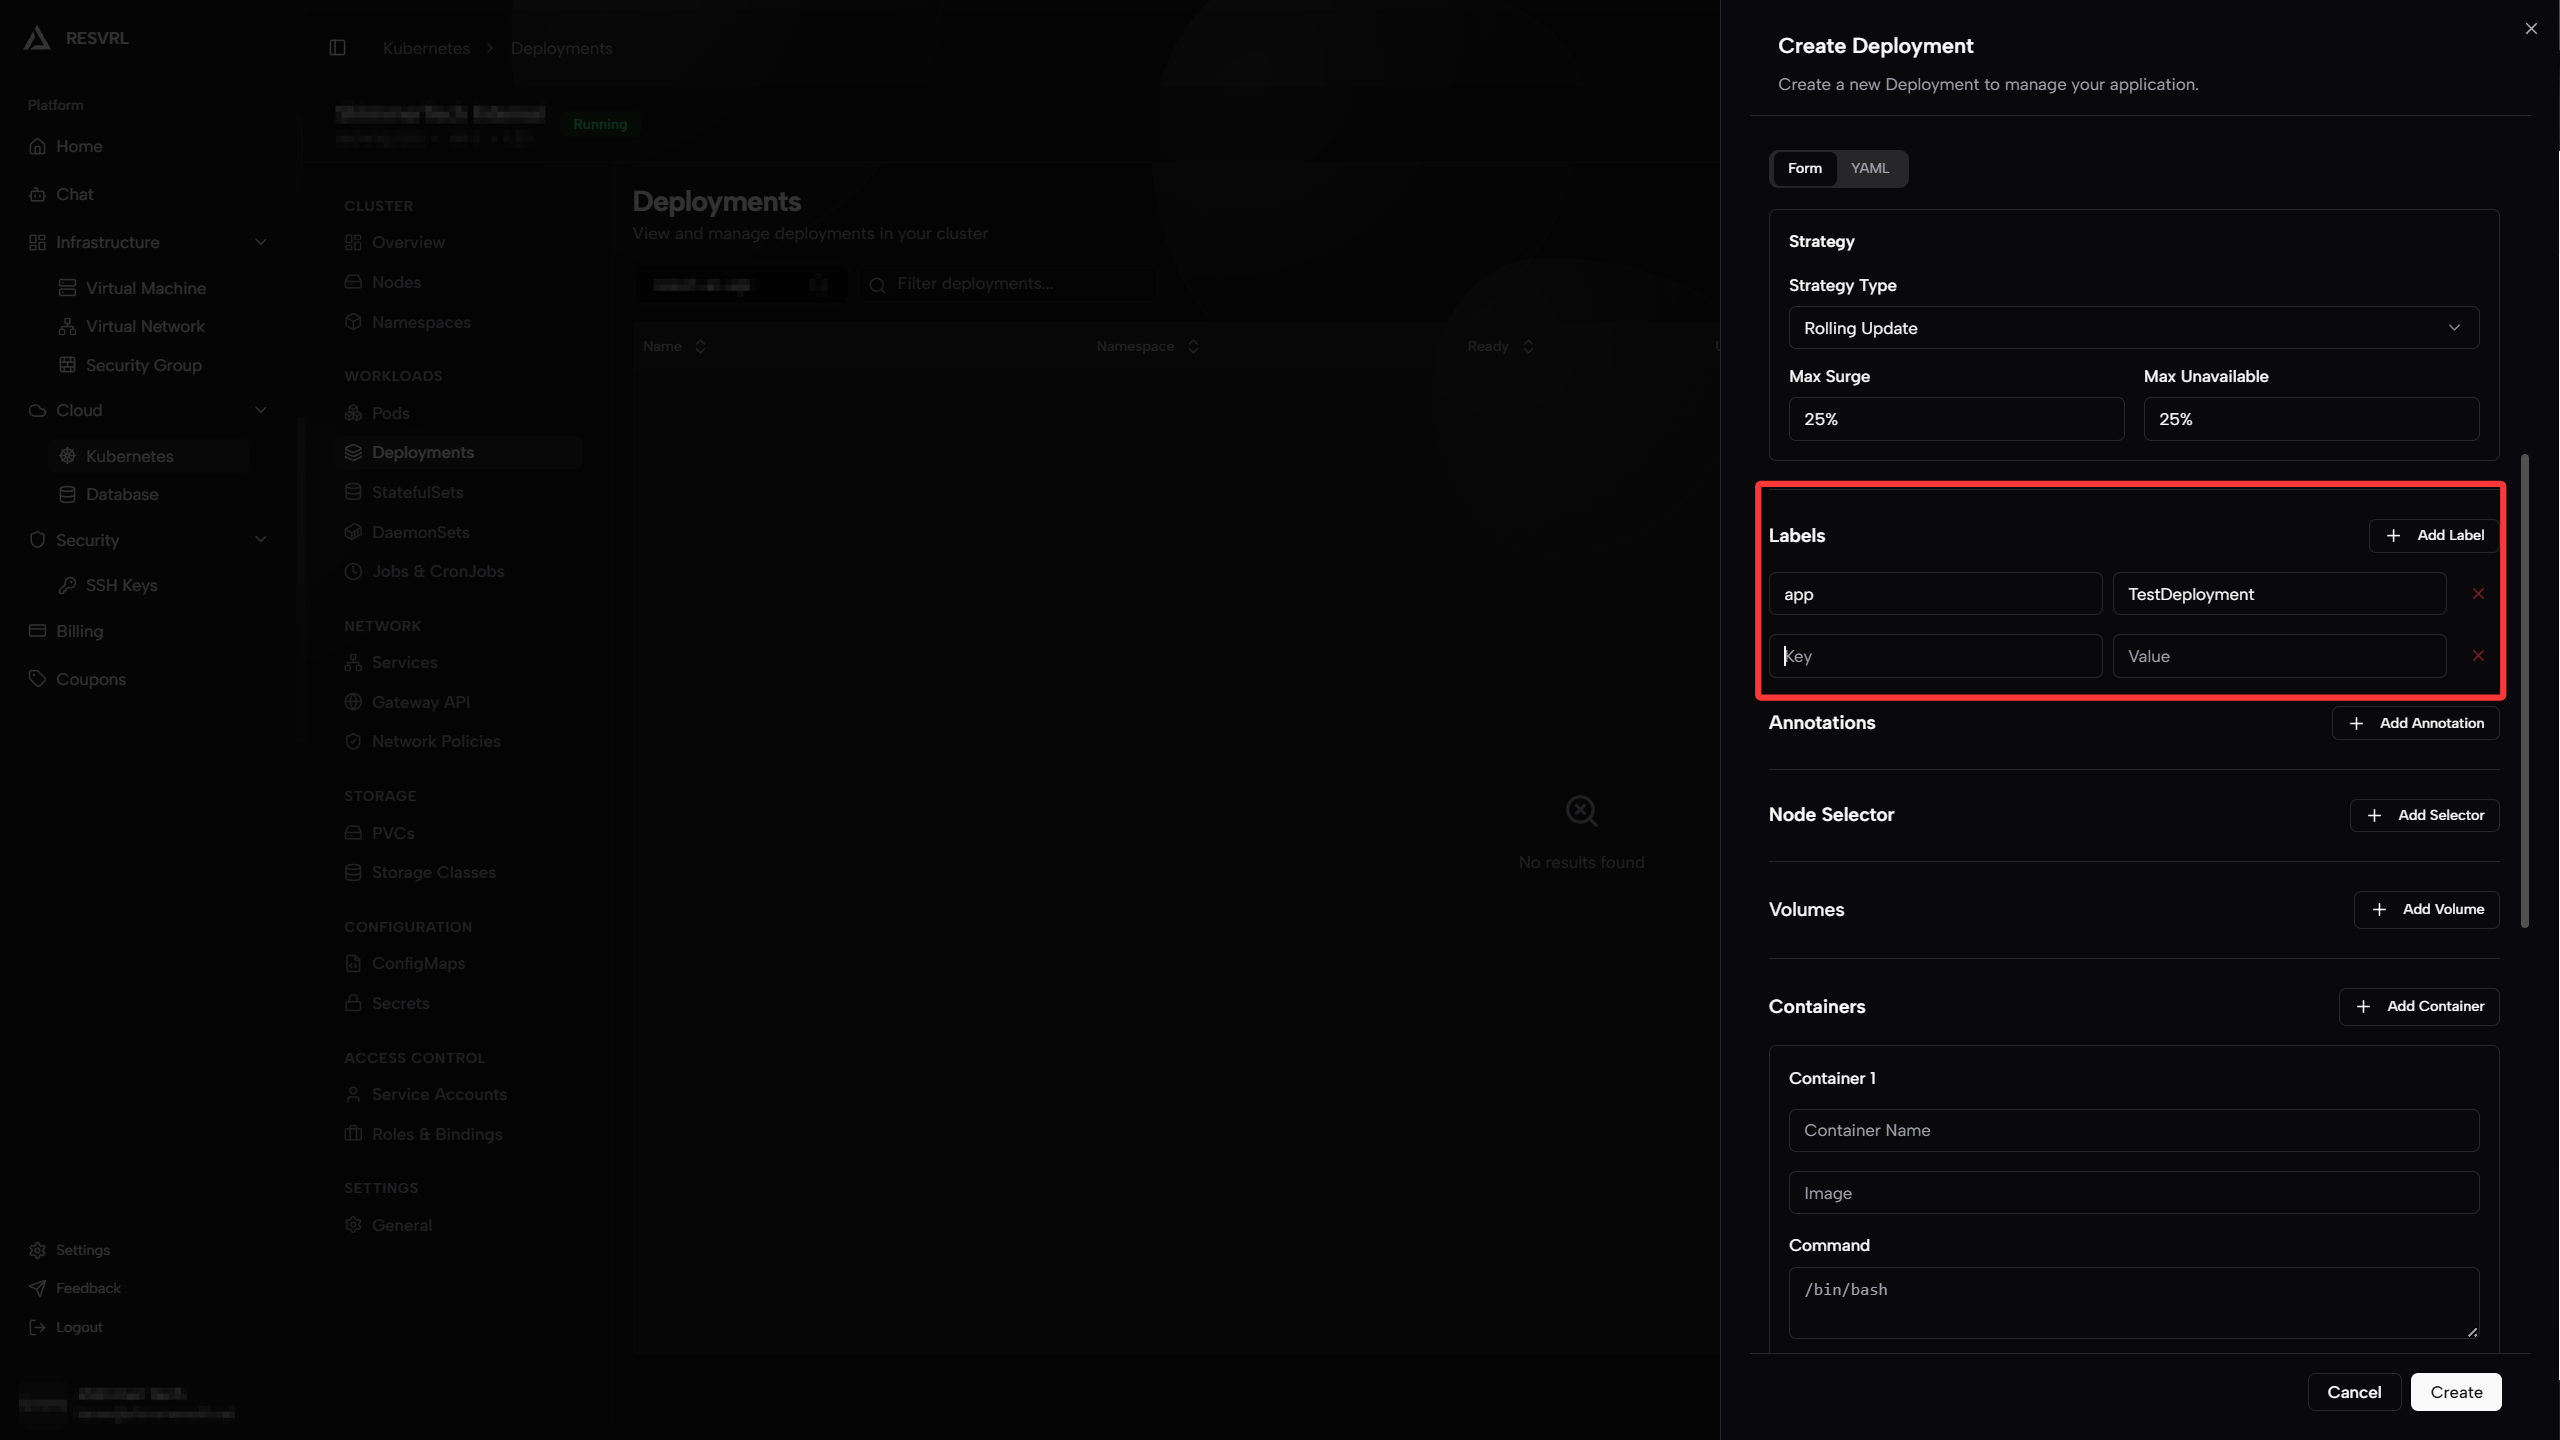
Configure Deployment Labels
Add labels to the Deployment resource itself for easy filtering and organization later. Labels are key-value pairs, such as app: nginx, env: test.
Configure Pod Template
The Pod template defines the specification of Pods created by the Deployment, including containers, storage, and network configurations.
Annotations and Node Selector
-
Annotations: Add non-identifying metadata to Pods, typically read by tools or plugins. For example, build version numbers or CI/CD pipeline information. Key-value pairs like
build-version: v1.2.3. -
Node Selector: Constrain Pods to be scheduled only on matching nodes through labels. For example, setting
disktype: ssdmeans Pods will only be deployed to nodes with thedisktype=ssdlabel.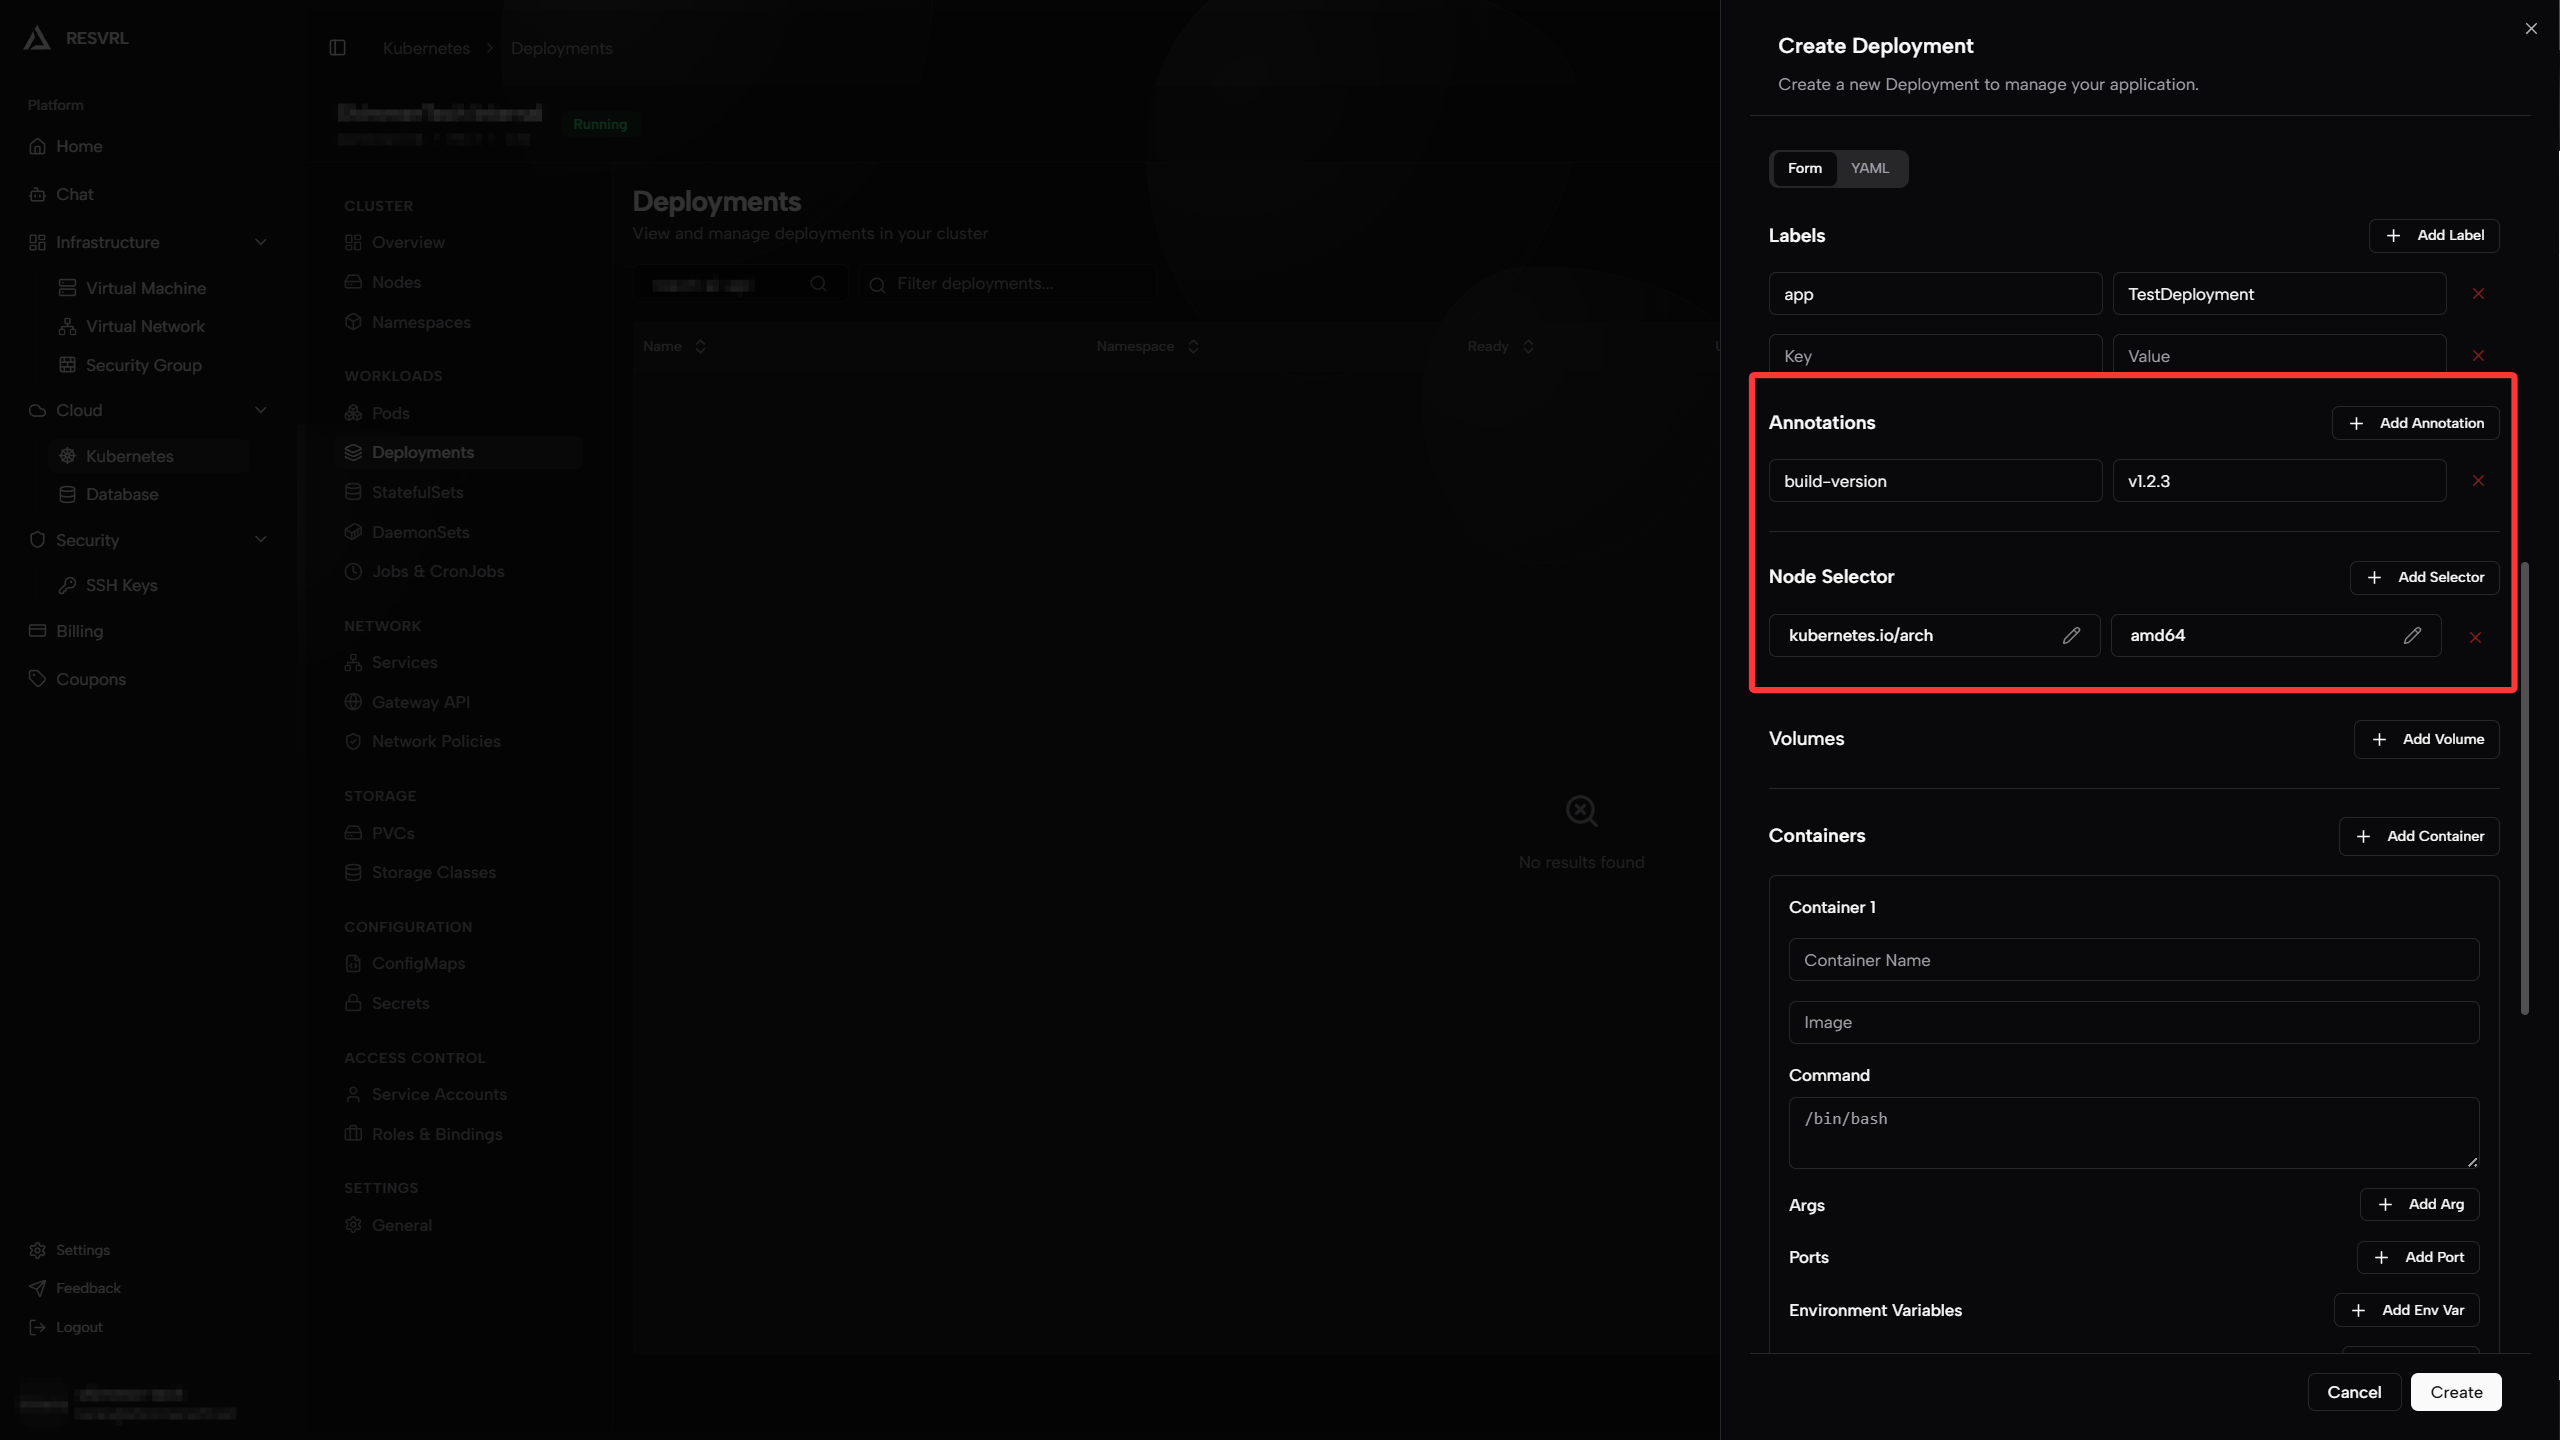
Configure Volume Mounts (Pod Level)
Pre-declare volumes at the Pod level, which can later be mounted to specified paths in container configuration. Supported volume types typically include:
-
EmptyDir: Automatically created when Pod is created, automatically cleaned up when Pod is deleted. Suitable for temporary caching.
-
PVC (PersistentVolumeClaim): Reference created persistent storage. Data persists across Pod lifecycles.
-
ConfigMap: Mount configuration data as files into the container.
-
Secret: Mount sensitive data (such as passwords, certificates) as files.
Volume Type Use Case EmptyDir Temporary files, cache PVC Persistent data ConfigMap Configuration files Secret Sensitive information 
Configure Container
Containers are the units that actually run application processes in a Pod. A Pod can contain one or more containers; this tutorial uses a single container as an example.
Basic Information
-
Container Name: Enter an identifier for the container, must be unique within the Pod. For example,
nginx. -
Image Name: Enter the container image address. Supports Docker Hub official images (e.g.,
nginx:latest) or private registry addresses (e.g.,registry.example.com/myapp:v1.0). -
Command: Override the default startup command of the image. If left empty, uses the
ENTRYPOINTdefined in the image's Dockerfile. -
Args: Arguments passed to the startup command. For example, if the command is
nginx, args could be-g daemon off;.Parameter Description Example Container Name Unique ID within Pod nginxImage Name Container image address nginx:alpineCommand Override default entrypoint (leave empty for default) Args Arguments passed to command -g daemon off;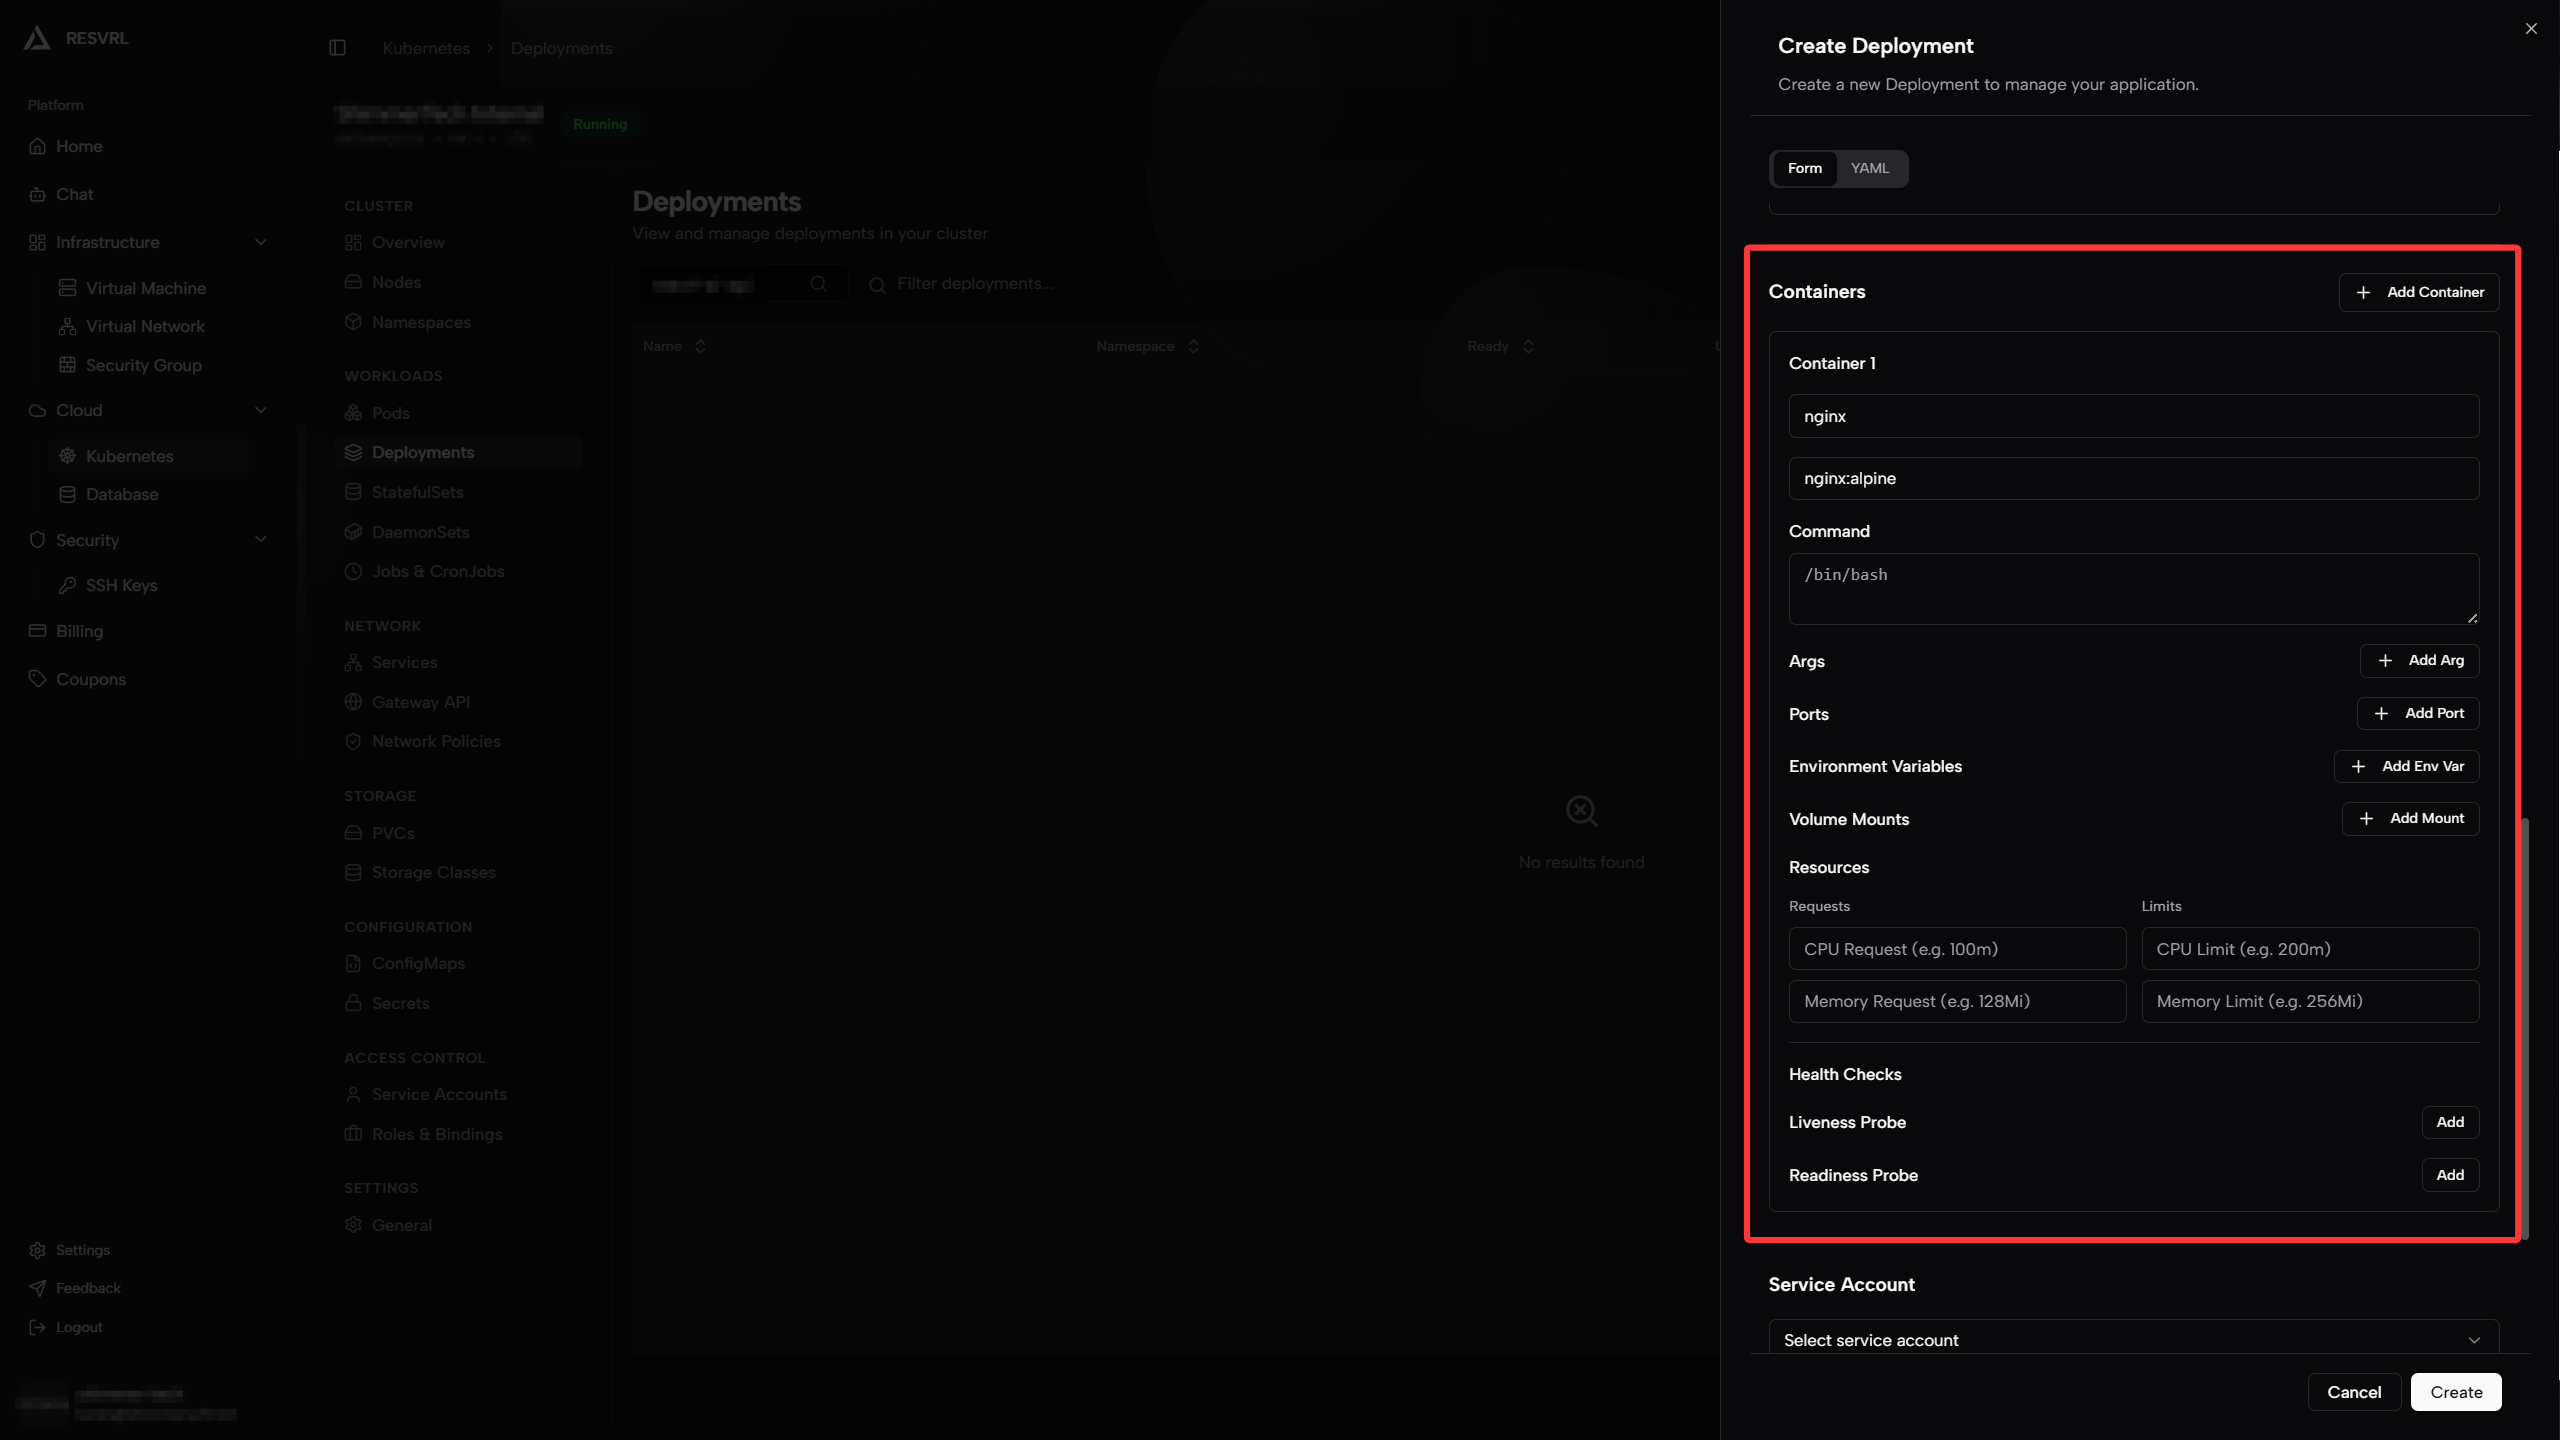
Port Mapping
Declare ports the container needs to expose for access by other services in the cluster or external traffic.
-
Name: Port identifier for easy reference in other resources.
-
Container Port: The port the container process actually listens on.
-
Protocol: TCP or UDP.
Parameter Description Example Name Port identifier httpContainer Port Listening port 80Protocol Protocol TCP
Resource Configuration
Specify CPU and memory Requests and Limits for the container to ensure Pods get enough resources while preventing any single container from exhausting node resources.
-
Requests: When scheduling Pods, Kubernetes ensures the node has at least this much resource available. Also used as the basis for HPA (Horizontal Pod Autoscaler) calculations.
-
Limits: The maximum resources a container can use during runtime. Exceeding CPU limits causes throttling; exceeding memory limits causes OOM Kill.
Parameter Description Example CPU Request Guaranteed minimum CPU cores 100m(0.1 core)CPU Limit Maximum CPU cores allowed 500m(0.5 core)Memory Request Guaranteed minimum memory 128MiMemory Limit Maximum memory allowed 512Mi
Configure Health Checks
Health checks determine whether a container is running normally and whether it's ready to receive traffic.
- Liveness Probe: Detects if the container is in a healthy state. If the check fails, Kubernetes automatically restarts the container. Suitable for detecting deadlocks or unrecoverable application states.
- Readiness Probe: Detects if the container is ready to receive requests. If the check fails, the Pod is removed from the Service's endpoint list and no longer receives traffic. Suitable for applications with long startup times or dependencies on external services.
Both probes support HTTP request, TCP port check, and Exec command methods. Using HTTP as an example, common parameters are:
| Parameter | Description | Recommended |
|---|---|---|
| Path | HTTP request path | /healthz |
| Initial Delay | How long to wait after container starts probing | 10 seconds |
| Period | Interval between probes | 10 seconds |
| Timeout | Maximum wait time per probe | 5 seconds |
| Failure Threshold | Consecutive failures before marked unhealthy | 3 times |
Service Account and Image Pull Secrets
Service Account
A Service Account provides an identity for the Pod to authenticate with the Kubernetes API Server or other external services. If not specified, the Pod automatically uses the default service account in its namespace.
- You can choose to create a new service account or select an existing one from the dropdown.
- For detailed service account management, visit the Service Accounts page.
Image Pull Secrets
Image Pull Secrets are used to pull images from private registries. When your registry requires authentication, you must add the corresponding Secret.
- Enter the Secret name list for pulling private images here.
- To create a new Secret, go to the Secrets page.
Advanced Configuration
This section covers advanced options like security context and tolerations. Configure as needed.
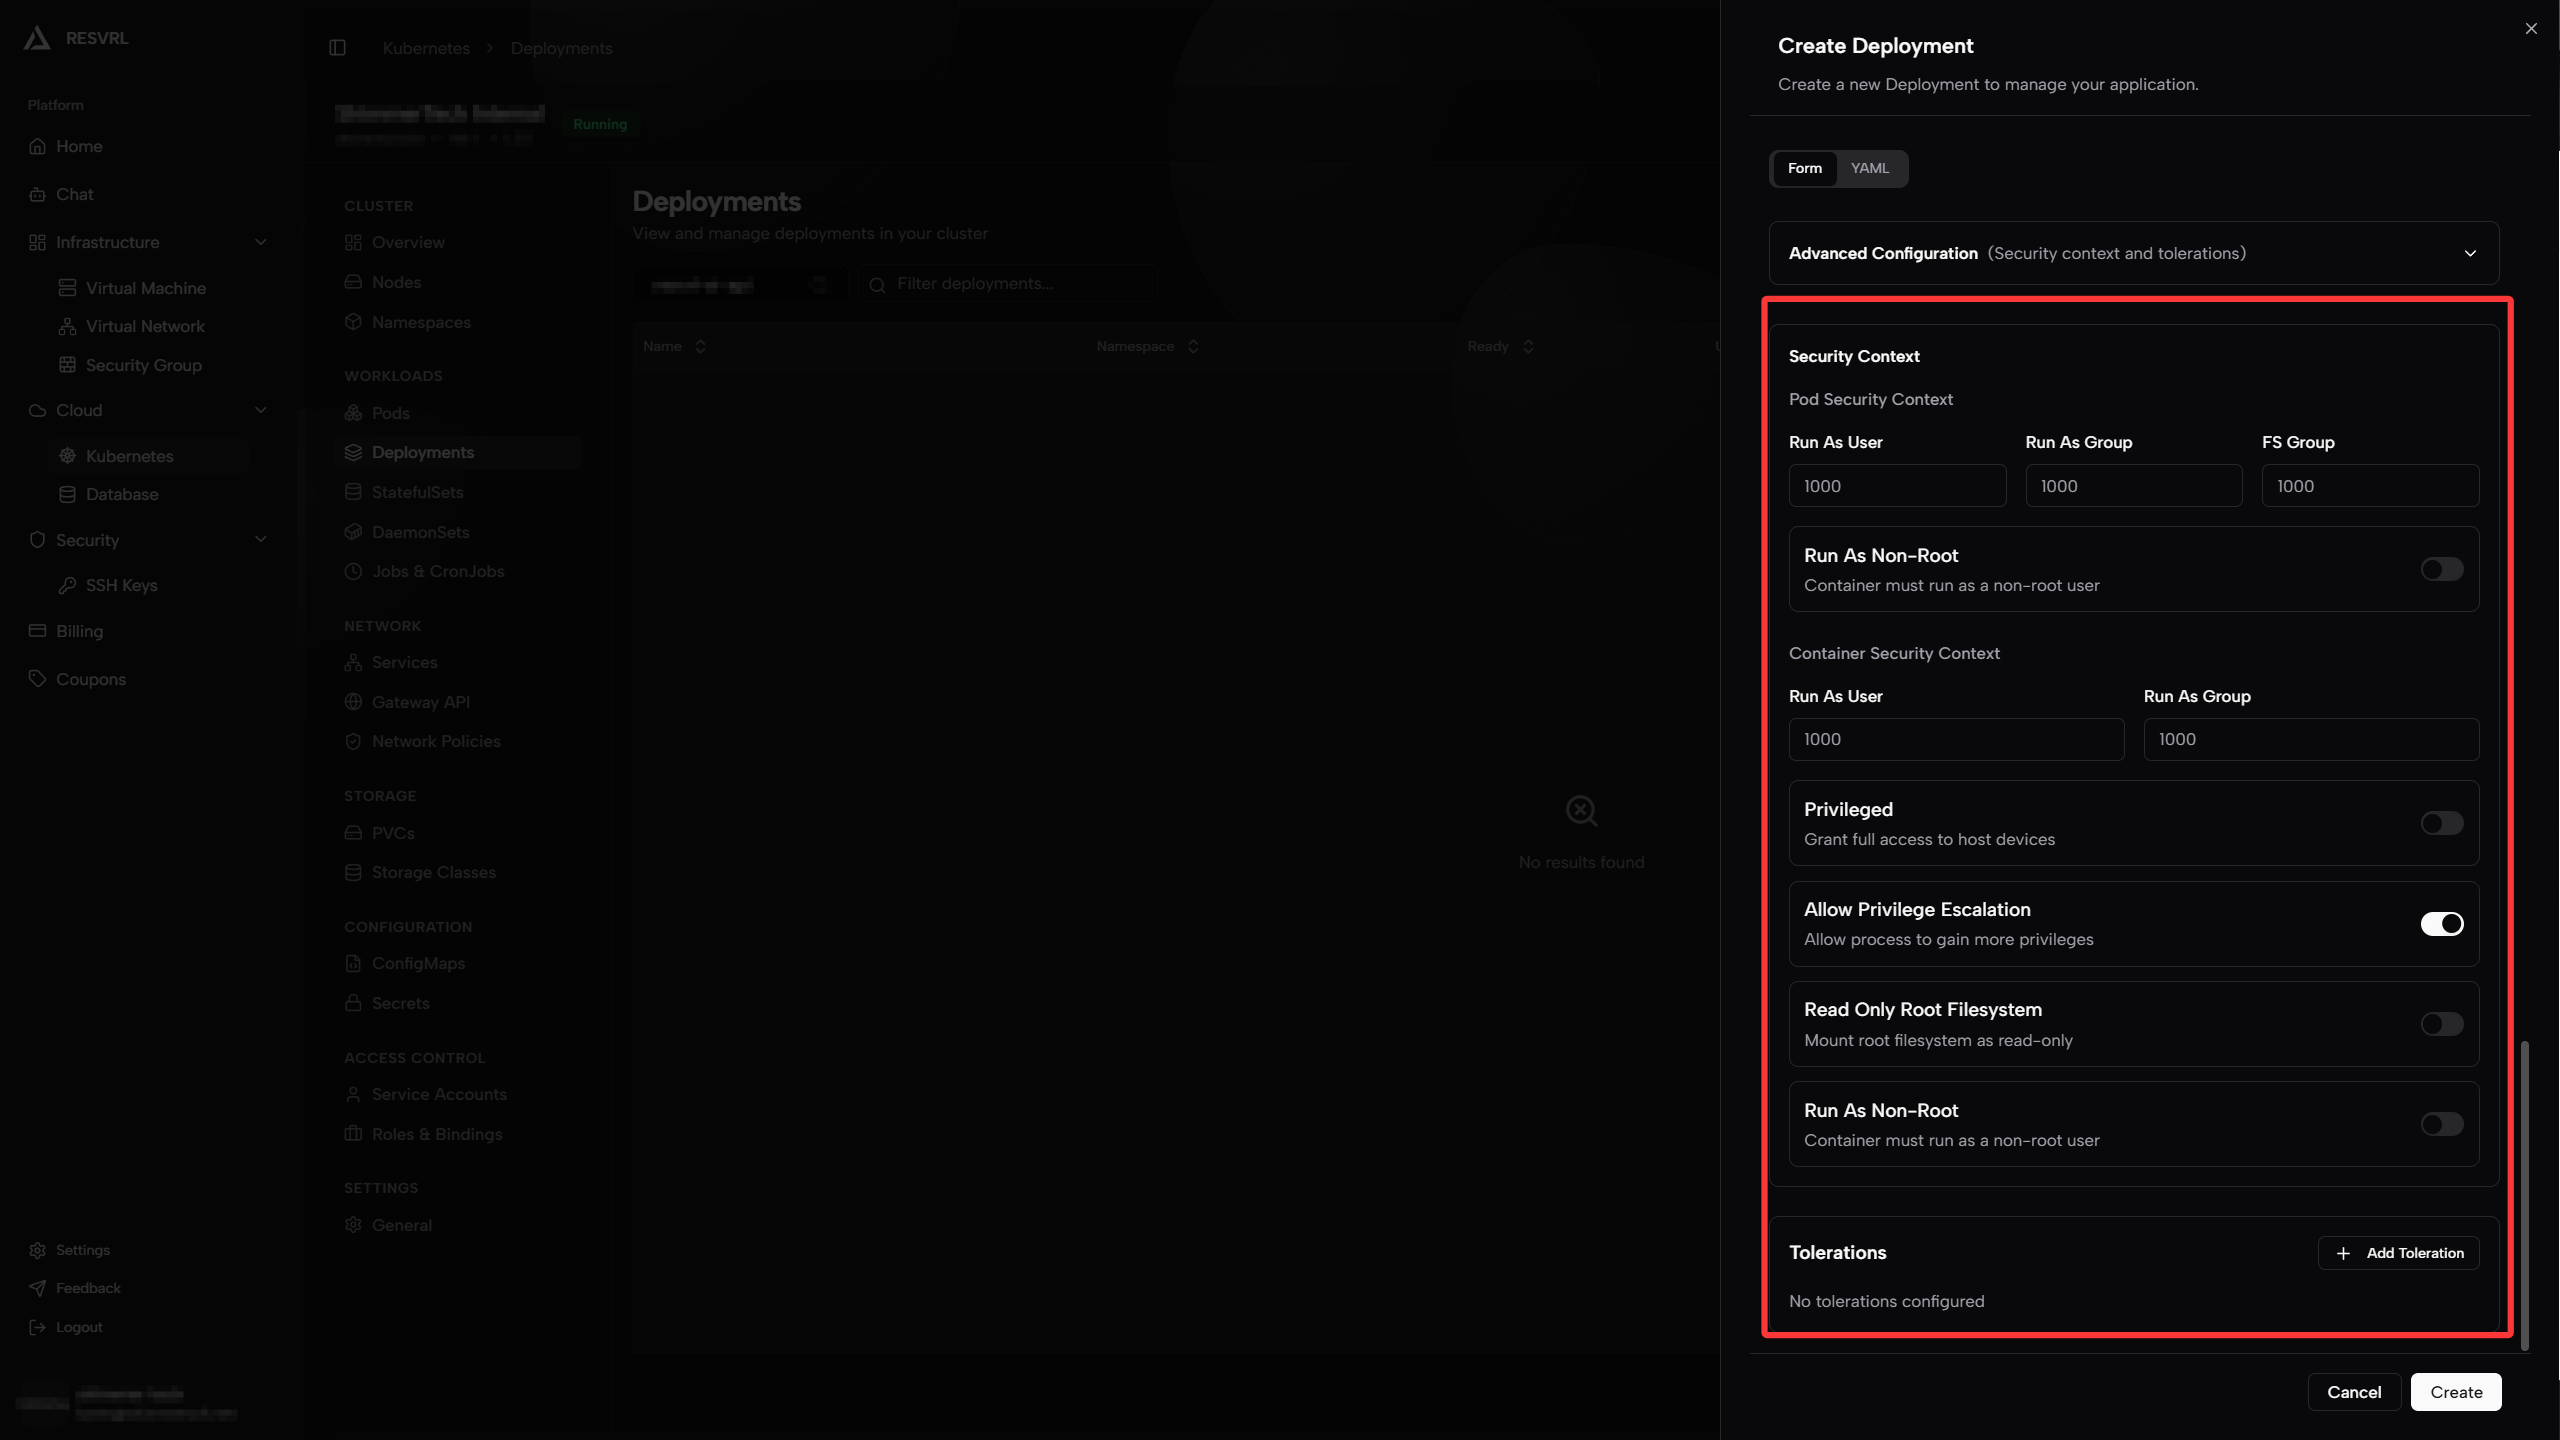
Pod Security Context
Pod security context defines Pod-level runtime permissions affecting all containers in the Pod.
| Parameter | Description | Example |
|---|---|---|
| Run As User | UID for processes in containers | 1000 |
| Run As Group | GID for processes in containers | 1000 |
| FS Group | GID for mounted volumes; volume files auto-modify group perms | 1000 |
| Run As Non-Root | Force containers to run as non-root user for security | Check |
- Run As Non-Root: When enabled, containers must run as non-root users. If the image defaults to root startup, it will fail due to insufficient permissions. Prefer images with non-root users built in.
Container Security Context
Container security context defines runtime permissions for individual containers, overriding Pod-level settings.
| Parameter | Description | Example |
|---|---|---|
| Run As User | UID for processes in this container | 1000 |
| Run As Group | GID for processes in this container | 1000 |
| Privileged | Grant full access to host devices (equivalent to root on host). Not recommended for production | Off |
| Allow Privilege Escalation | Allow processes to gain more privileges (setuid syscalls). Enable as needed | Off |
| Read Only Root Filesystem | Mount container's root filesystem as read-only | Check |
| Run As Non-Root | Force this container to run as non-root user | Check |
Note Privileged and Allow Privilege Escalation significantly reduce container security isolation. Only enable when you need direct access to host hardware or specific devices (e.g., network plugins, storage drivers).
Tolerations
Tolerations allow Pods to be scheduled on nodes with taints. Taints prevent ordinary Pods from being scheduled on a node unless the Pod has a matching toleration.
A typical use case is allowing Pods to be scheduled on master nodes (usually master nodes have the node-role.kubernetes.io/master:NoSchedule taint to prevent workload Pods from running).
| Parameter | Description | Example |
|---|---|---|
| Key | Taint key | node-role.kubernetes.io/master |
| Operator | Match type: Equal (exact match) or Exists (key exists) | Equal |
| Value | Taint value | true |
| Effect | Taint effect: NoSchedule, PreferNoSchedule, or NoExecute (evicts existing Pods) | NoSchedule |
Tip Normally you don't need to configure tolerations. The platform automatically schedules Pods to appropriate worker nodes. For special scheduling requirements, check node taint configurations on the Nodes page first.
Submit Creation
After completing the above configuration, click the Create button at the bottom of the page. The platform will generate a Deployment YAML based on your configuration and deploy it to the cluster. After successful creation, you can view the Deployment's running status in the Deployments list and view associated Pods through the Namespaces page.
Next Steps
- To expose services externally, refer to Networking - Services.
- To configure traffic routing, refer to Networking - Gateway API.
This document was updated on 2026-04-25 09:00