Networking Guide
This guide explains the different network types available in RESVRL Cloud Services and how to configure networking for various scenarios, including public and private network setups.
Networking Guide
This guide explains the different network types available in RESVRL Cloud Services and how to configure networking for various scenarios, including public and private network setups.
Network Types Overview
RESVRL Cloud Services provide two primary network types to meet different connectivity requirements:
Public Network
The Public Network provides direct connectivity to the external internet, allowing virtual machines to obtain public IP addresses and communicate directly with external services.
Key Features:
- Direct Internet Access: Virtual machines get public IP addresses
- Automatic IP Assignment: When network interfaces are associated with public networks, we automatically assign public IP addresses
- High Performance: Minimal network latency due to direct bridging
- Public Services: Ideal for web servers, APIs, and services that need external access
- Security Considerations: Requires careful security group configuration
Use Cases:
- Web servers and applications
- Public-facing APIs
- Load balancers
- VPN gateways
NAT Network (Private Network)
The NAT Network creates an isolated private network environment where virtual machines communicate through network address translation.
Key Features:
- Network Isolation: Virtual machines are on a private subnet
- Free C-Class Allocation: Each virtual network receives one free C-class subnet (256 IP addresses) for private use
- Random IP Assignment: When network interfaces are associated with NAT networks, we randomly assign available IP addresses from the network's C-class subnet
- Outbound Access: Internet access through NAT gateway
- Security: Enhanced isolation from external threats
- Internal Communication: Seamless communication between VMs on the same network
Use Cases:
- Internal application servers
- Database servers
- Development and testing environments
- Multi-tier application architectures
Networking Scenarios
Scenario 1: Hybrid Networking (Public + Private)
In this configuration, a single virtual machine has two network interfaces:
- One connected to the Public Network for external access
- One connected to a NAT Network for internal communication
Configuration Steps:
-
Create Networks:
- Create a Public Network
- Create a NAT Network (NAT type)
-
Configure Virtual Machine:
- Add primary interface to Public Network
- Add secondary interface to NAT Network
-
Security Group Setup:
- Public Interface: Allow necessary inbound ports (e.g., 80, 443 for web services)
Benefits:
- Load Balancing: Handle external traffic while maintaining internal services
- Security: Isolate sensitive services on private network
- Flexibility: Support complex application architectures
Scenario 2: Private Network Cluster
Multiple virtual machines connected only to NAT Networks, creating isolated internal environments.
Configuration Steps:
-
Create NAT Network:
- Set up a dedicated NAT Network for the cluster
-
Deploy Virtual Machines:
- All VMs connect only to the NAT Network
- No public interfaces for enhanced security
-
Internal Services:
- Configure internal load balancers
- Set up service discovery
- Implement internal DNS resolution
Benefits:
- Enhanced Security: No direct external exposure
- Cost Effective: No public IP costs for internal services
- Simplified Management: Unified network management
Quick Start: Create a NAT Network and Connect Multiple VMs
This tutorial guides you through creating a NAT virtual network and connecting multiple virtual machines to enable internal network communication.
Overview
Create NAT Network → Add Network Interfaces to VMs
Step 1: Create a NAT Network
- Navigate to the Virtual Networks page
- Click Create Network
- Select network type as NAT Network
- Enter a network name (e.g.,
my-internal-network) - The system will automatically allocate a C-class subnet (e.g.,
192.168.1.0/24) - Confirm creation
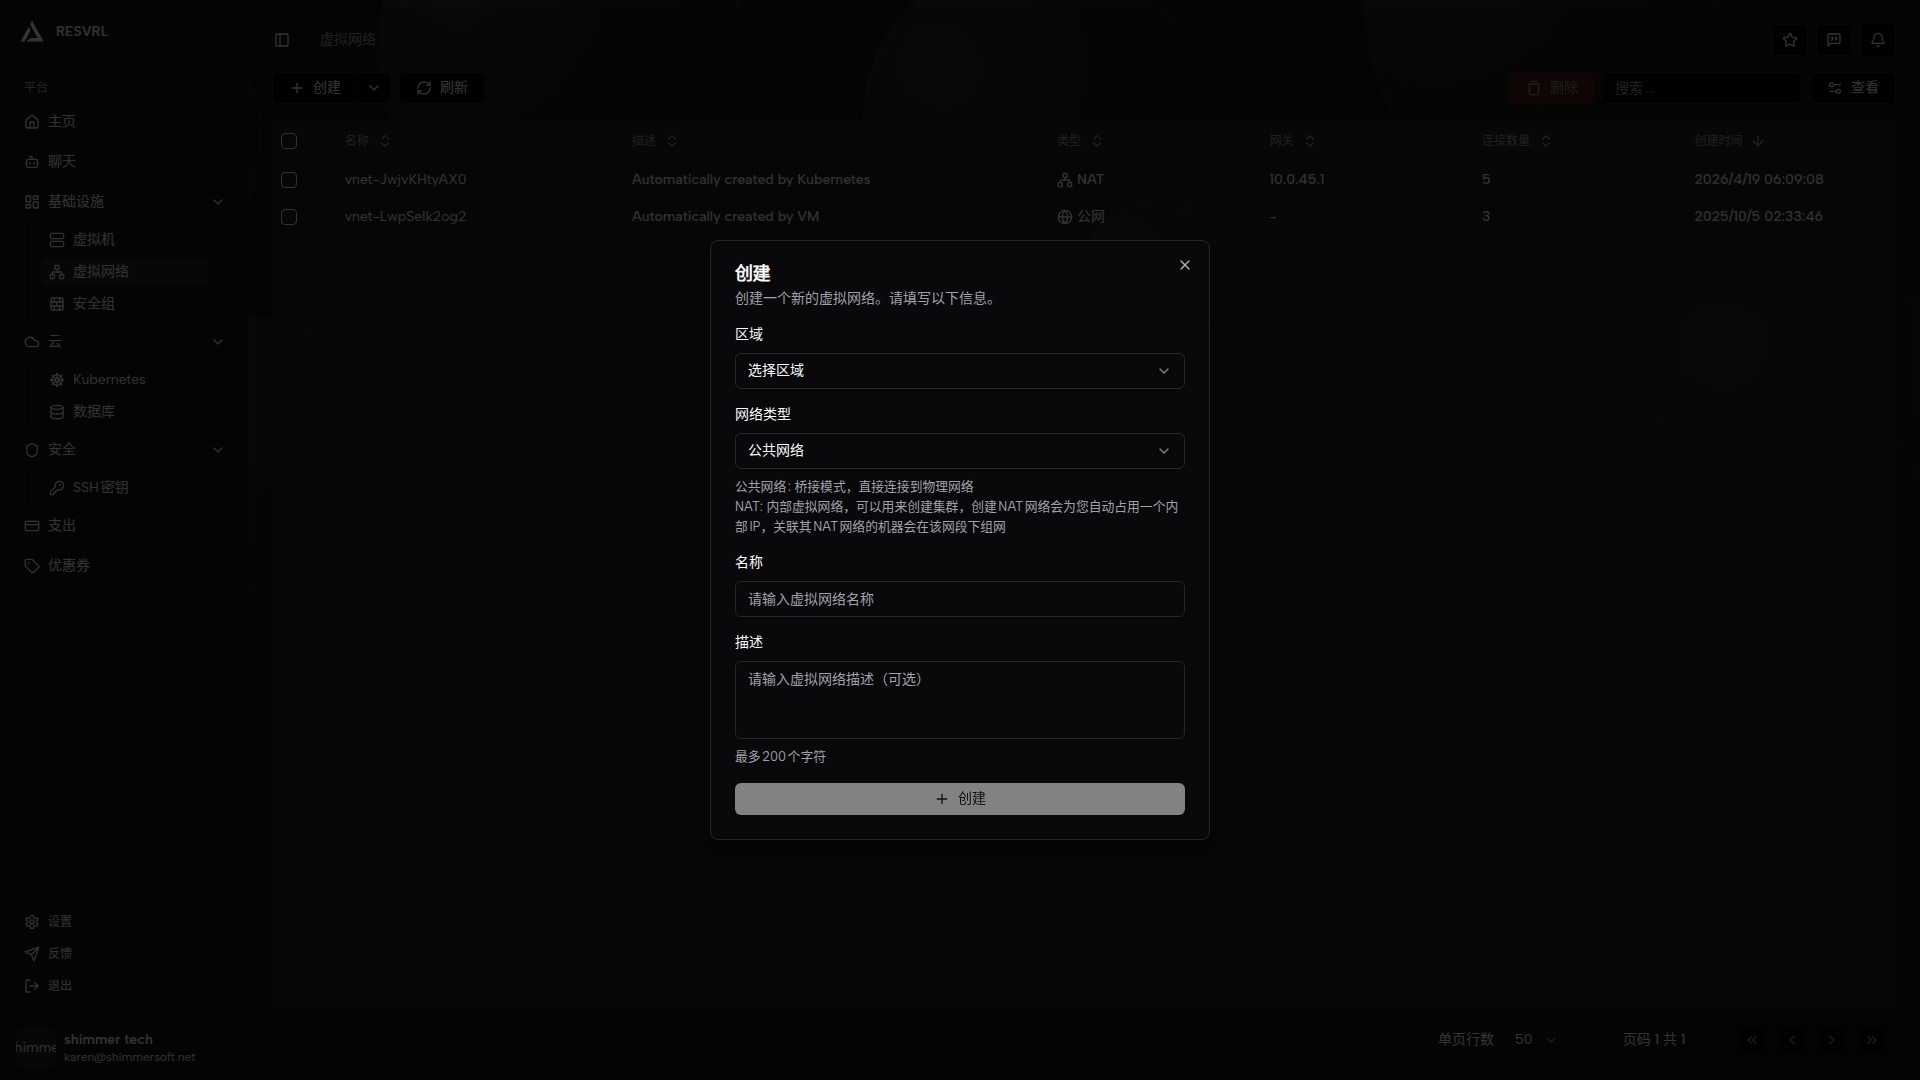
Screenshot needed: Please capture the virtual network creation page showing NAT network type selection and the automatically allocated subnet information.
Step 2: Add Network Interfaces to Virtual Machines
For each VM that needs to join the internal network:
- Go to VM Detail Page → Interface tab
- Click Add Interface
- Select the NAT network you just created
- Confirm to add
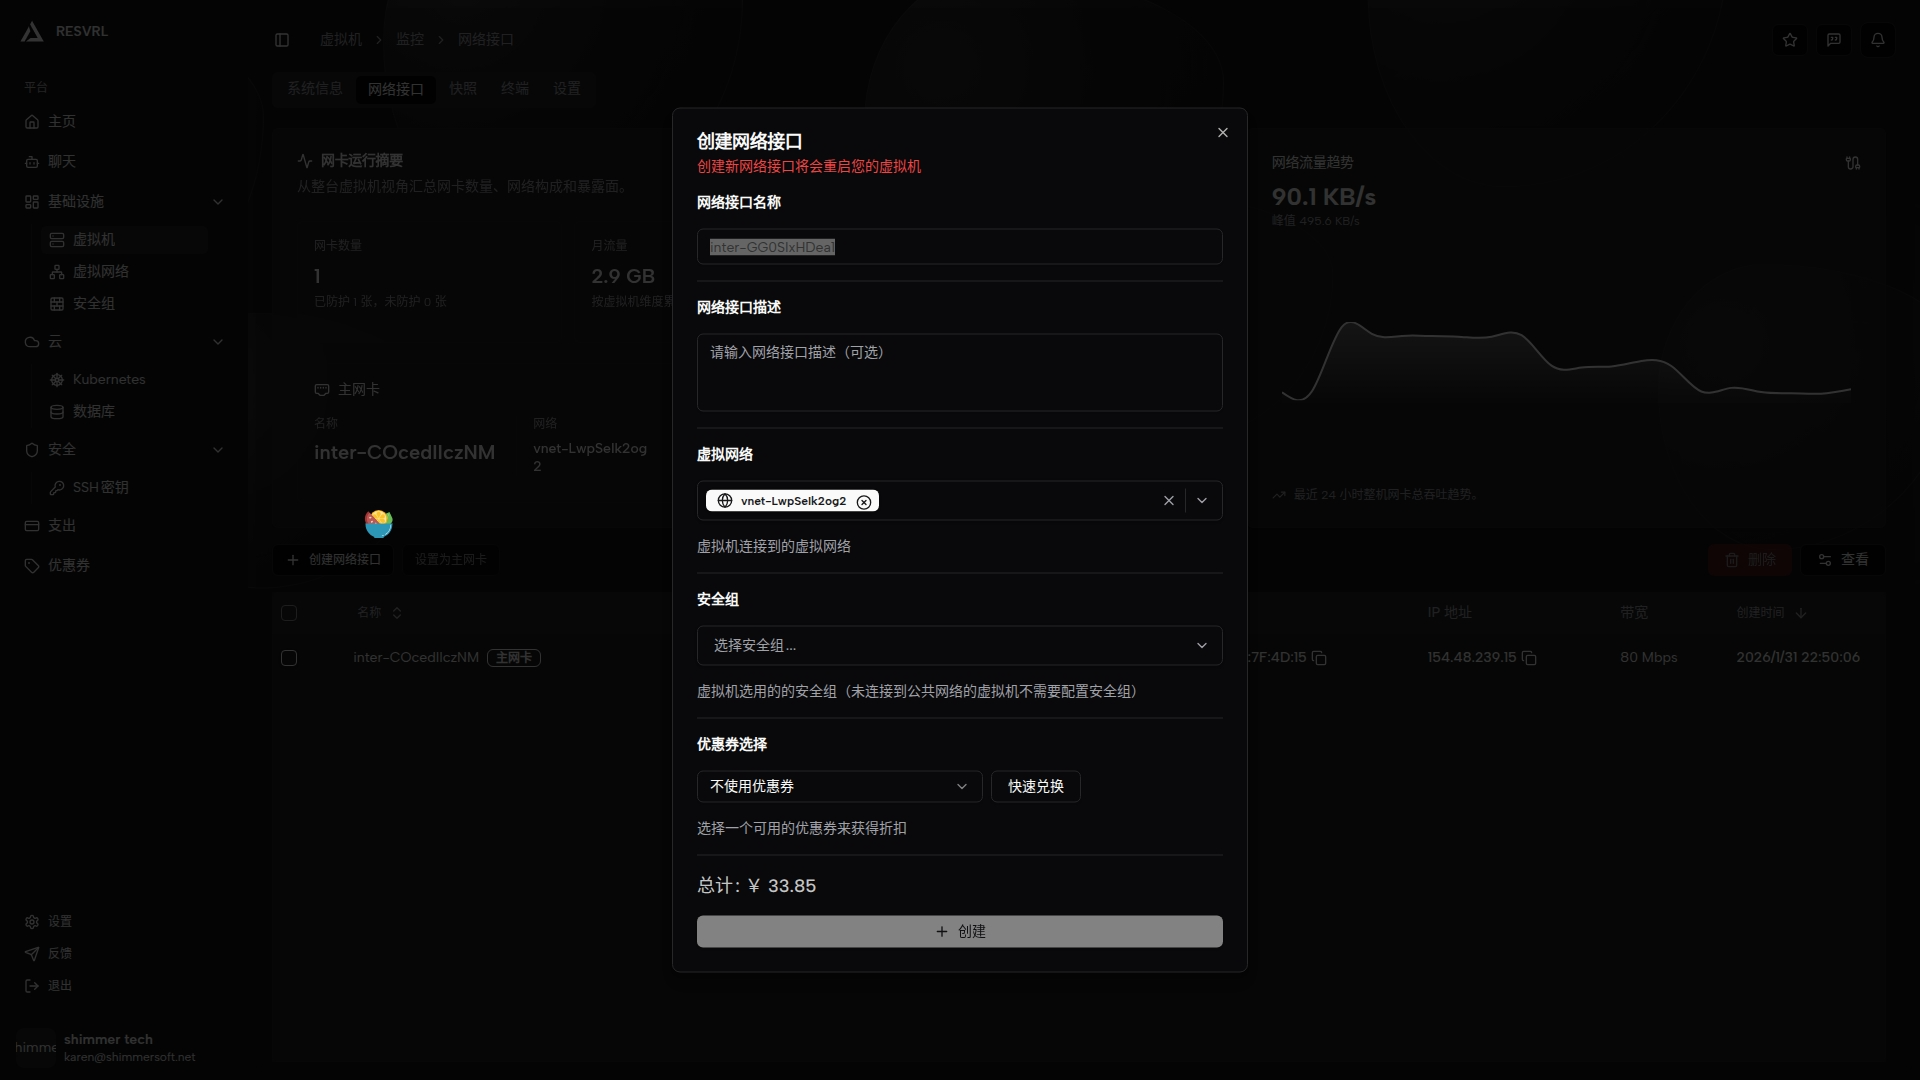
Screenshot needed: Please capture the VM interface page showing the dialog for adding an interface with NAT network selection.
How to View Internal IP Addresses
You can view a VM's internal IP address in the following locations:
- VM Detail Page → Interface tab → View interface details
- Inside the VM: Run
ip addrorifconfigcommand
Common Network Topologies
Topology 1: Web Server + Database Server
                    ┌─────────────────┐
                    │  Public Network │
                    │ (External Access)│
                    └────────┬────────┘
                             │
                    ┌────────┴────────┐
                    │   Web Server    │
                    │ (Dual NIC Setup)│
                    └────────┬────────┘
                             │ NAT Network
                    ┌────────┴────────┐
                    │Database Server  │
                    │(Internal Only)  │
                    └─────────────────┘
Configuration Points:
- Web Server: Connect to Public Network + NAT Network (dual interfaces)
- Database Server: Connect only to NAT Network (single interface)
Topology 2: Multi-Node Cluster
                    ┌─────────────────┐
                    │   NAT Network   │
                    │ 192.168.1.0/24  │
                    └────────┬────────┘
           ┌─────────────────┼─────────────────┐
           │                 │                 │
    ┌──────┴──────┐   ┌──────┴──────┐   ┌──────┴──────┐
    │   Node-1    │   │   Node-2    │   │   Node-3    │
    │192.168.1.10 │   │192.168.1.11 │   │192.168.1.12 │
    └─────────────┘   └─────────────┘   └─────────────┘
Configuration Points:
- All nodes connect only to the NAT network
- Nodes communicate via internal IPs
- Suitable for Kubernetes clusters, database clusters, etc.
Network Configuration Best Practices
Public Network Best Practices
- Minimal Exposure: Only open necessary ports
- Use Security Groups: Implement defense in depth
- Monitor Traffic: Regularly review access logs
- IP Management: Plan public IP allocation carefully
NAT Network Best Practices
- Network Segmentation: Use multiple NAT networks for different environments
- Internal DNS: Implement DNS resolution for internal services
- Bandwidth Planning: Monitor and allocate sufficient bandwidth
Troubleshooting Network Issues
Public Network Issues
- No Internet Access: Check security group outbound rules
- Connection Timeouts: Verify network interface configuration
- IP Conflicts: Ensure unique IP assignments
NAT Network Issues
- Internal Connectivity: Check network membership
- DNS Resolution: Verify DNS configuration
- Performance Issues: Monitor network utilization
Hybrid Configuration Issues
- Routing Problems: Check interface priorities and routing tables
- Traffic Isolation: Ensure proper segmentation between networks
Related Resources
This document was updated on 2026-04-25 09:00